Tool Belt with Pockets and Holders
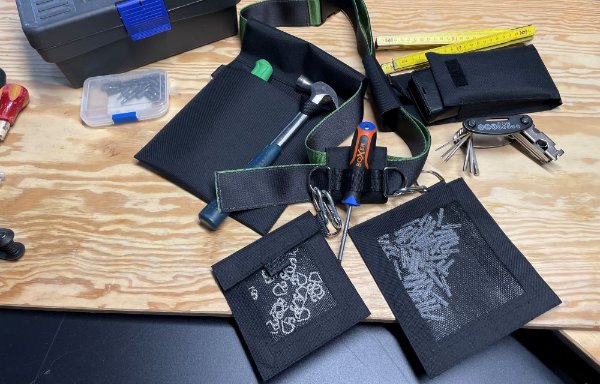
What you need:
The detailed supply list with measurements for the different pockets are listed under the instruction for each of them, but the materials used are:
- Non fraying sturdy fabric, like cordura or synthetic canvas
- Strong sewing thread
- D-rings 1” (2,5cm)width
- Velcro
- Mesh or thick mosquito net, the one used for window frames.
- Webbing.¾” (2cm) and 1” (2,5cm)width
- Webbing for belt 2”(5cm) width
- Plastic coiled zipper for bags
- Carabiner clips
Padded mobile pocket
Material:
- Cordura fabric or similar 1 piece 44”x4” (110cmx10cm) and 2 pieces 3x5” (7x12cm
- Foam batting 15x3”(38x8cm)
- Velcro 1 piece 2”(5cm) long
- Webbing ¾” (2cm)wide 8”(20cm)
- Sewing thread
How to sew:
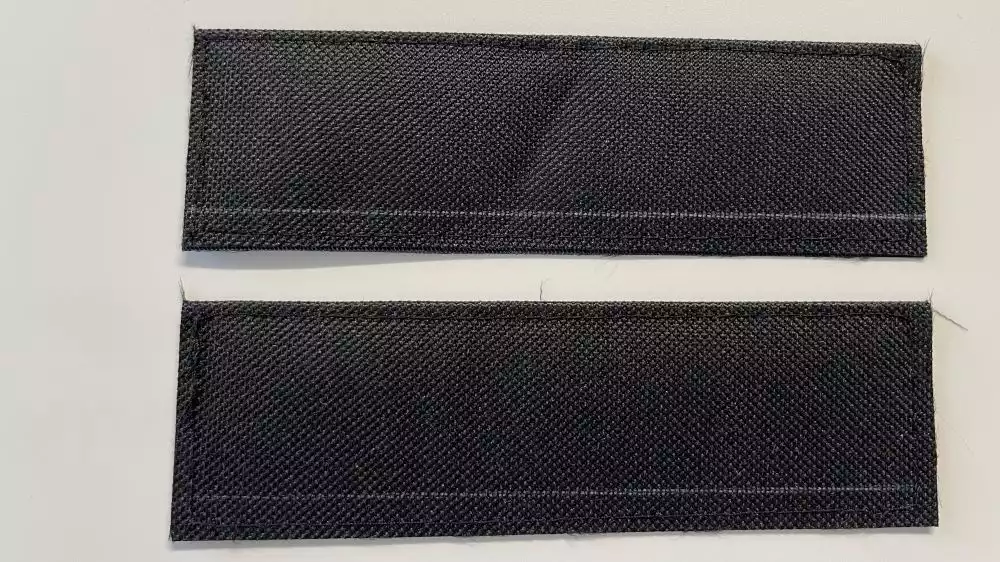
1. Fold the small cordura pieces in half lengthwise and topstitch close to the edge on all four sides to hold the piece together. Make a line ¼”(6mm) from the long raw edge on each piece.

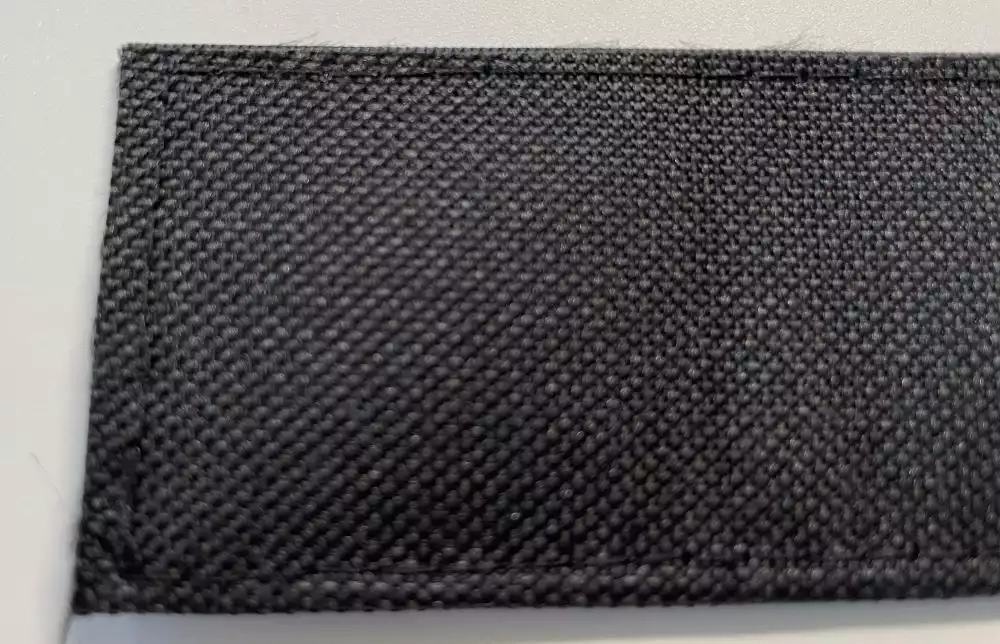
2. Fold the long piece together in half. Make a mark 1½”(4cm) from the top and place the soft velcro piece there. Topstitch in place, only on the top layer! Turn the folded piece over, with the attached velcro piece facing down.
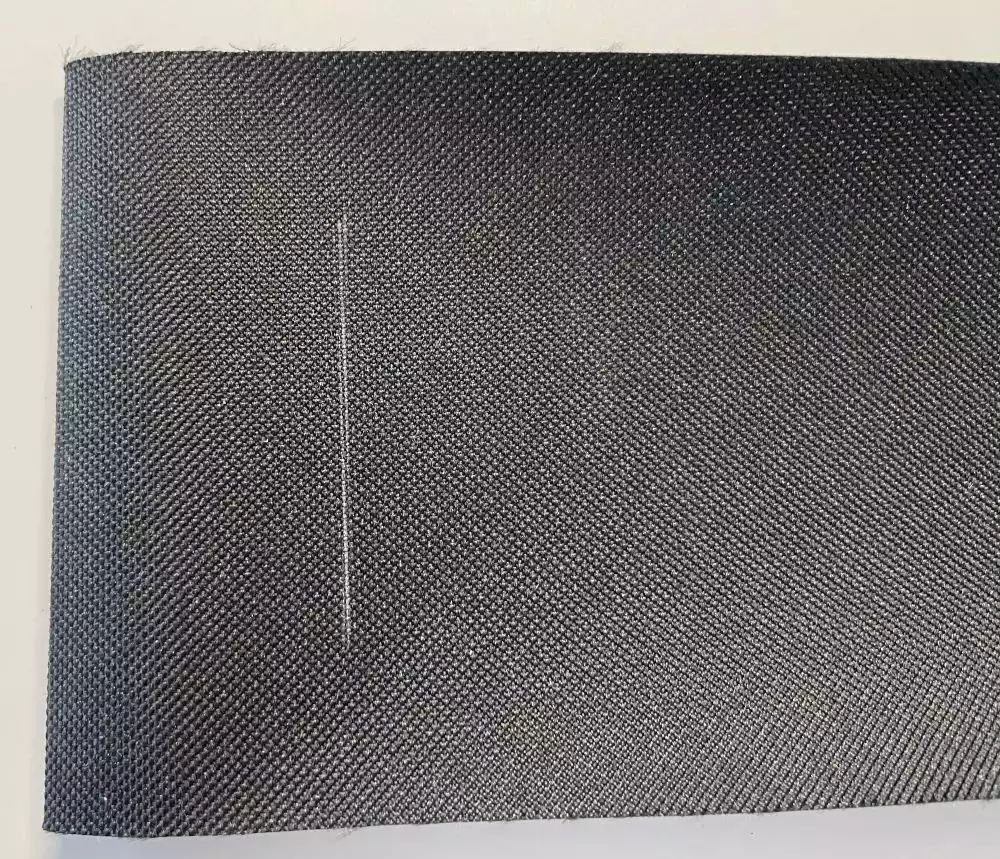
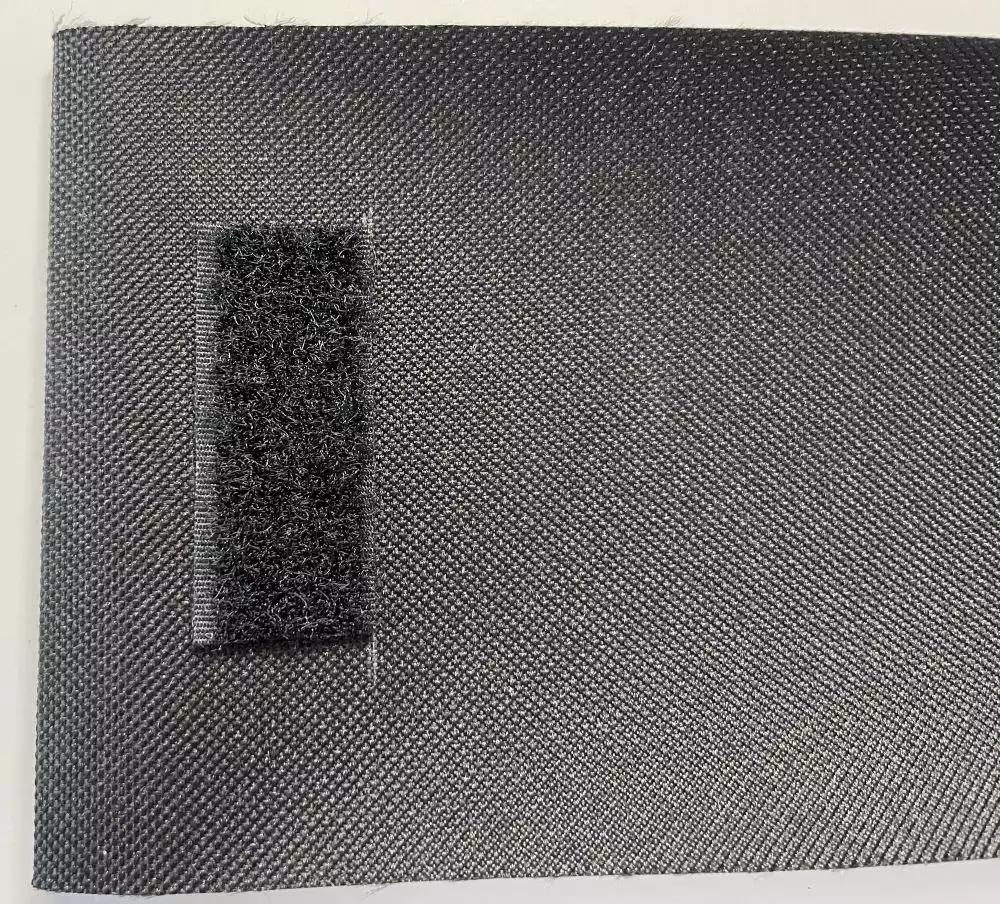
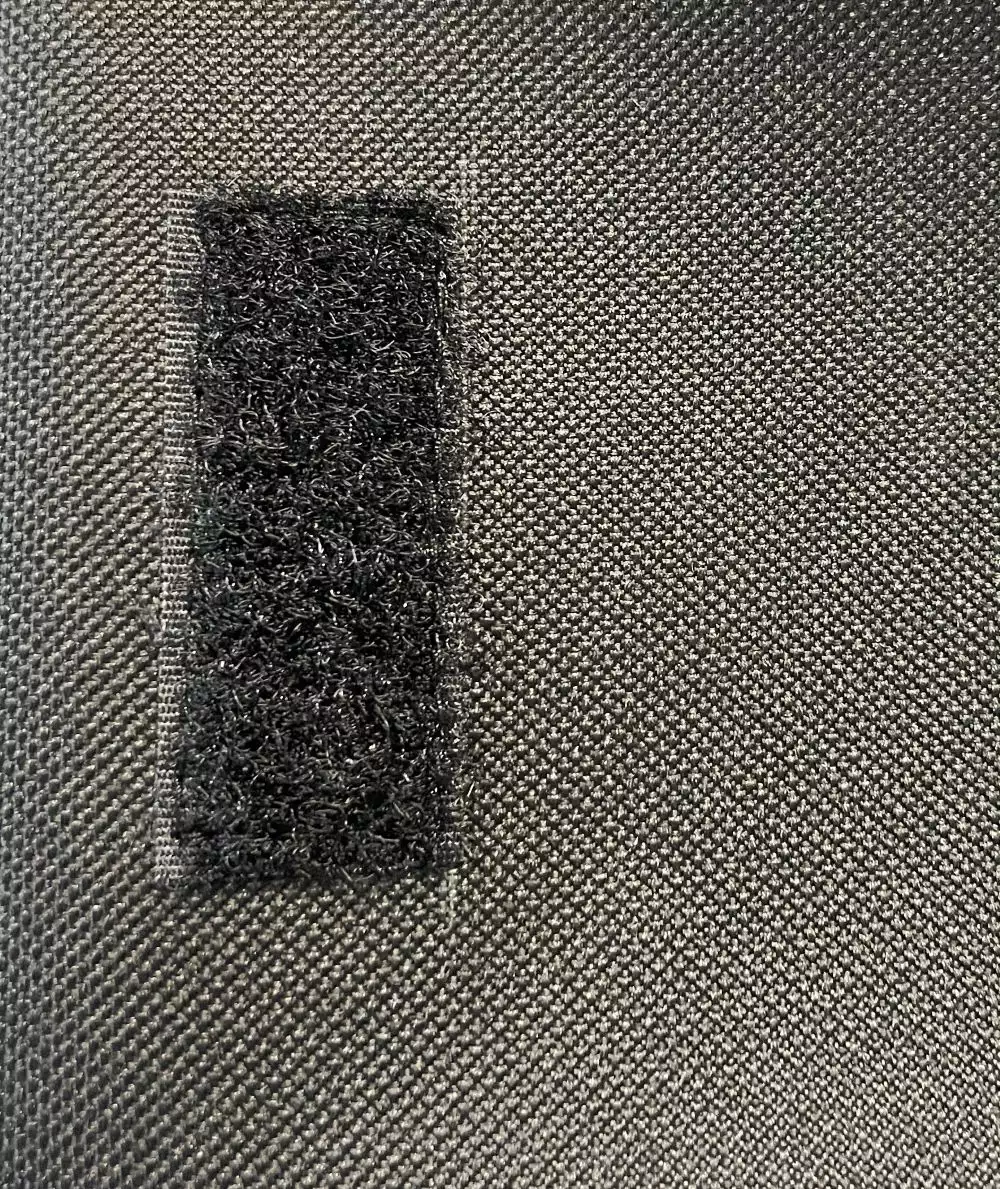
3. Make a mark 12”(30cm) from the folded edge. Place the webbing piece there, it should extend towards the open short edges of the fabric piece. Stitch in place with a square about 1” long at the end where you made the mark.
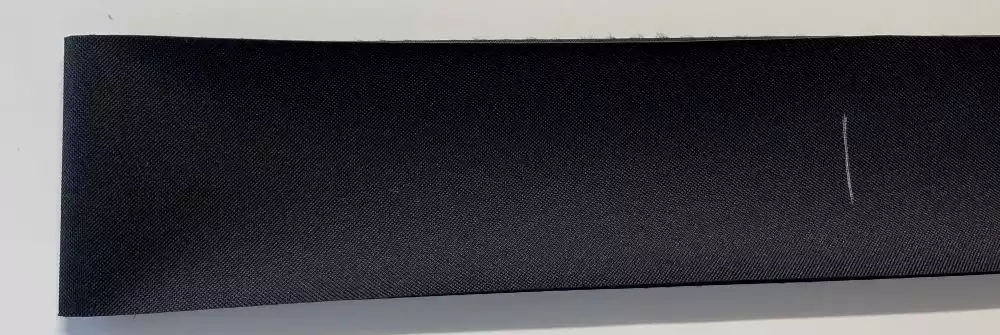

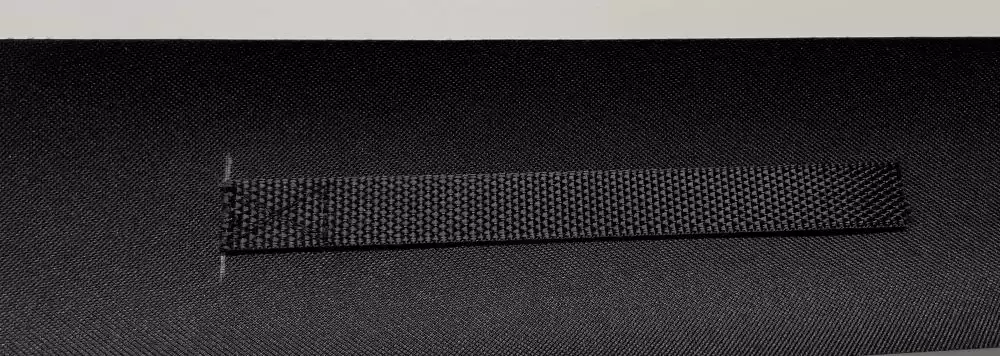
4. Make a mark on each side of the fabric piece, 1”(2,5cm) from the fold and another 5”(12cm) further down the raw edges, place the side pieces between the marks with the ¼”(6mm) line at the edge, The side pieces should be placed between the two layers of the folded fabric piece.
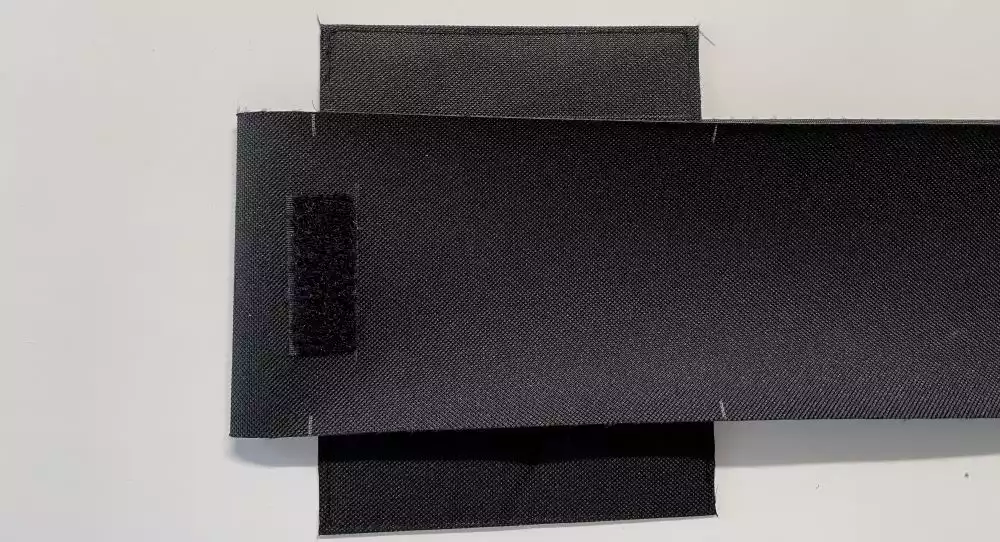
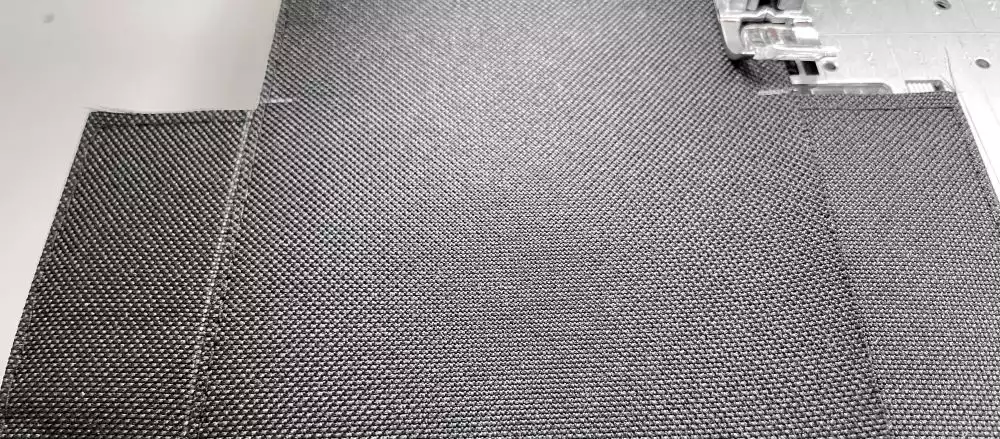
5. Topstitch the long edges of the folded fabric piece together close to the edge catching the side pieces in the stitching.
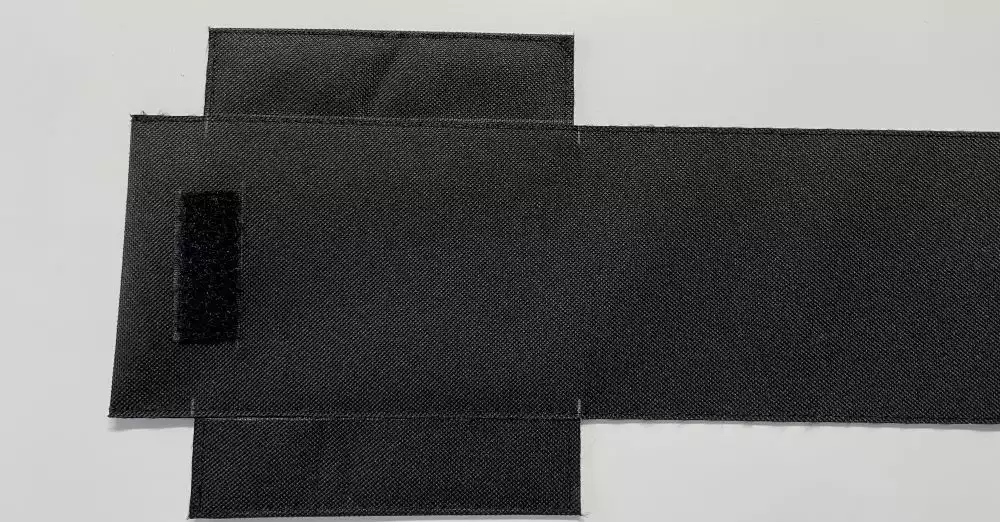
6. Insert the foam batting from the short open edge. Move it all the way up to the folded edge. Use a knitting pin or similar to get it in the right position.
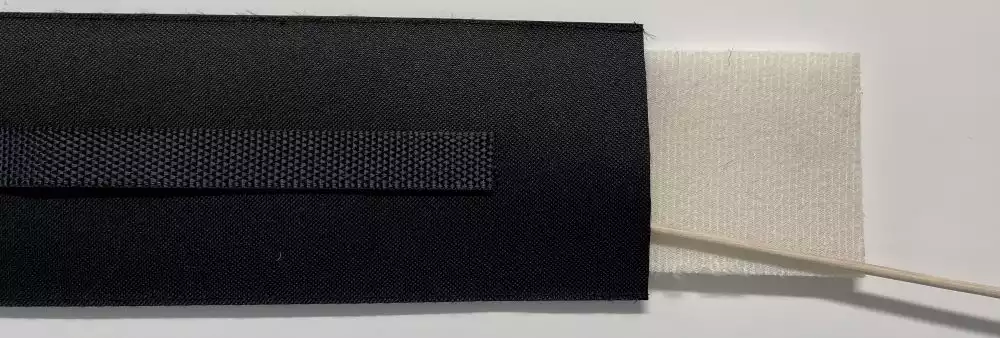
7. Make a mark 6”(15cm) from the open short edge on the back ( the side without the attached webbing piece) and fold the edge up to that mark. Topstitch in place to make the belt tunnel. Take care not to catch the webbing in the stitching.
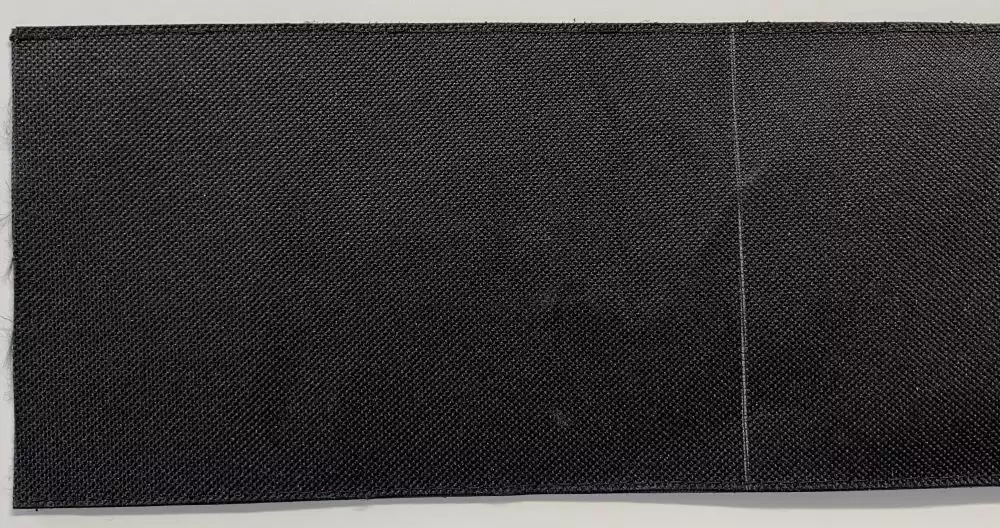
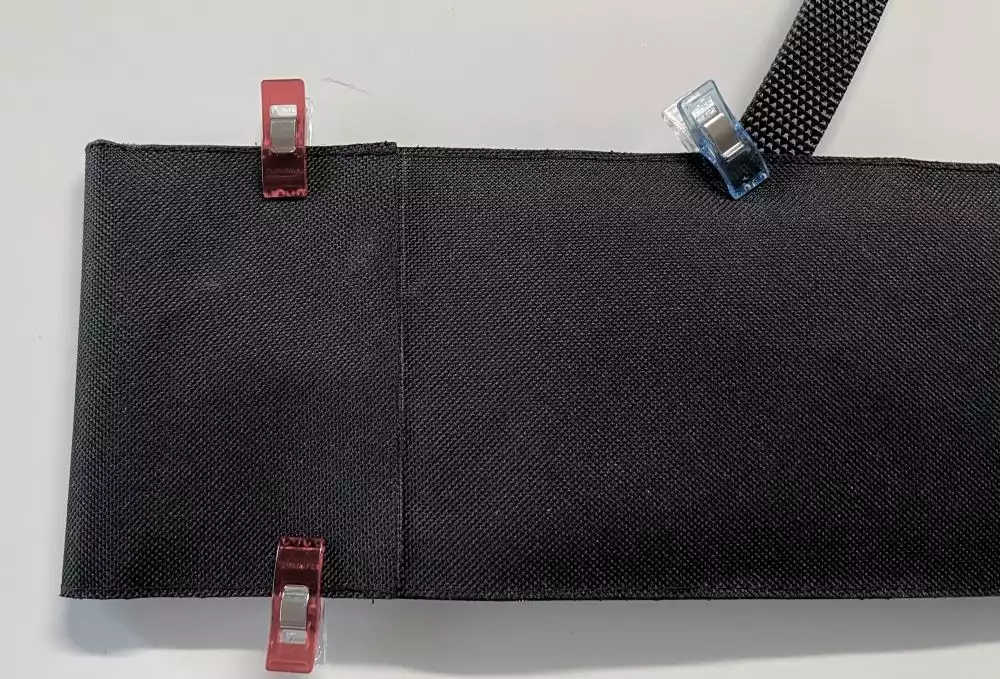
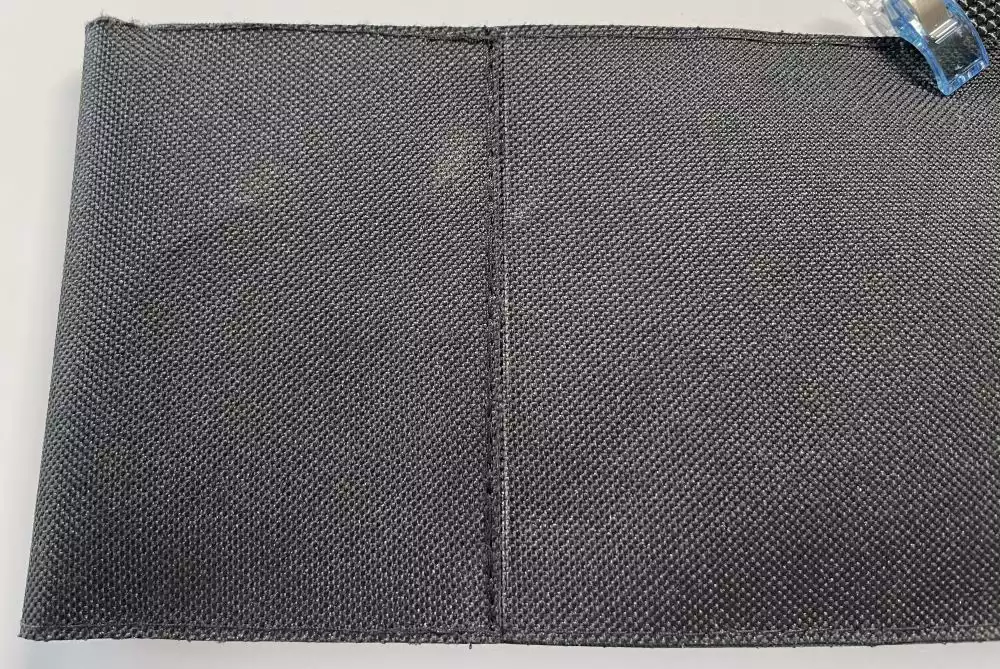
8. Turn the right side up, make a mark 7”(18cm)from the folded edge, that is 1” (2,5cm) above the side pieces. Fold the short side up on this mark and stitch the side pieces onto the sides close to the edge.
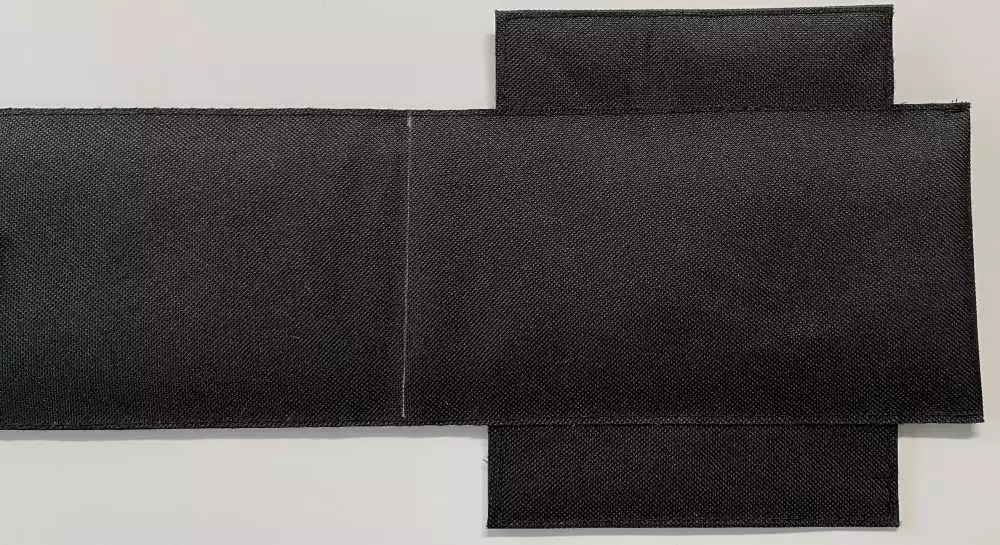
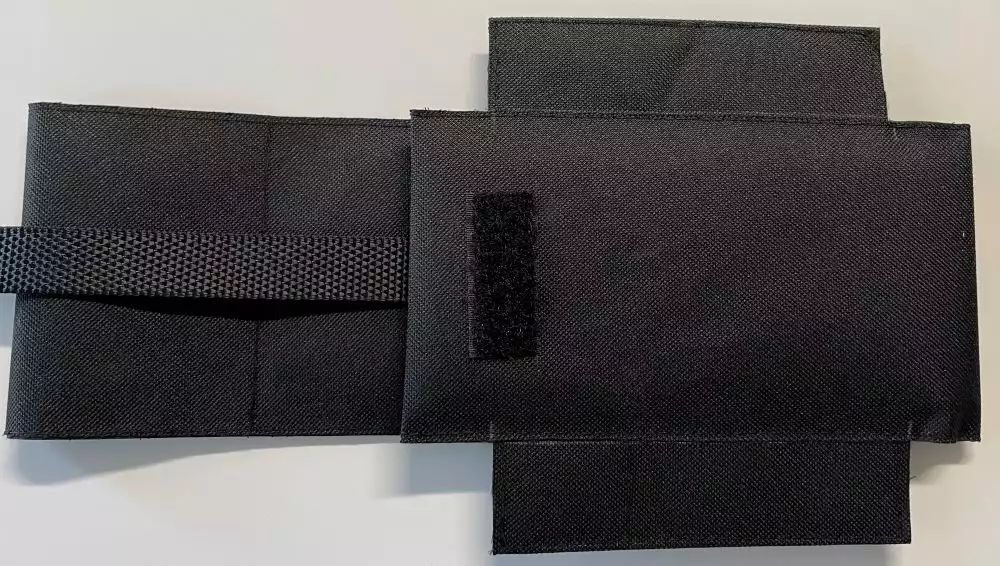
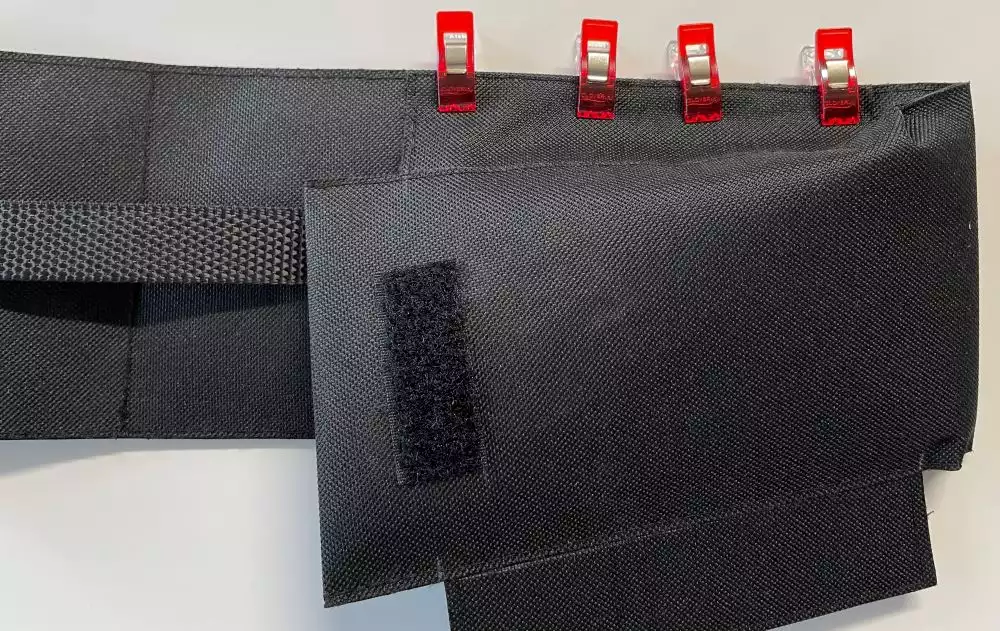
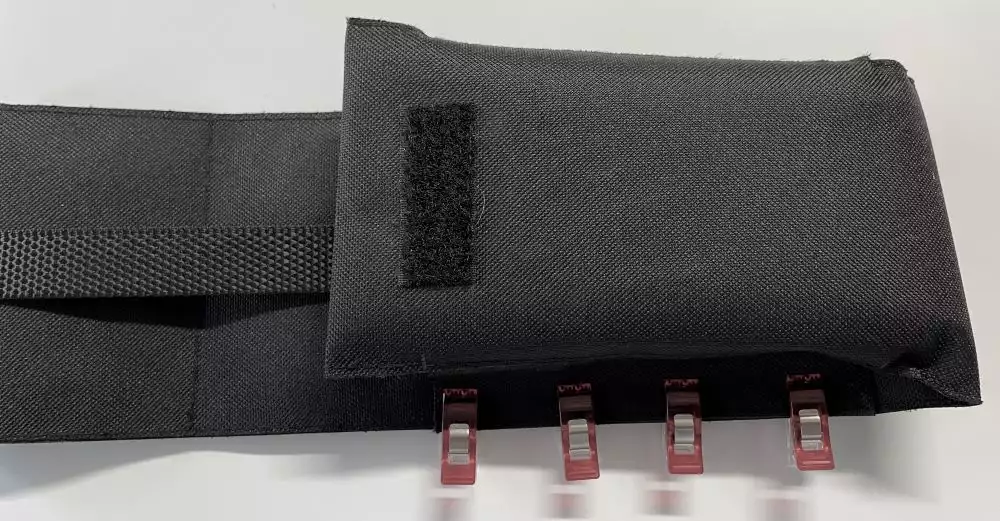
9. Finally turn about 1” (2,5cm) of the webbing to the right side and place the hard piece of velcro on top. Topstitch in place. If needed the webbing could be cut off before adding the velcro.
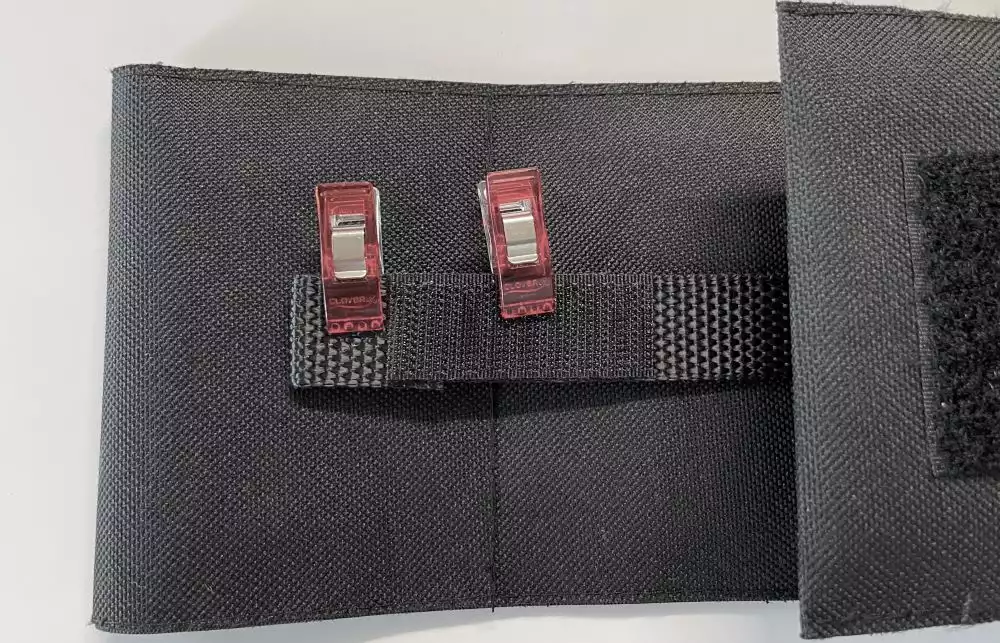
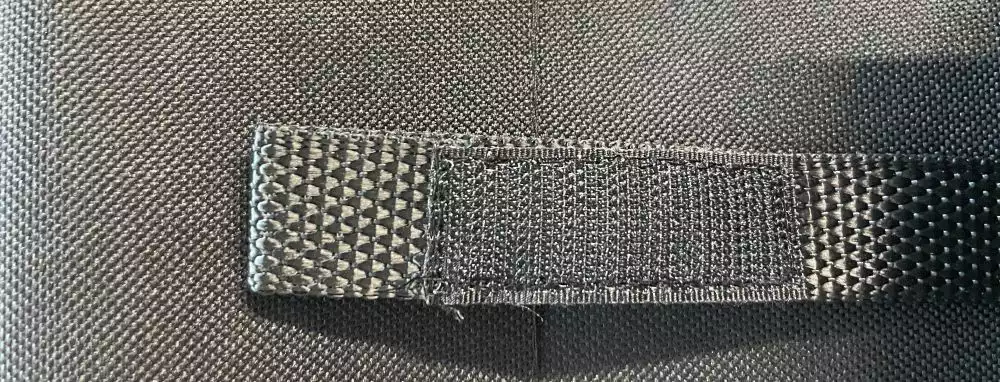
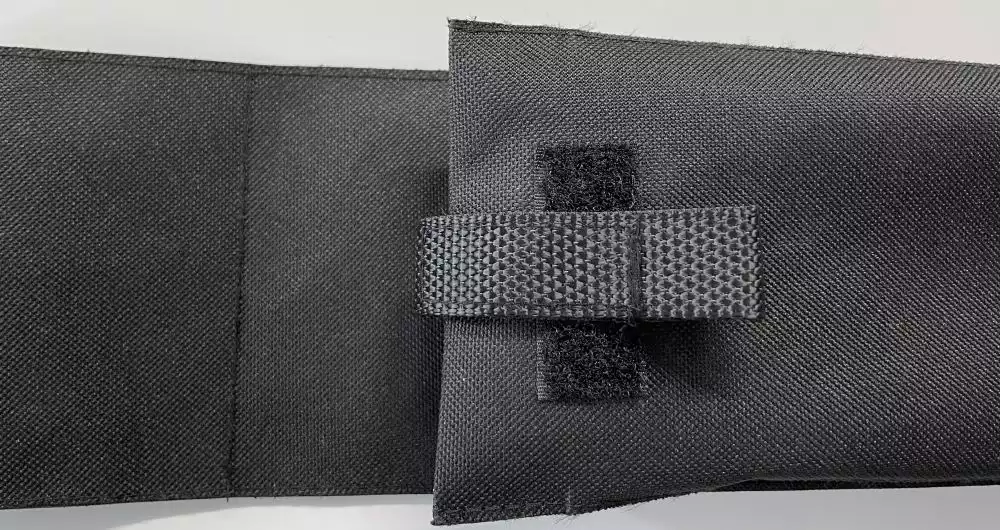
Your padded mobile phone holder is now finished.
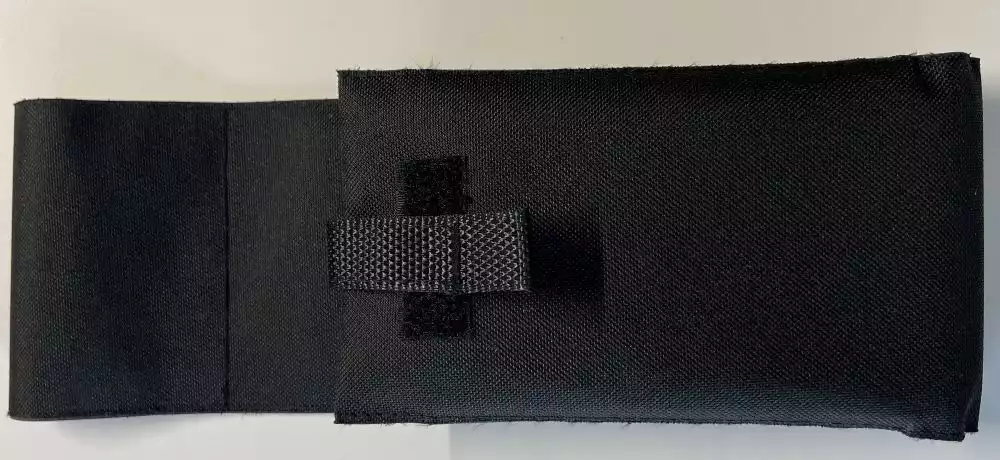
Small things Pocket holder
Material:
- Cordura fabric or similar 8½”x6” (21x15cm)
- Velcro 4” (10cm)
- Webbing 1” (2,5cm)wide 5” (12cm)
- 2 D-rings 1” (2,5cm) opening
- Sewing thread
How to sew:
10. Fold the long sides towards the middle wrong sides together. Pin in place.
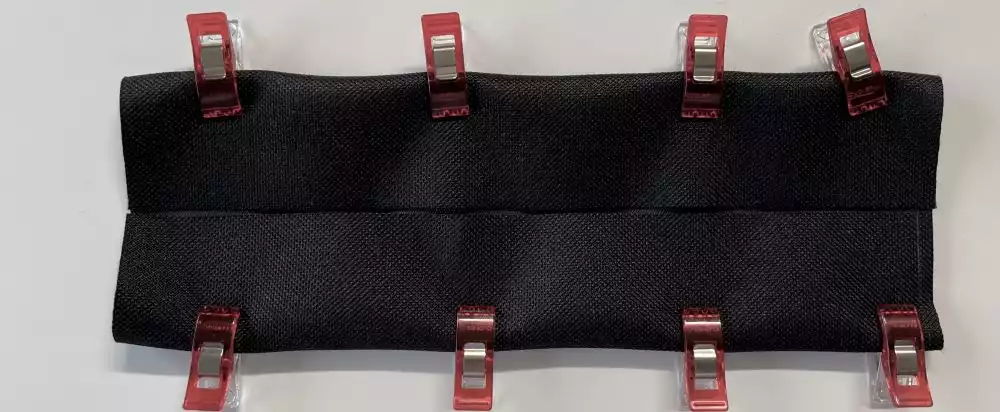
11. Topstitch close to the folded edges and make a topstitching close to the raw edges in the middle, one on each side.
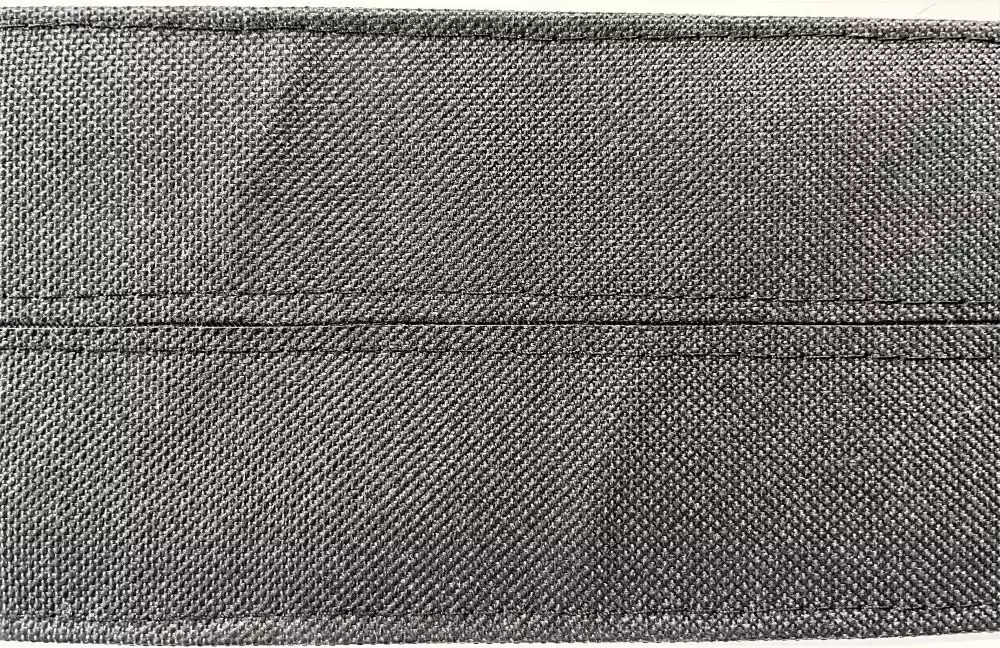
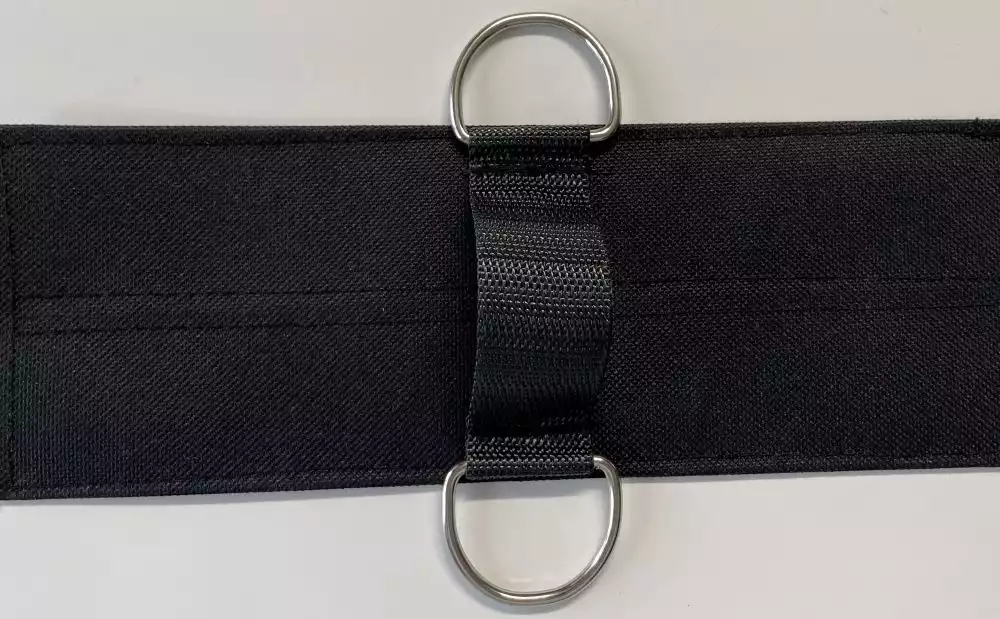
12. Change to the zipper foot. Fold one of the edges of the webbing piece over the d-ring about ¾”(2cm) and topstitch in place. Repeat on the other end of the webbing.

13. Place the webbing piece on the middle of the fabric piece. Stitch in place. The excess webbing in the middle will form a loop to hang a screwdriver in.
14. Place the hard side of the velcro on one of the short ends on the wrong side. Adjust the length of the velcro piece and topstitch in place.
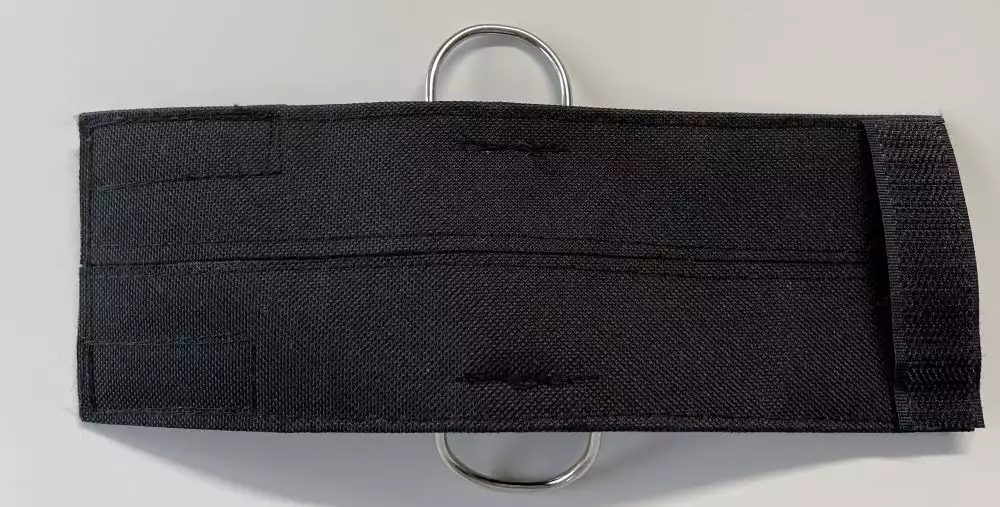
15. Divide the soft piece of the velcro in two. Place them on the front at the other short end , one on each side. Top Stitch in place.
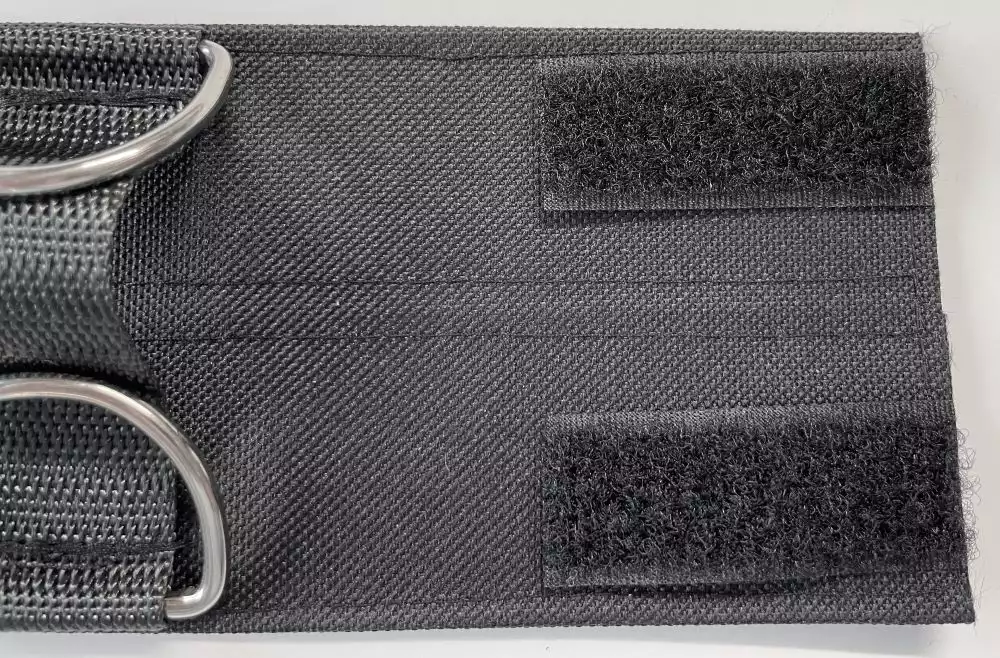
Your pocket holder is now finished. Use carabiner clips to attach the pockets.
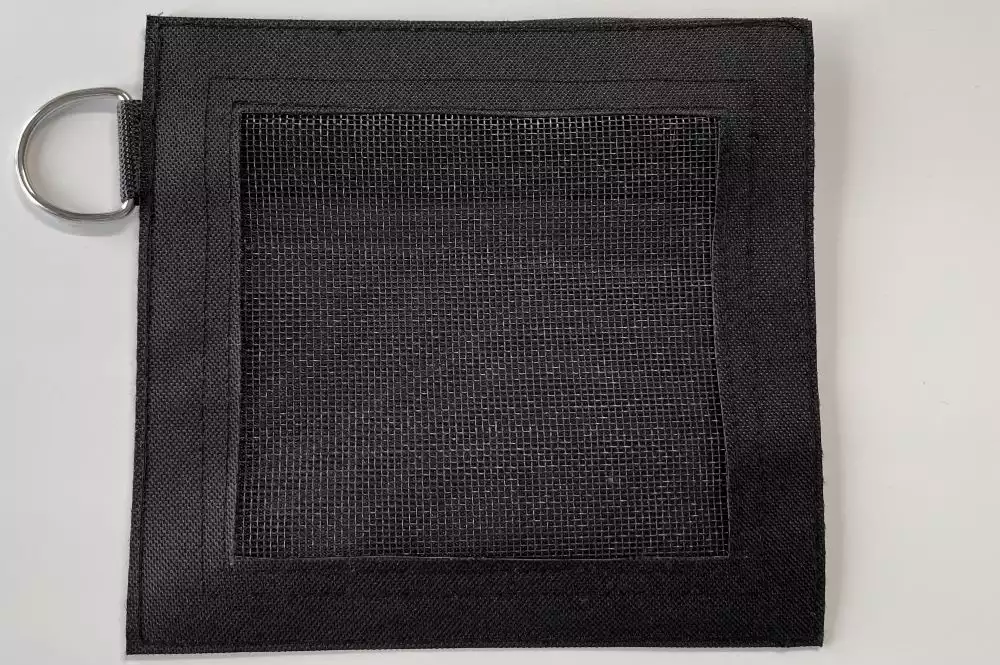
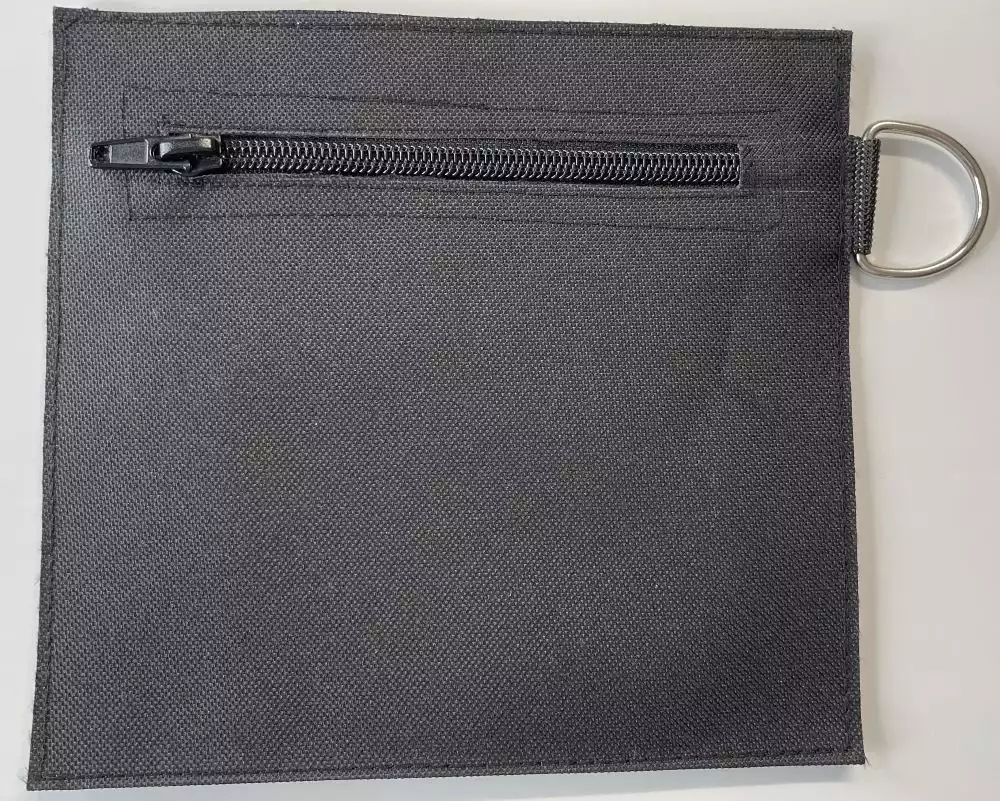
Small things pocket with zipper
Finished size 7x6½” (18x16cm)
For each pocket you need:
- Cordura fabric or similar 13x7” (33x18cm)
- Glass Fiber Mosquito net or mesh for bags 7x6½” (18x16cm)
- Zipper 6” (15cm)long
- D-ring 1” (2,5cm) wide opening
- Webbing 1”(2,5cm) wide 2”(5cm) long
- Sewing thread
How to sew:
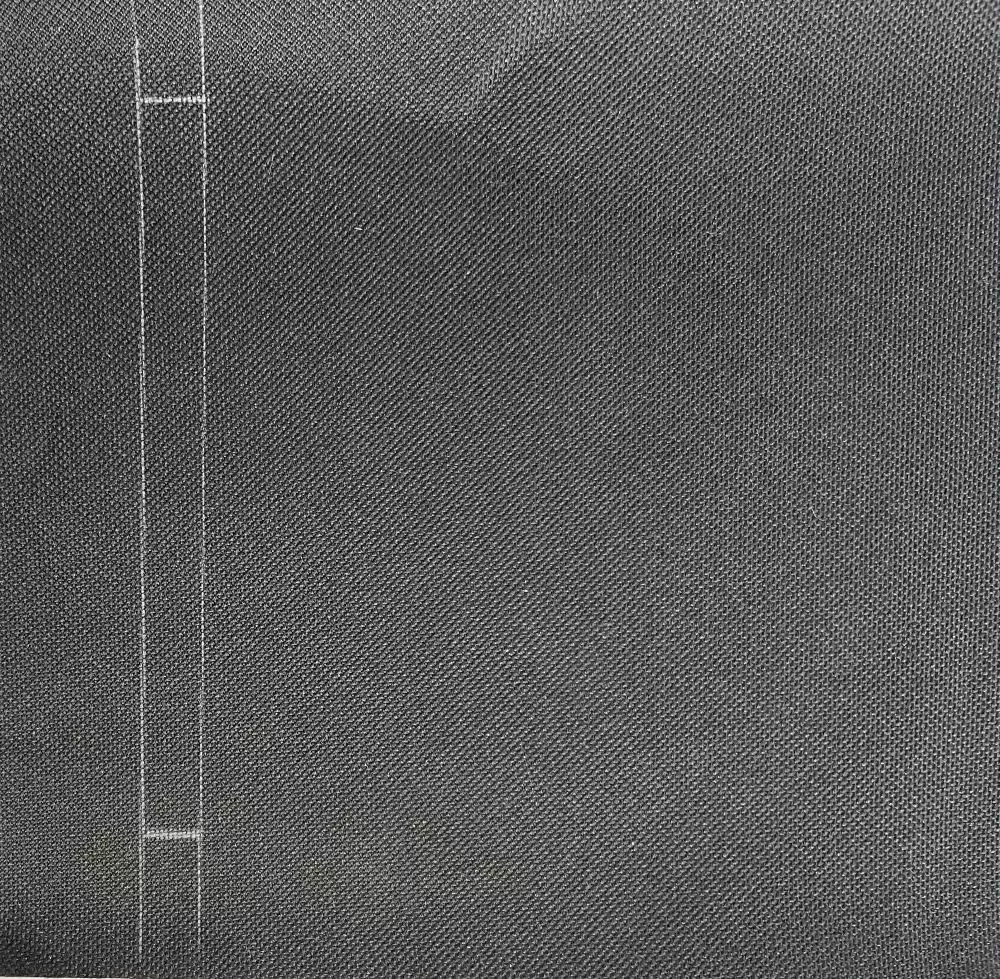
16. On the right side of the fabric piece, make a line 1”(2,5cm) from the short edge. Make another line ⅜”(1cm) from that. Make one line on each side to form a rectangle, 1”(2,5cm) in from the edge.
17. On the other short side make a line 1” (2,5cm)from the edge and another 4½” (11cm) below that. Make two lines 1” (2,5cm)in from the sides to make a rectangle.
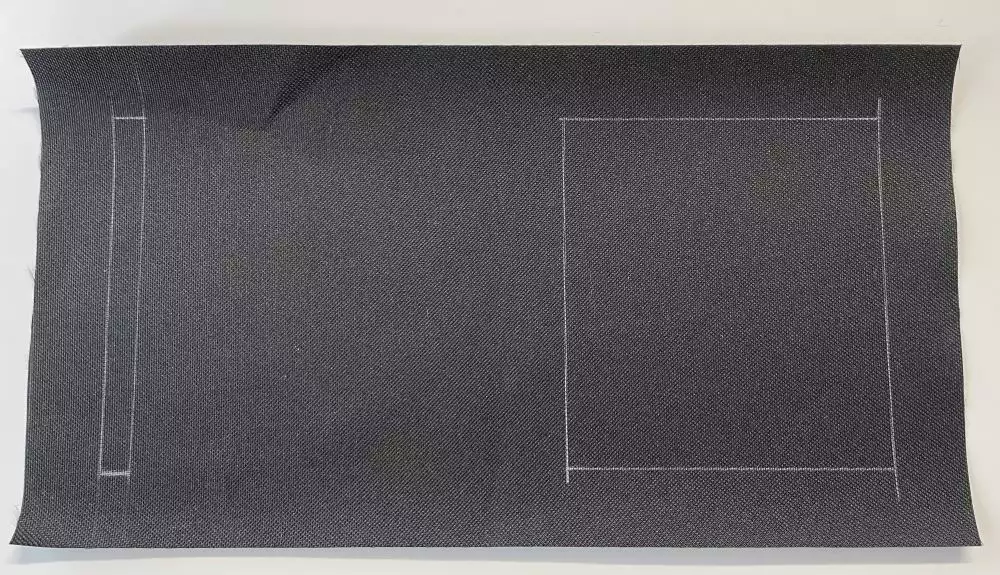
18. Cut out the rectangular openings
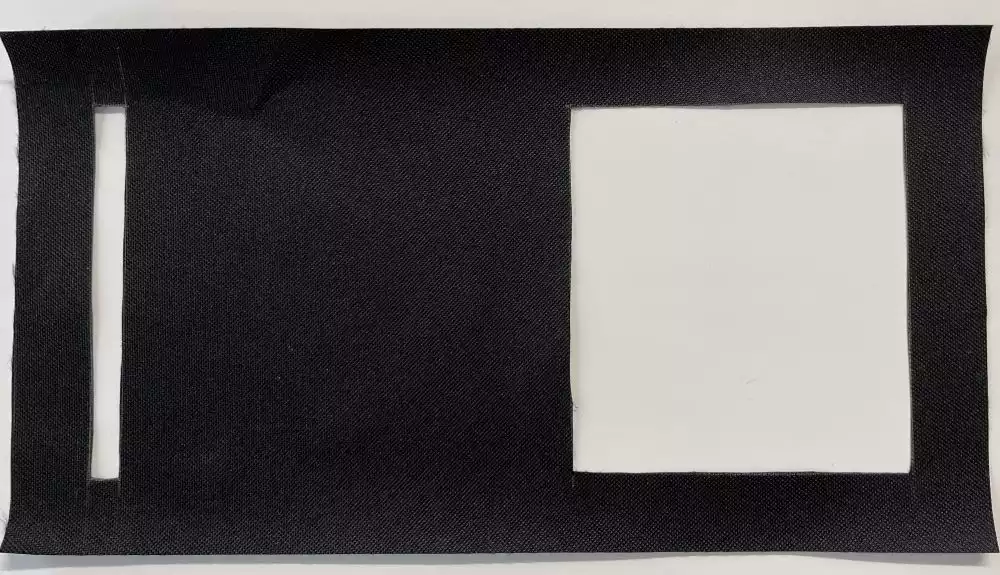
19. Place the mosquito net under the large opening and topstitch in place close to the edge and about ¼”(6mm) from the edge
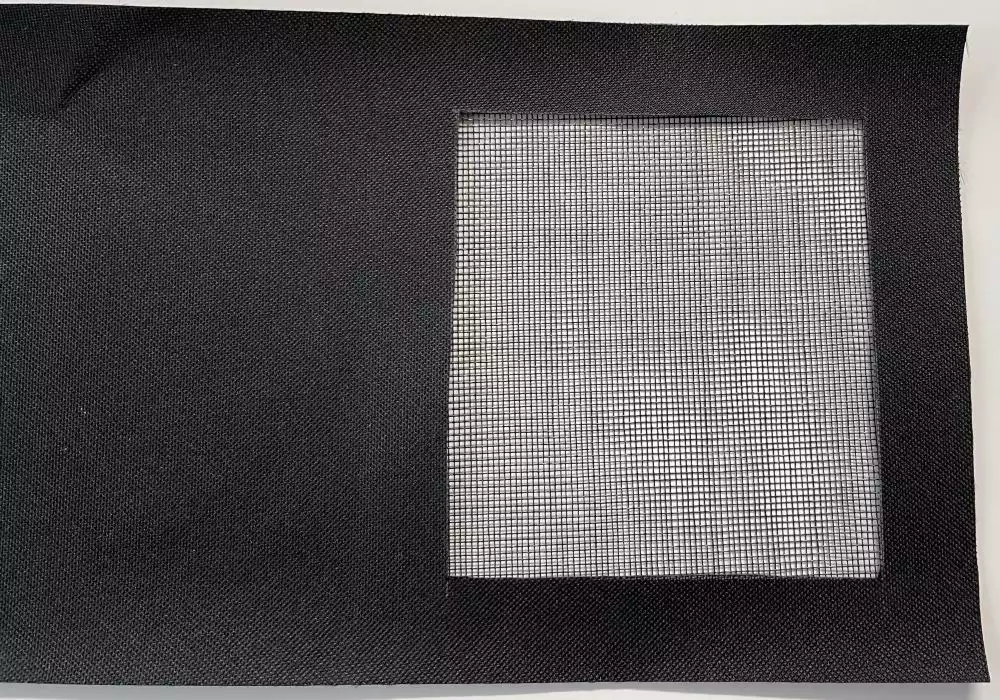
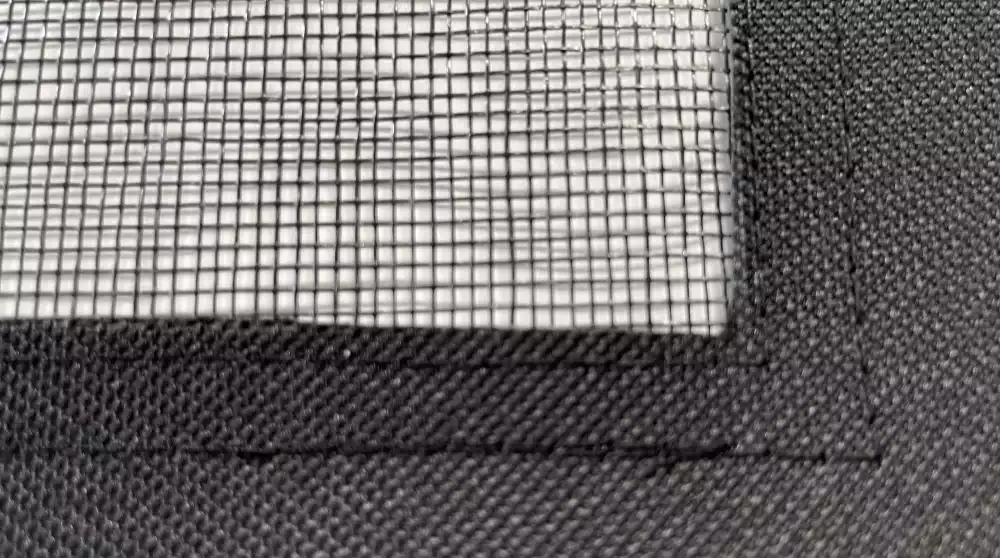
20. Place the zipper under the small opening and topstitch as described in the step before

21. Fold the webbing around the d-ring and stitch together close to the D-ring. Use the zipper foot for this.
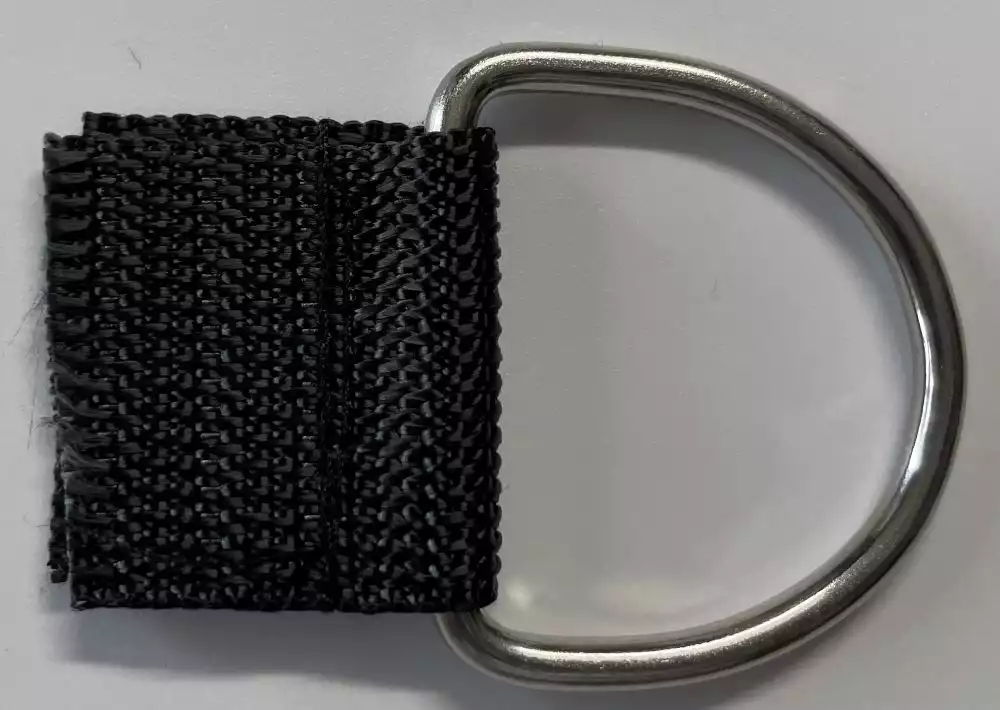
22. Fold the fabric piece wrong sides together. Put the Webbing with the D-ring between the layers and pin in place. Topstitch through all layers close to the edge all around. Reinforce the stitching over the webbing part.
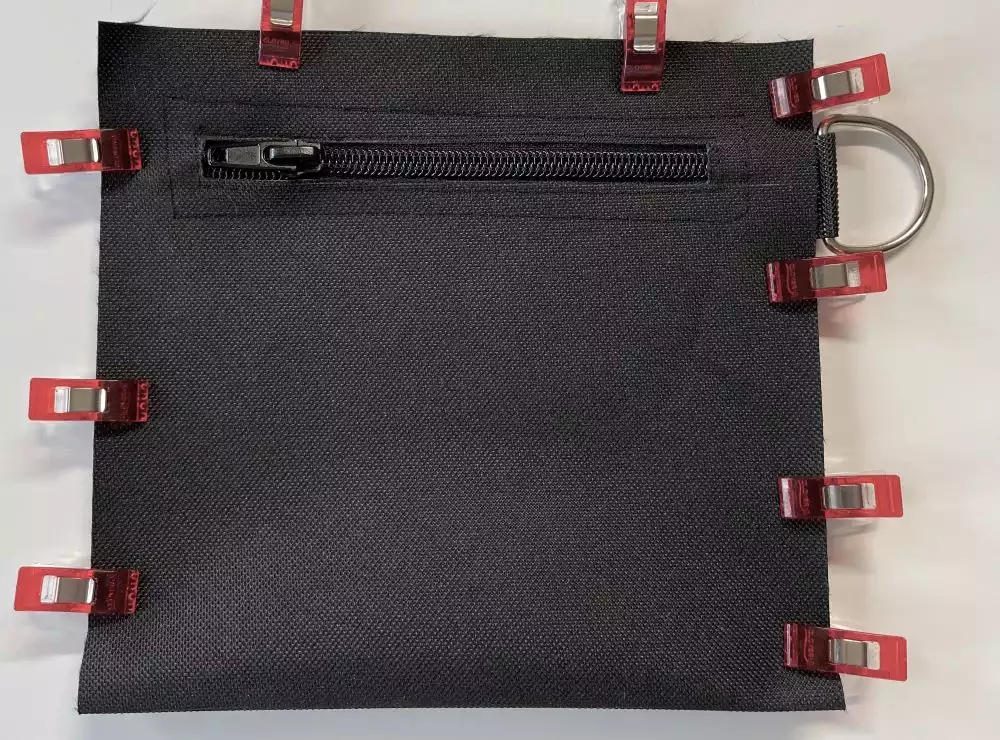
Your zippered pocket is now finished.
Small things pockets with velcro closure
Finished size 5”x5” (12x12cm)
For each pocket you need:
- Cordura fabric or similar 12”x5” (30x12cm)
- Glass Fiber Mosquito net or mesh for bags 4”x4” (10x10cm)
- Velcro 4” (10cm)
- D-ring 1” (2,5cm) wide opening
- Webbing 1” 2,5cm)wide 2” (5cm) long, 2 pieces
- Sewing thread
How to sew:
23. Draw a 3” (8x8cm) square on the right side of the fabric 1” (2cm) in from the bottom edge and 1” (2cm) in from the sides.
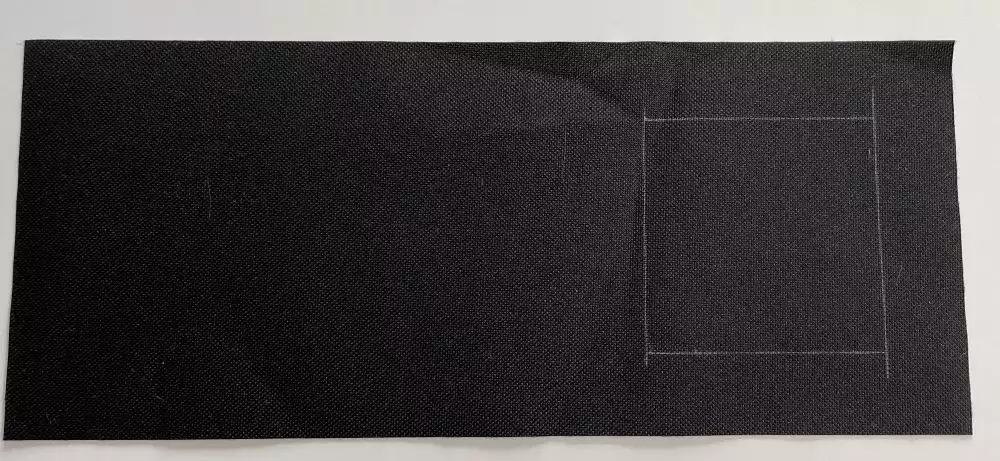
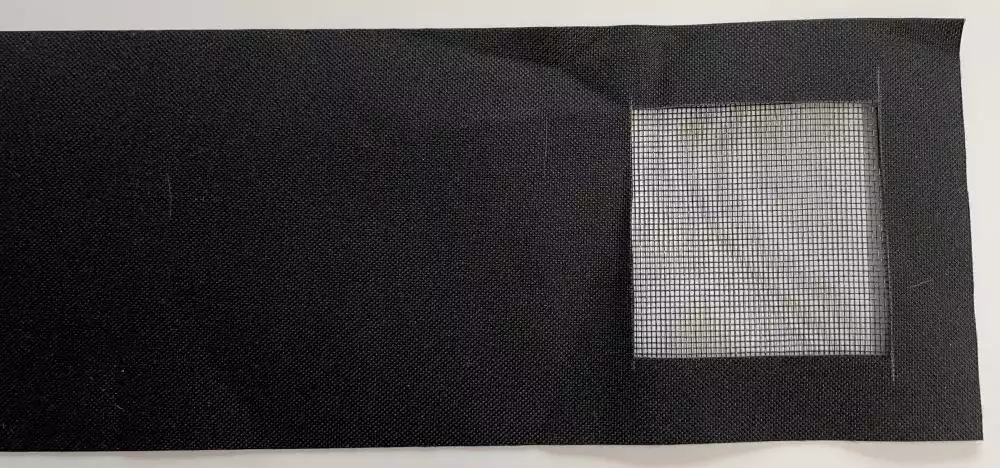
24. Cut out the square to make an opening. Put the mosquito net under and stitch in place close to the edge and ¼” (6mm) away.
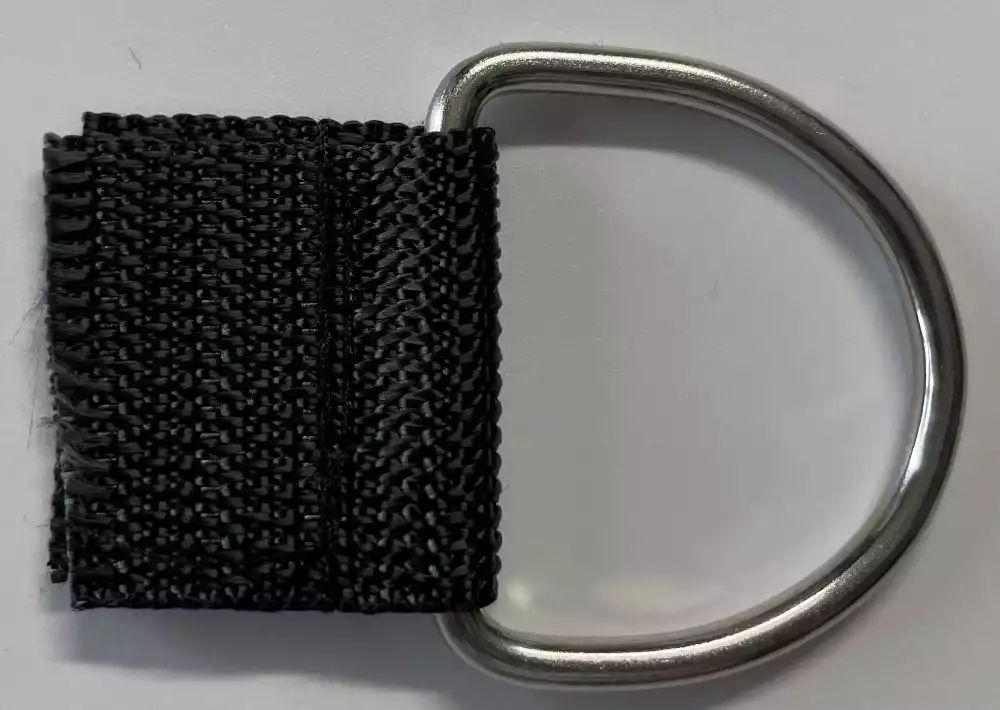
25. Fold the webbing around the d-ring and stitch together close to the D-ring. Use the zipper foot for this.
26. Attach the velcro piece (hard side) centered on the short edge above the mosquito net opening
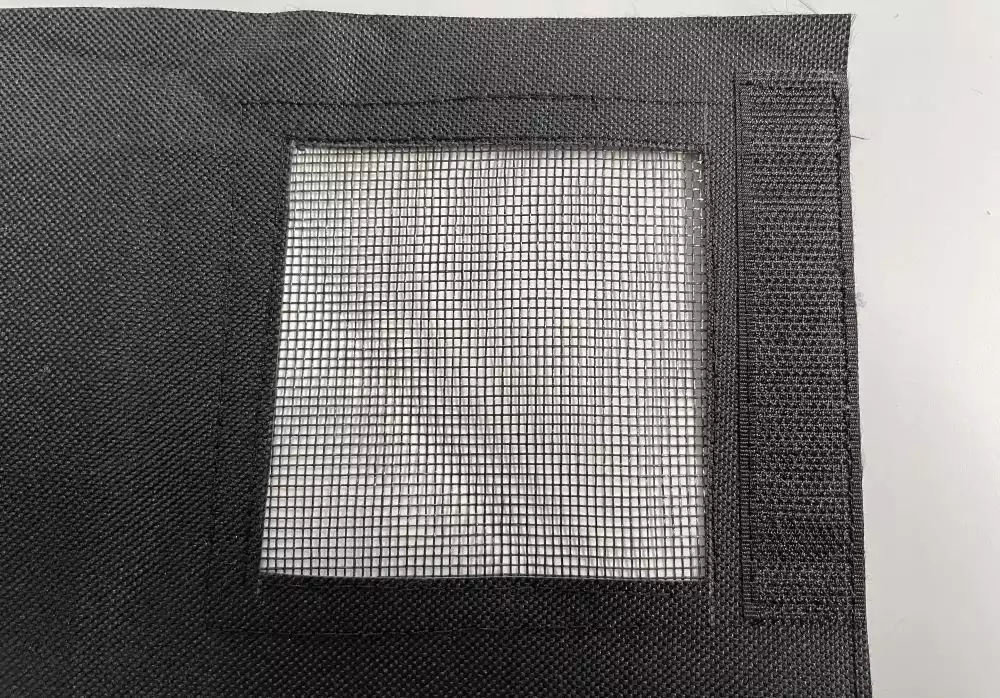
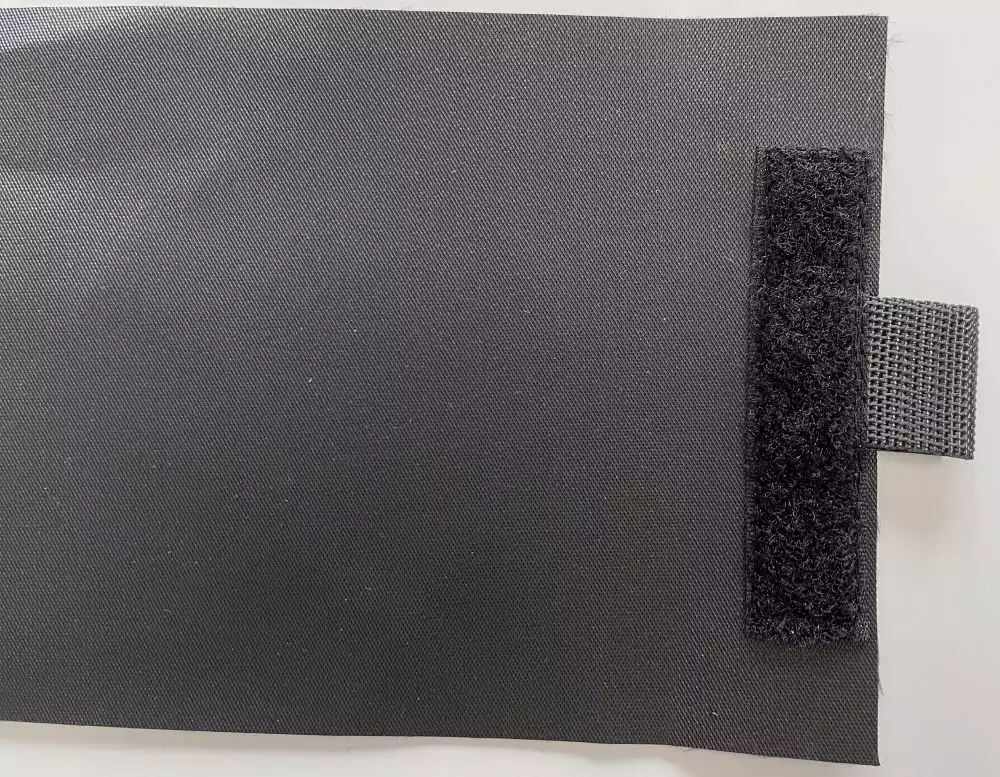
27. Fold the other webbing piece double and place it in the middle of the opposite short side on the wrong side of the fabric. Place the soft velcro piece on top and stitch in place.
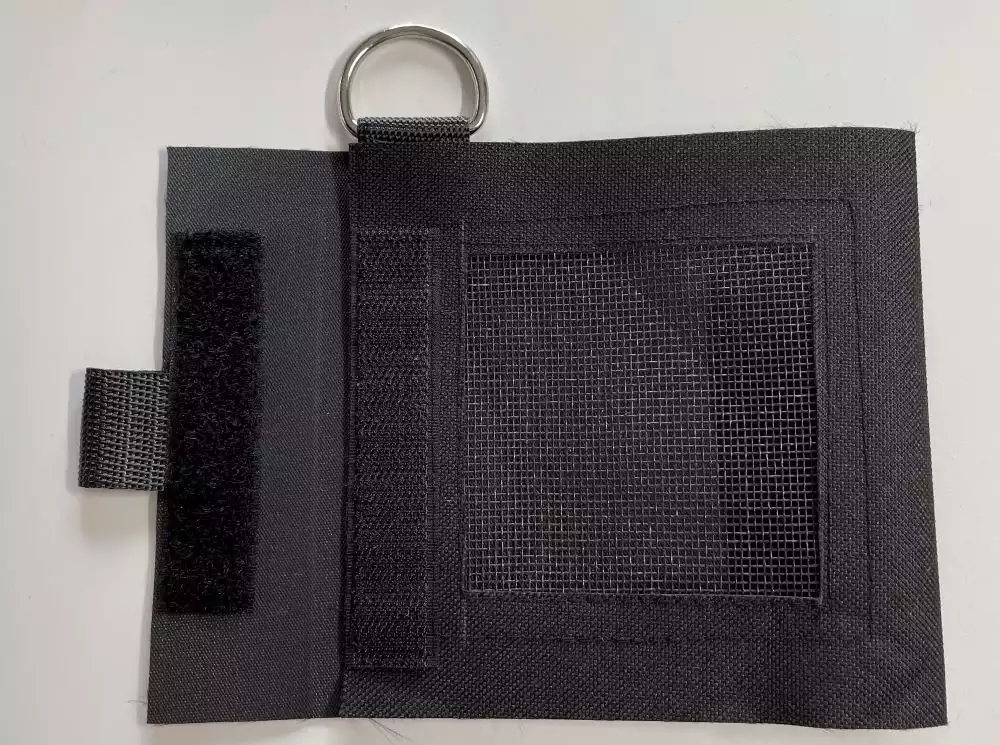
28. Fold the pocket piece up 5”(12cm). Put the D-ring with webbing between the layers on the right side. Topstitch close to the edge around the whole pocket.
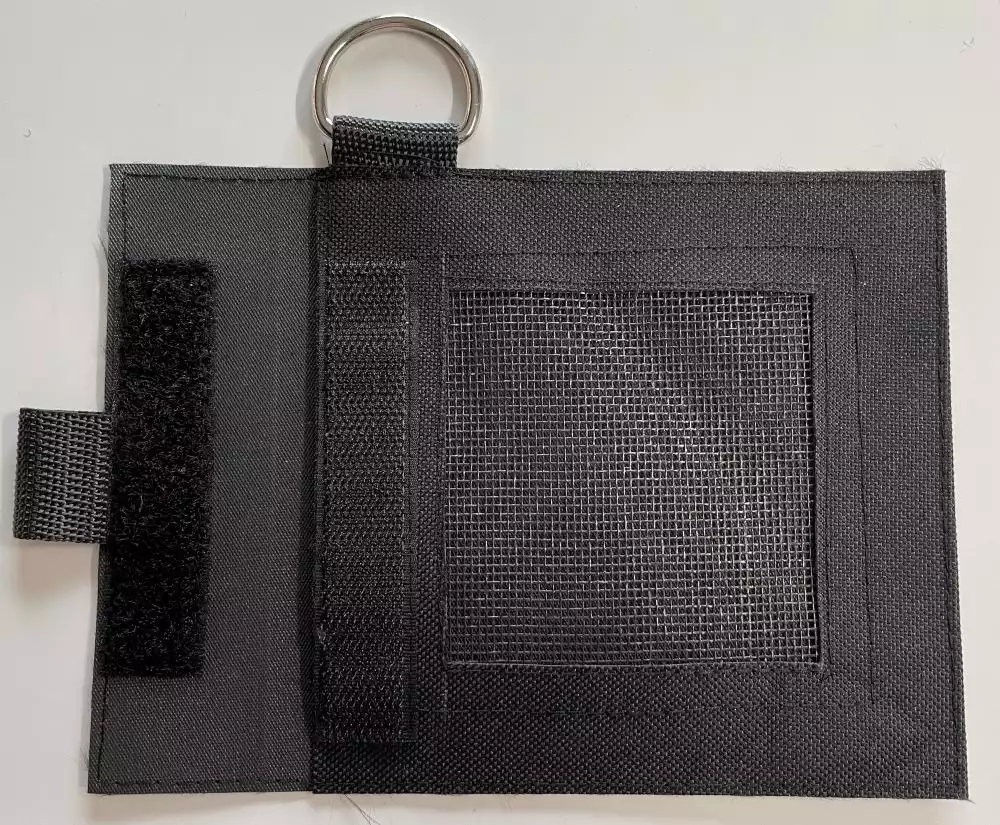
29. Fold the lid so the velcro pieces meet. Your pocket is now finished.
Large tool holder with pockets
Finished size 11x8" (28x20cm)
Material:
- Cordura fabric or similar 44x8” (110x20cm)
- Webbing ¾” 82cm9 wide 5” (12cm)
- Webbing 1” (2,5cm) wide 2” (5cm)
- Sewing thread
How to sew:
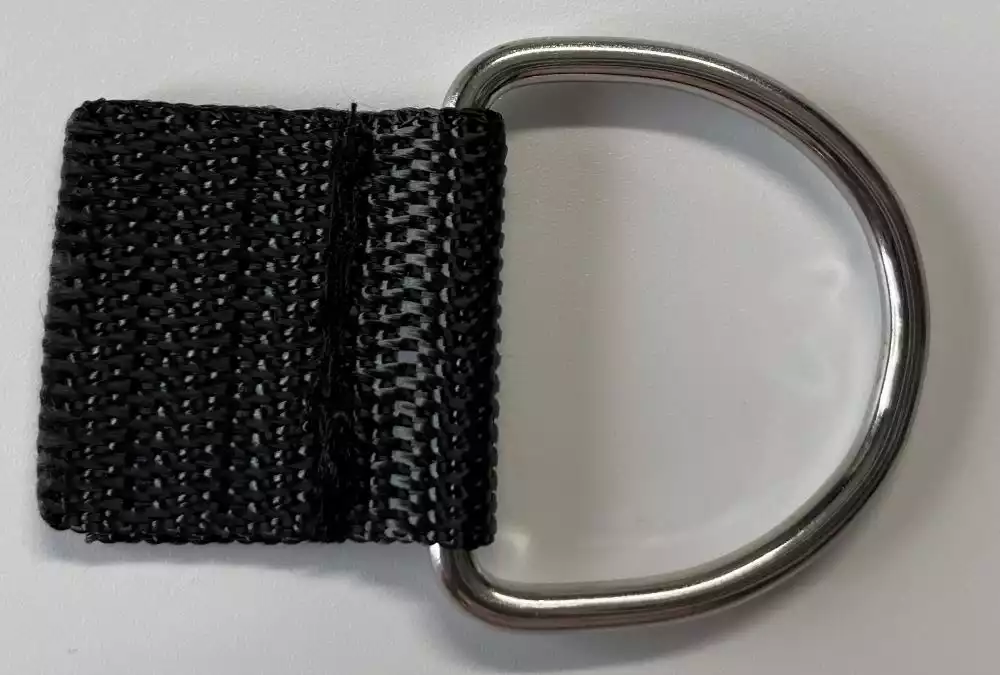
30. Fold the webbing around the d-ring and stitch together close to the D-ring. Use the zipper foot for this.
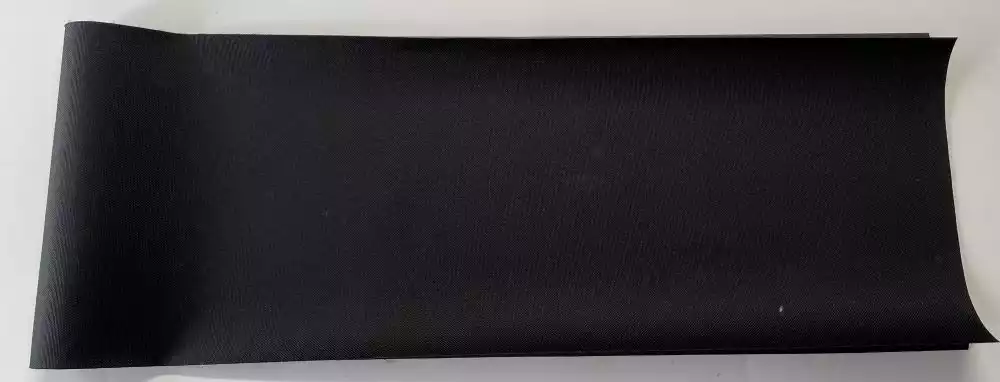
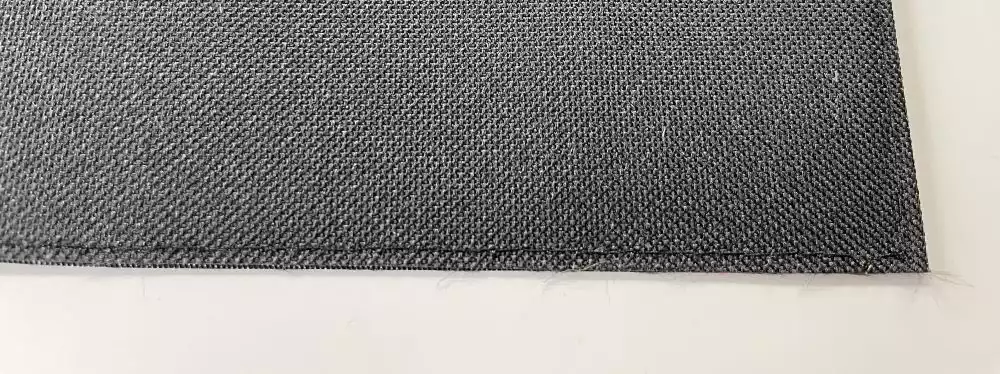
31. Fold the fabric piece wrong sides together. Topstitch close to the edge on all sides.
32. Make a line 6” (15cm) in from the short edge (the one with raw edges) Also make small marks 1” (2,5cm) and 3”(7,5cm) from the right edge.
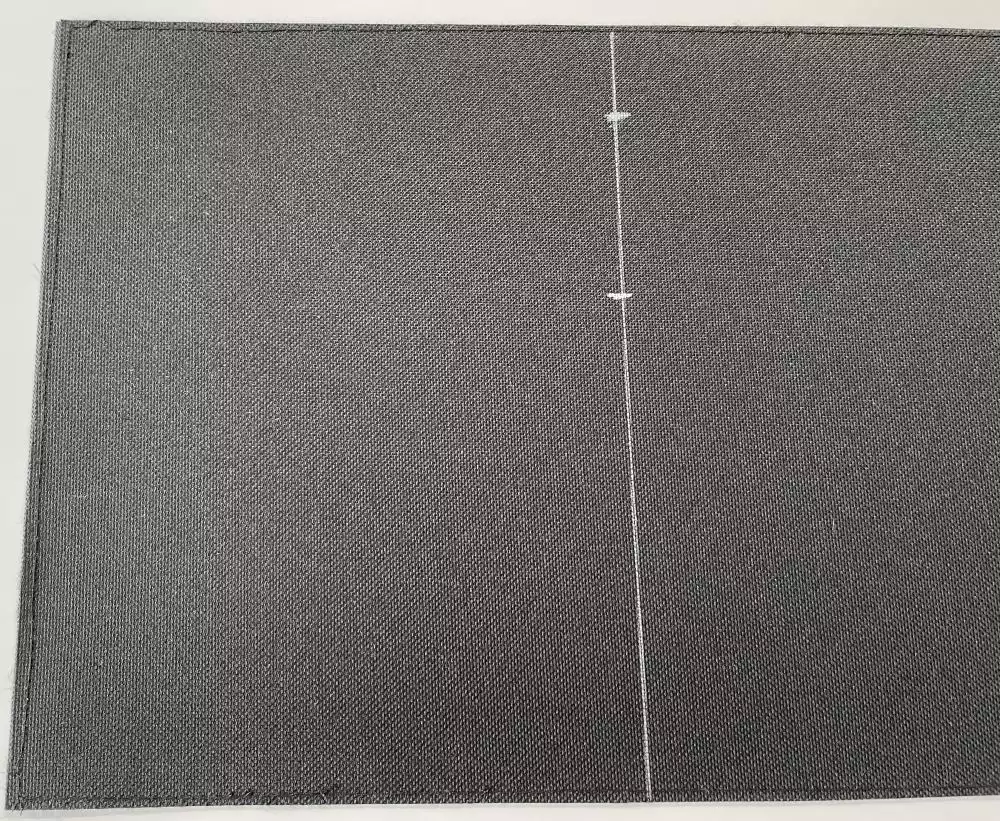
33. Place the ¾” (2cm) wide webbing piece between the marks and let the edge of the webbing overlap about ⅜”(1cm). Stitch in place through all layers.
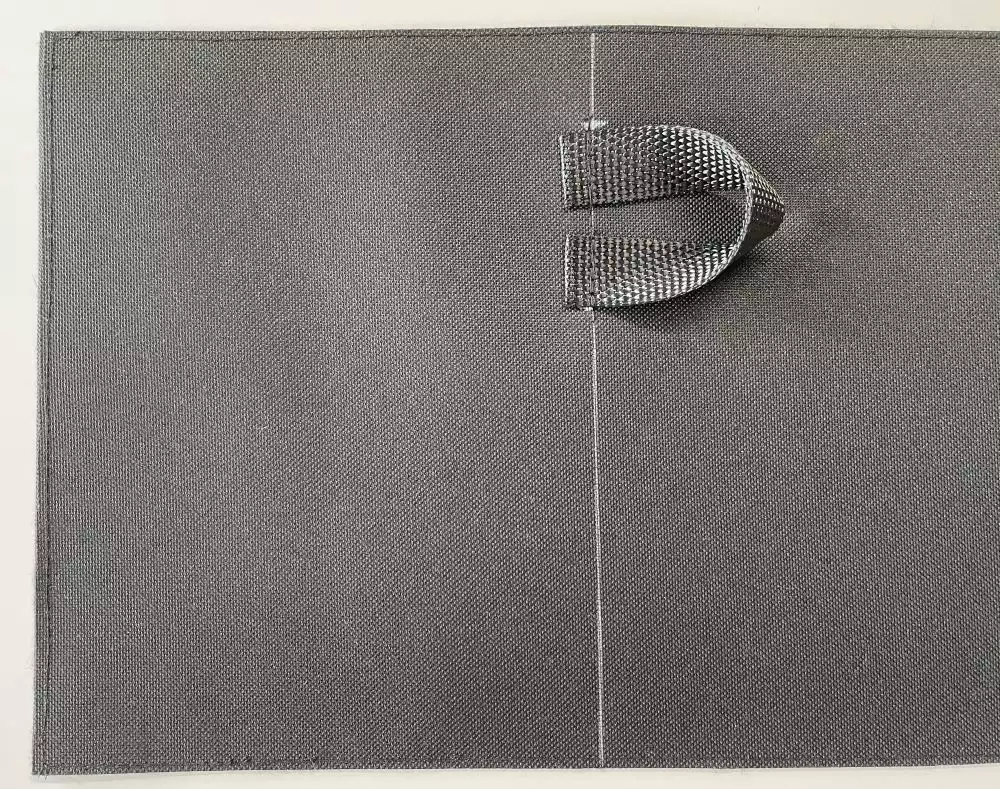
34. Align the short edge with the drawn line and stitch in place, close to the edge. This will make the belt tunnel.
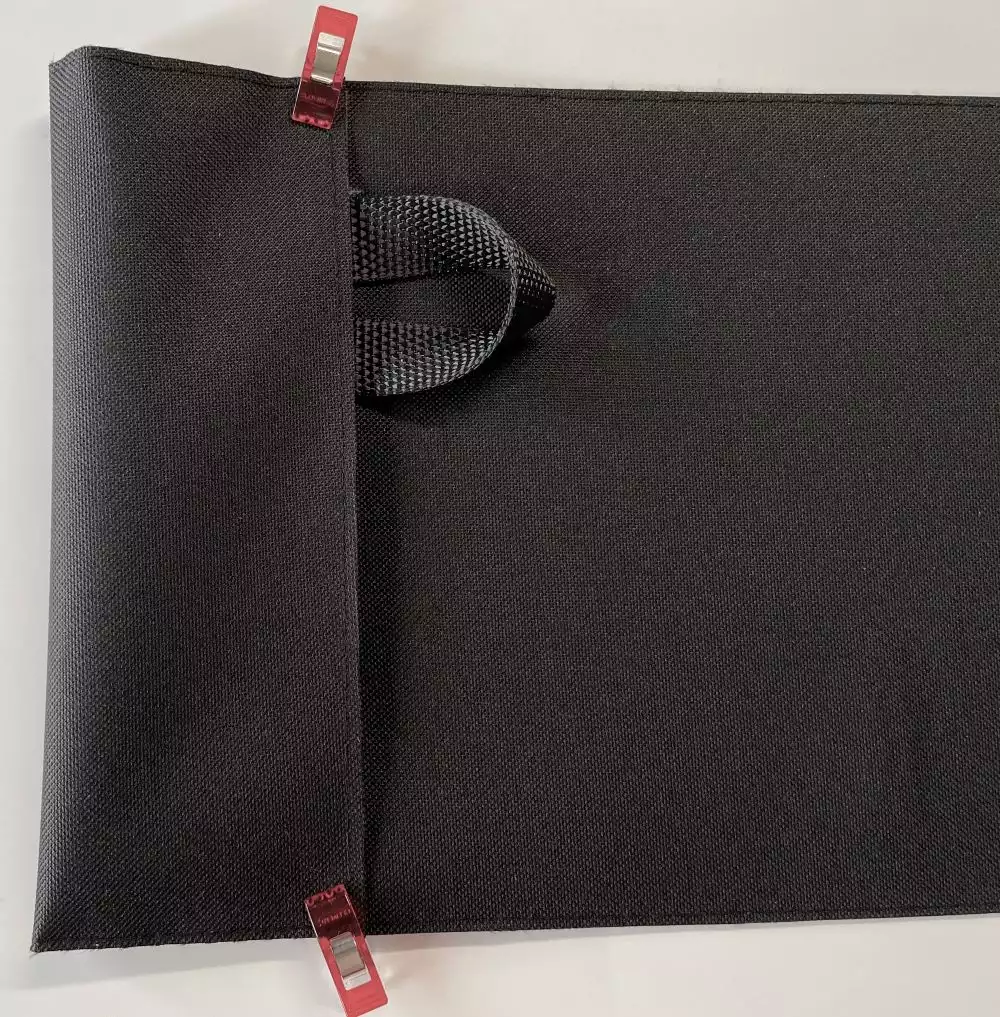
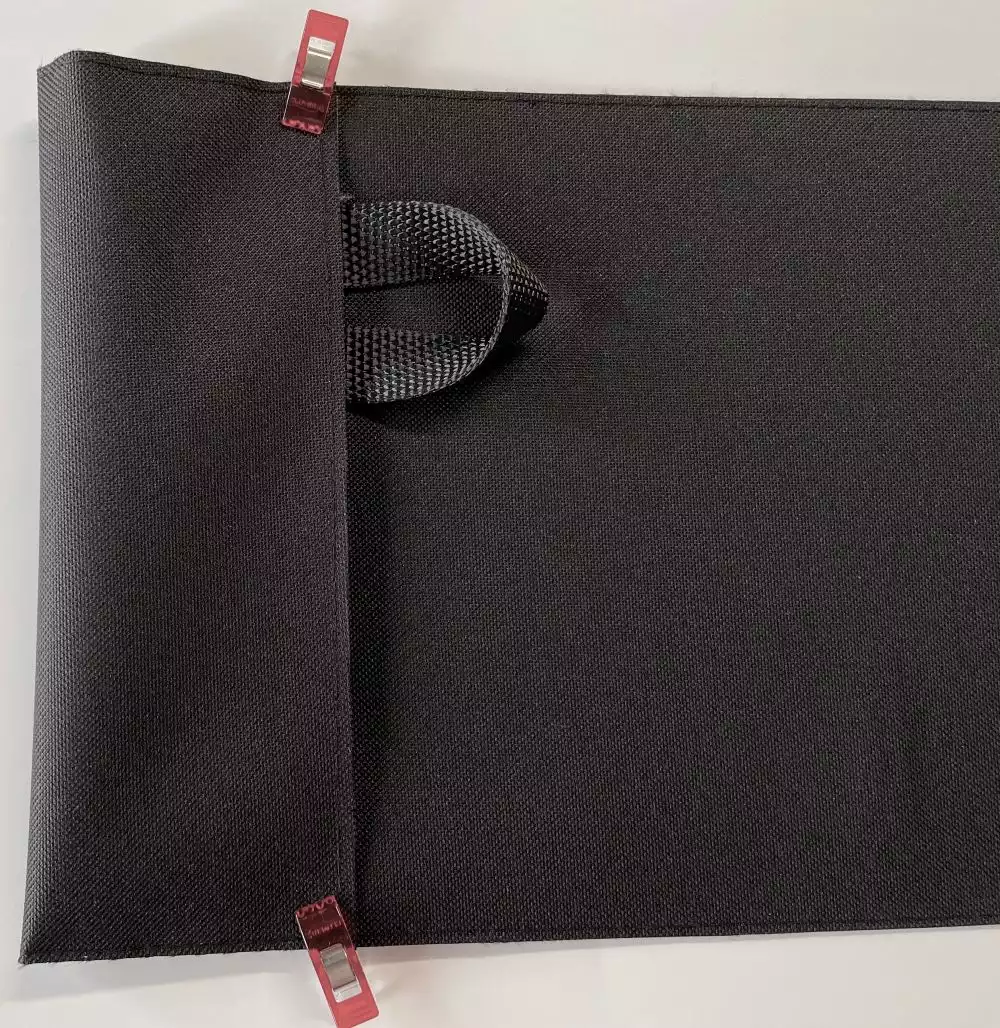
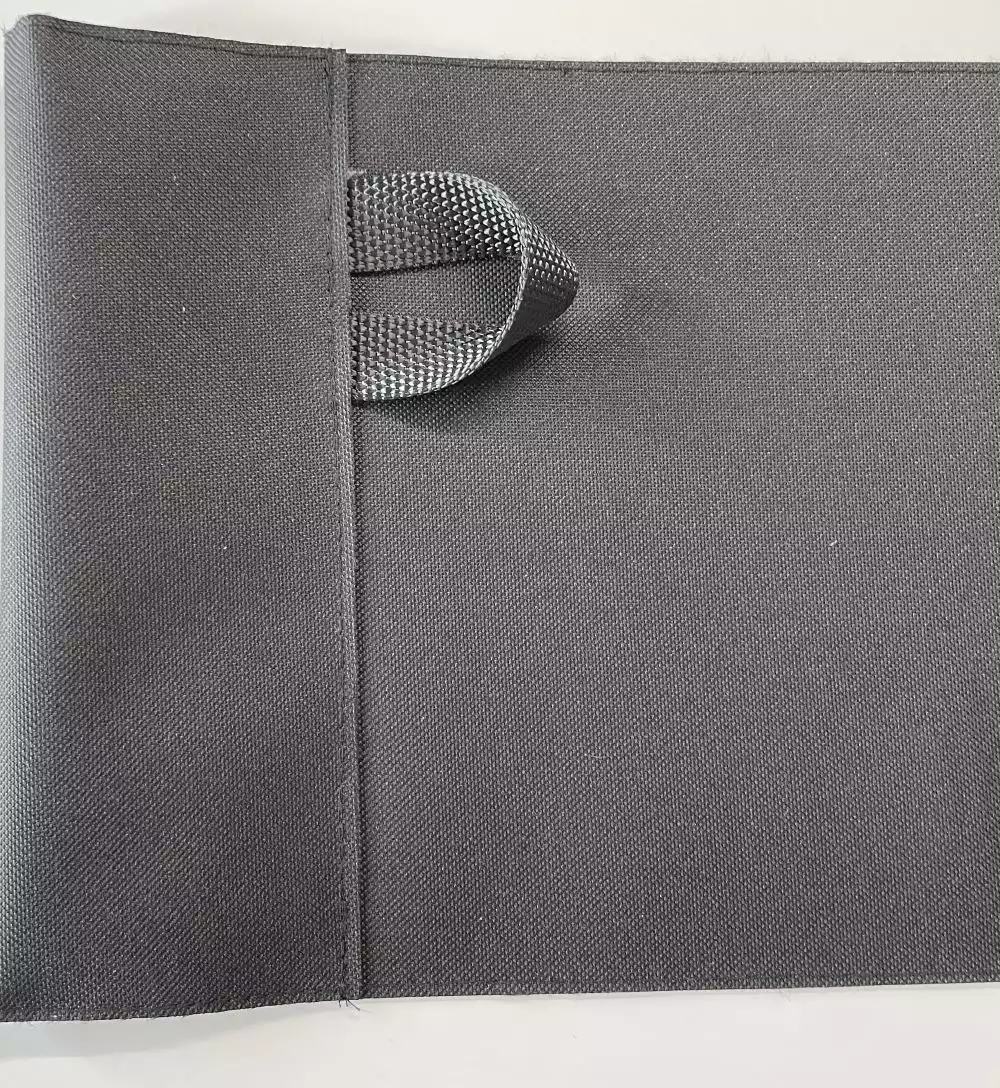
35. Make a line 1”(2,5cm) below the stitched line. Place the D-Ring with the webbing on the right side just under the line. Stitch in place.
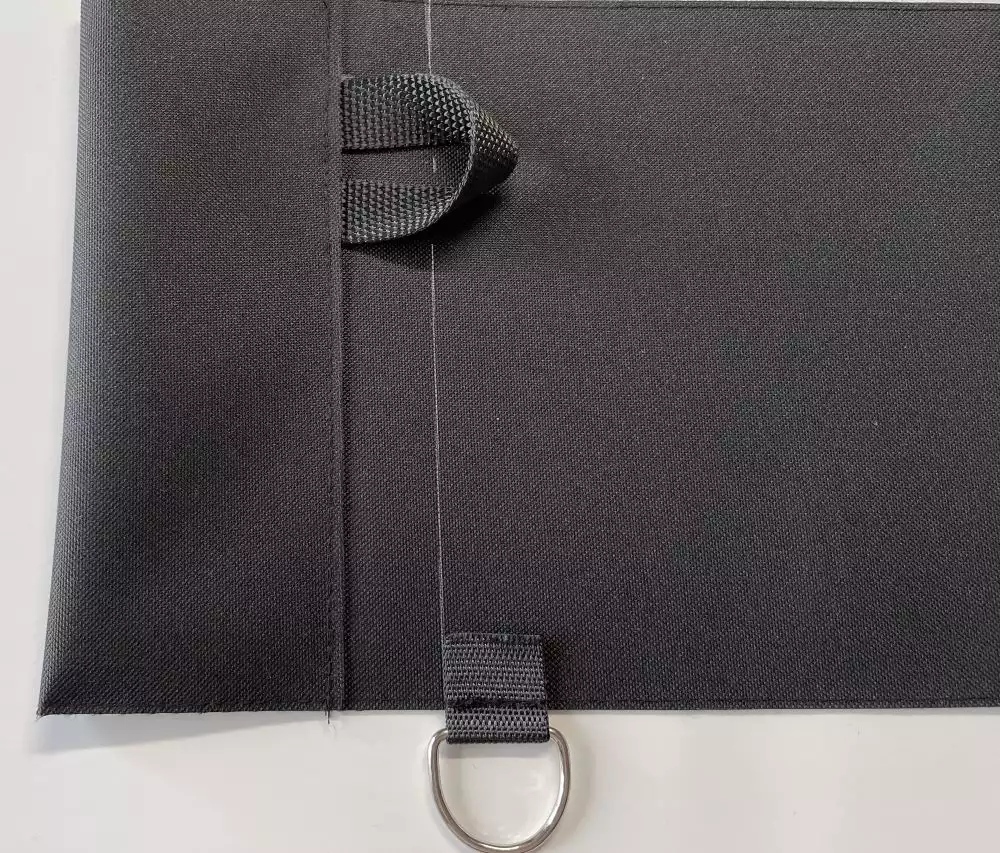
36. Align the other short edge with the drawn line to make a pocket. Stitch close to the edge on both edges. Do not stitch the edges of the belt tunnel! Optional: You can divide the pocket with stitched lines if you prefer.
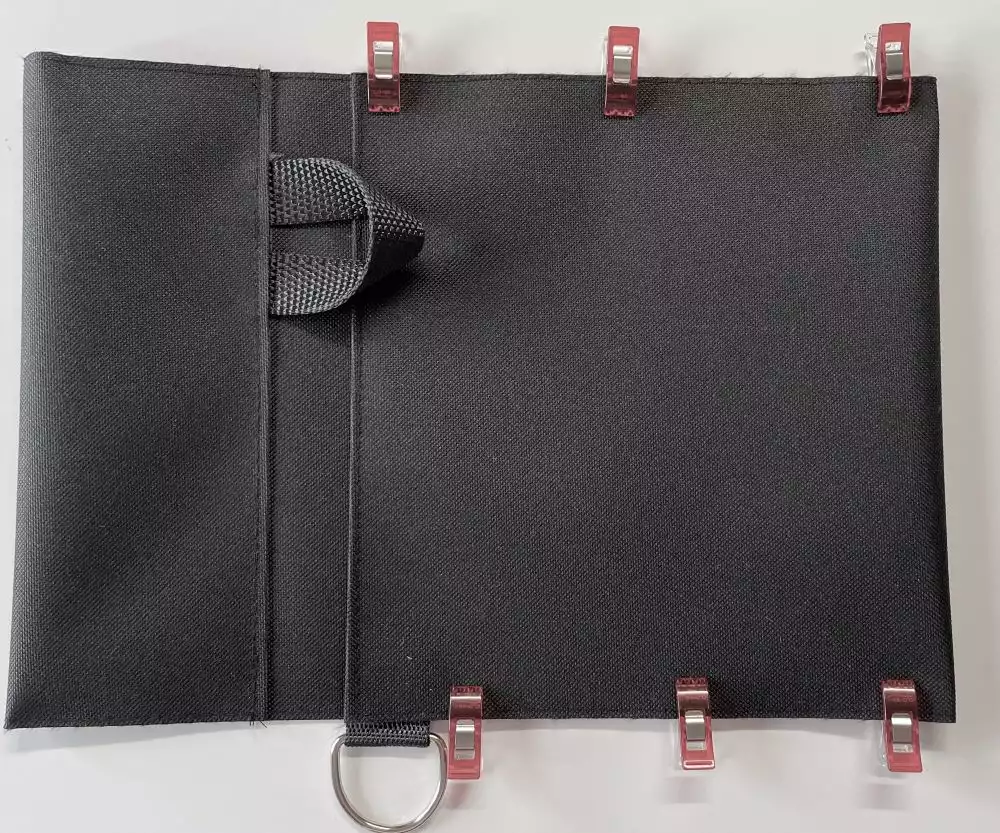
You large pocket tool holder is now finished
Tool belt.
Material:
- Webbing for belts 2” (5cm9 wide 2 pieces old seatbelts works fine! Length depending on user, waist width plus 10” (25cm)
- Sewing thread
How to sew:
37. Fold one end of the webbing around the belt buckle, topstitch to secure the belt end. Use the zipper foot for this.
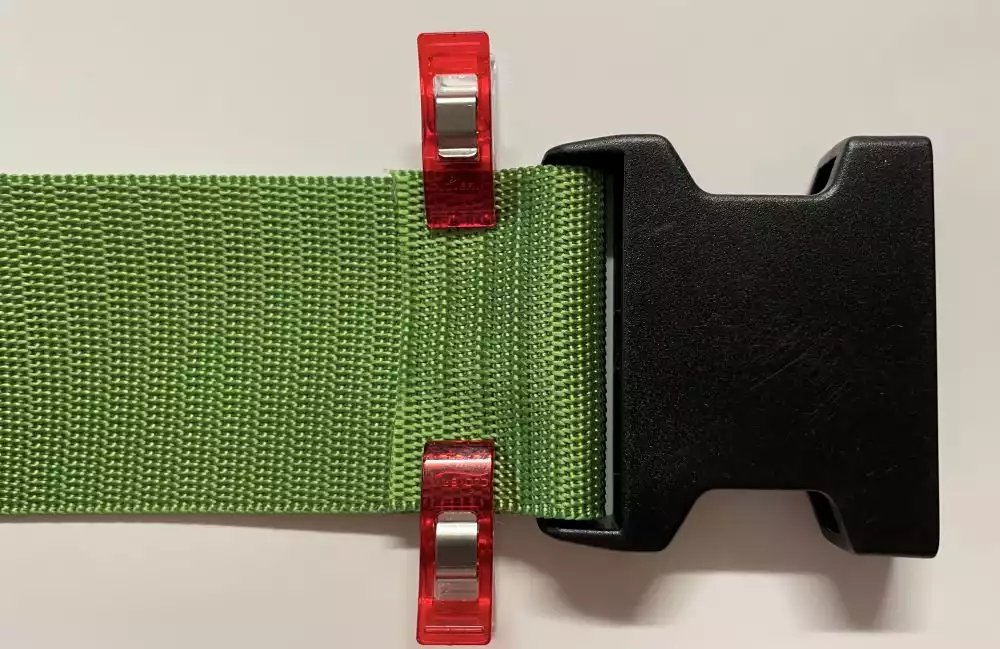
38. Lay the other webbing strip on top and topstitch them together along the edges.
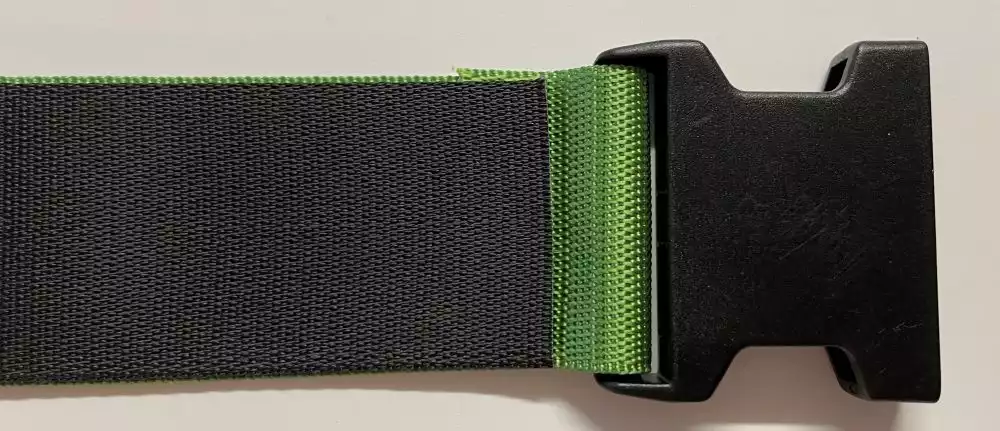
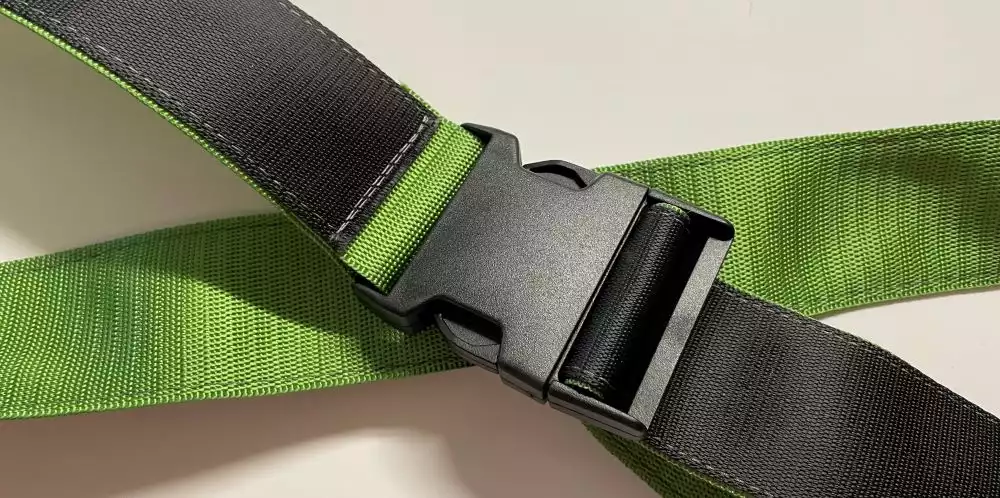
39. Insert the remaining end of the belt in the other half of the buckle.
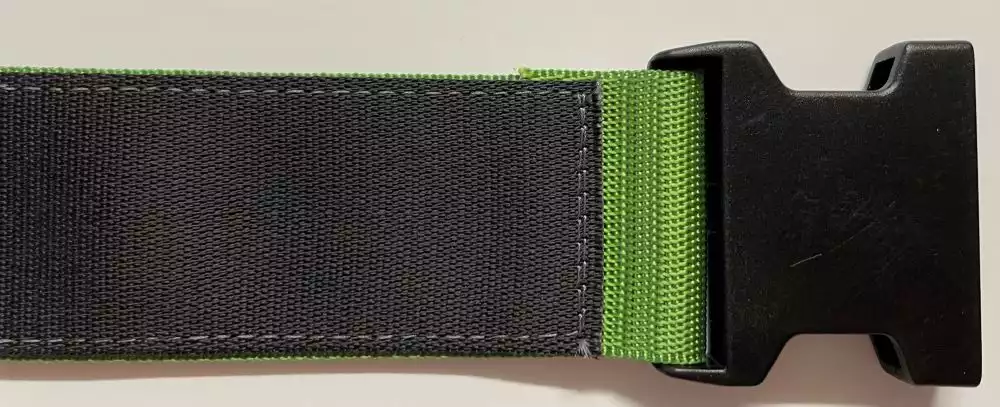
Your belt is now finished.


 United Kingdom
