 United Kingdom
DIY Turkey Silverware Holders for a Festive Thanksgiving Table
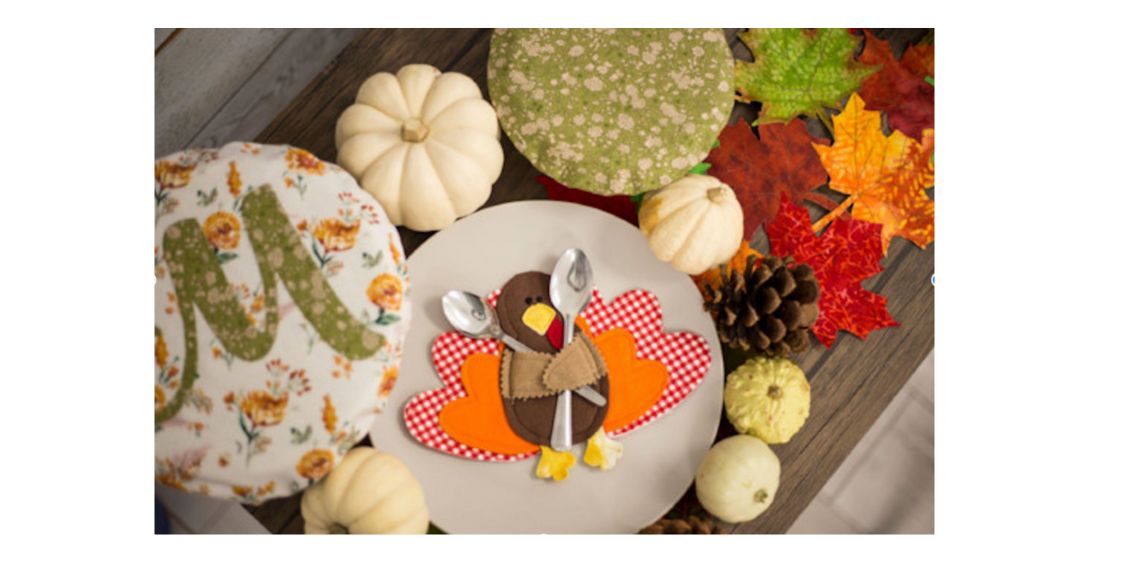
Add a handmade, personalized touch to your Thanksgiving place settings with these adorable turkey silverware holders! This simple sewing project is perfect for getting older kids involved, making it a fun family activity to add charm and creativity to your holiday table.
What you'll need:
- Sewing Machine
- ¼ yd Flannel (red, orange, brown, & yellow)
- Coordinating sewing thread (red, orange, brown & yellow)
- Open Toe Foot Presser Foot
- Pinking scissors
- Scissors
- Iron
- Regular Point Needles
- Inspira® Stitch N’ Fuse II
- Eyes: buttons, mini pompoms, or embroidery floss.
- Hand sewing needle
- Provided pattern pieces
Project Steps
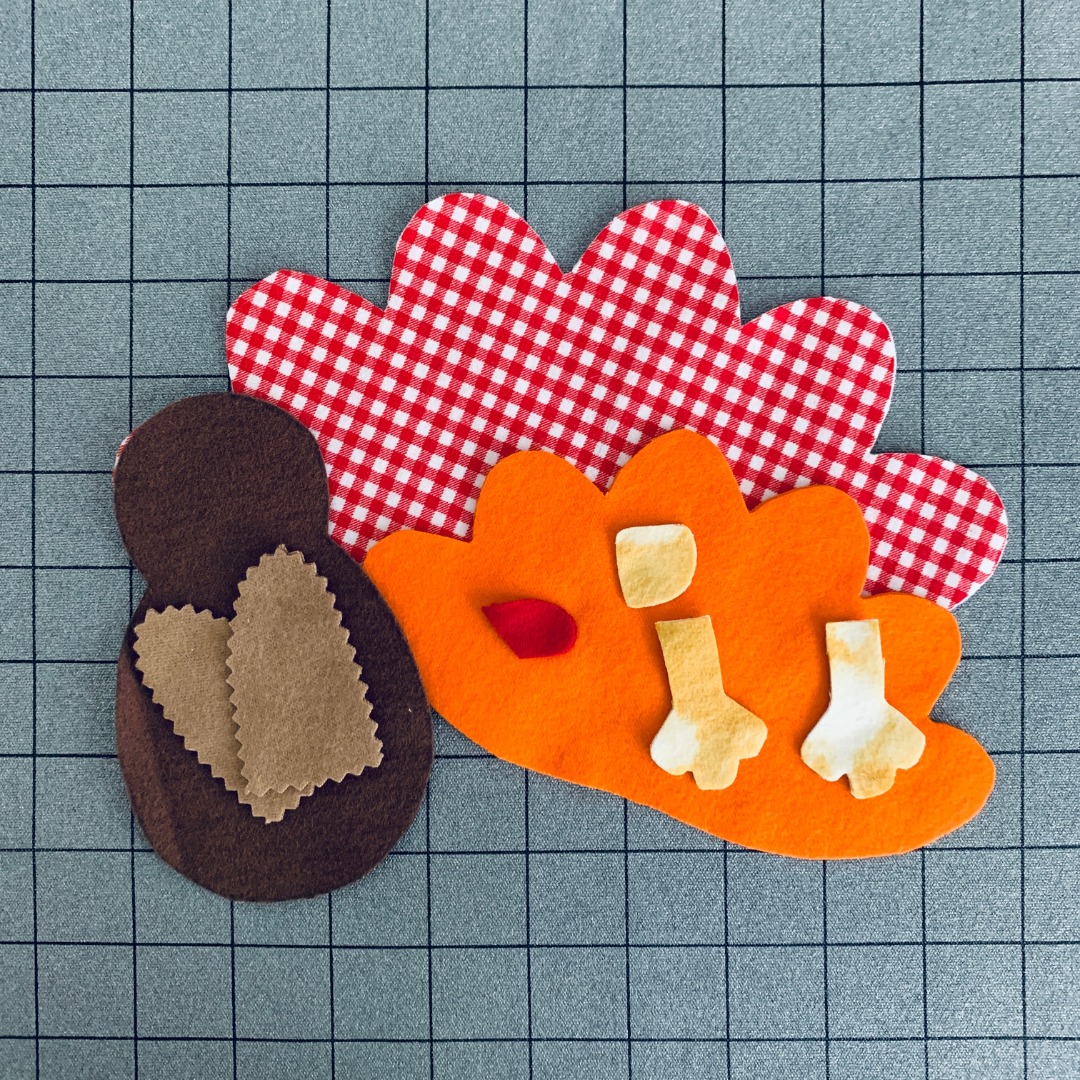
- Cut out provided pattern pieces.
- Cut out coordinating pattern pieces with your choice of matching flannel. We kept the flannel double sided to have a “pretty” looking back & to give a little more stability. We used pinking scissors to cut the turkey wings to give a more dimension.
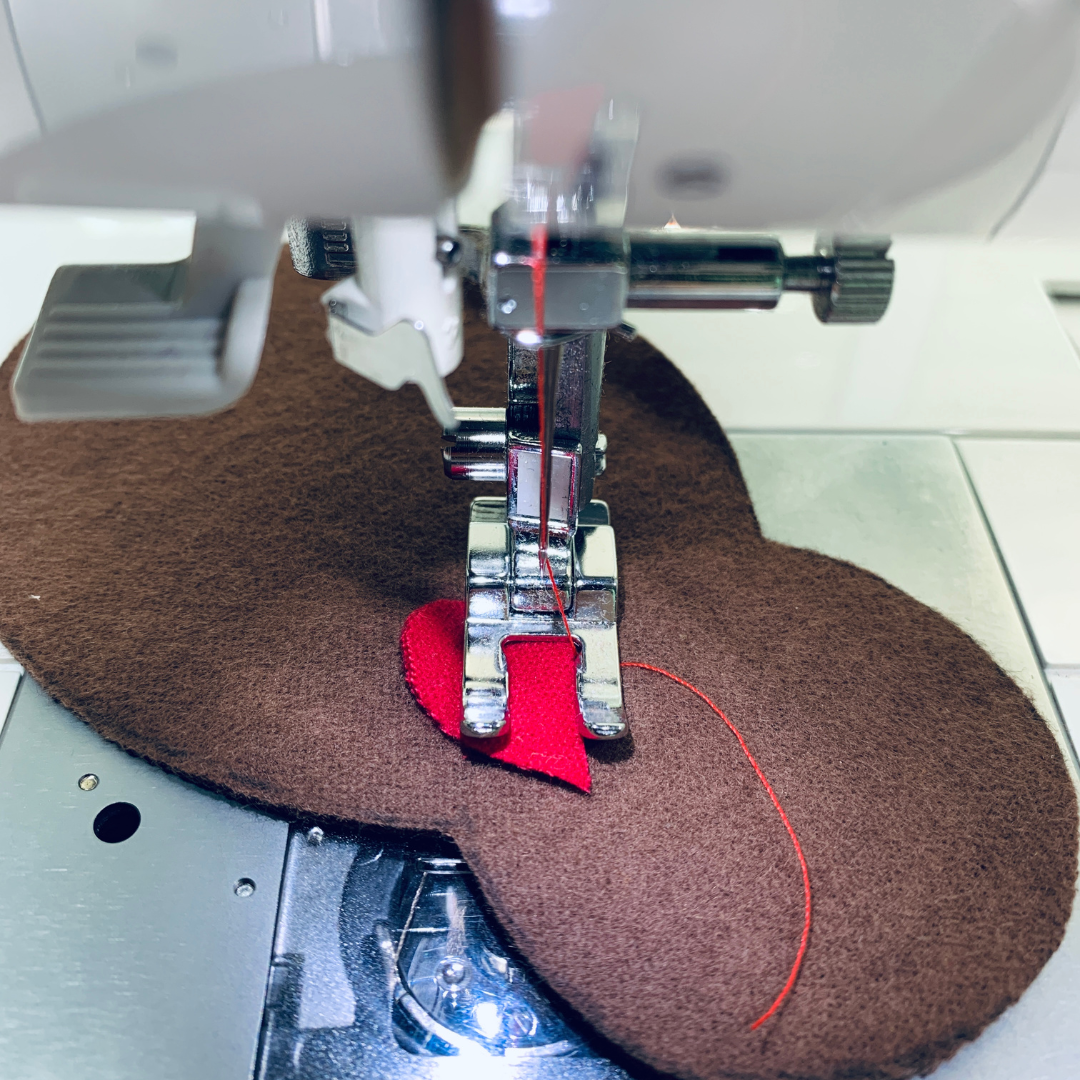
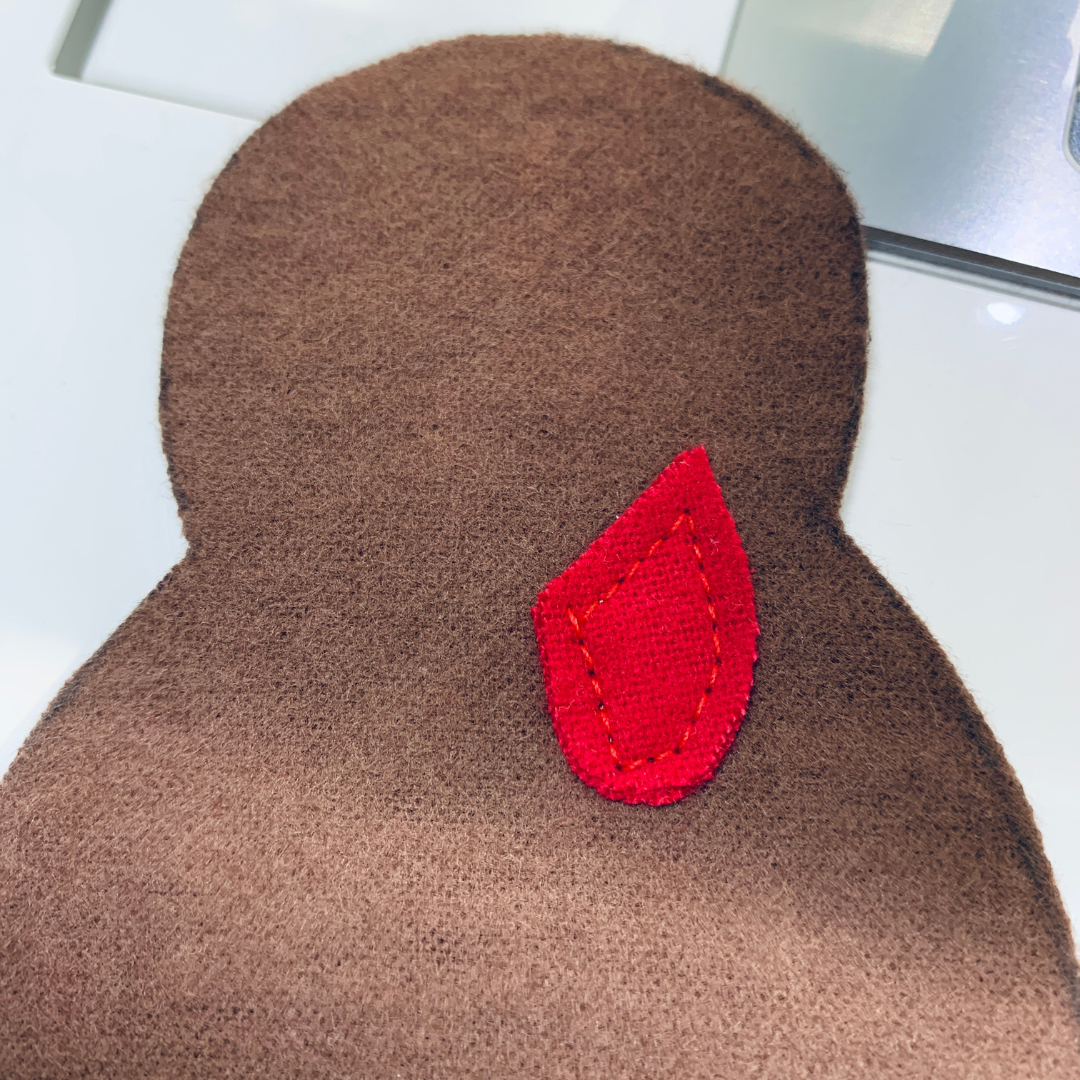
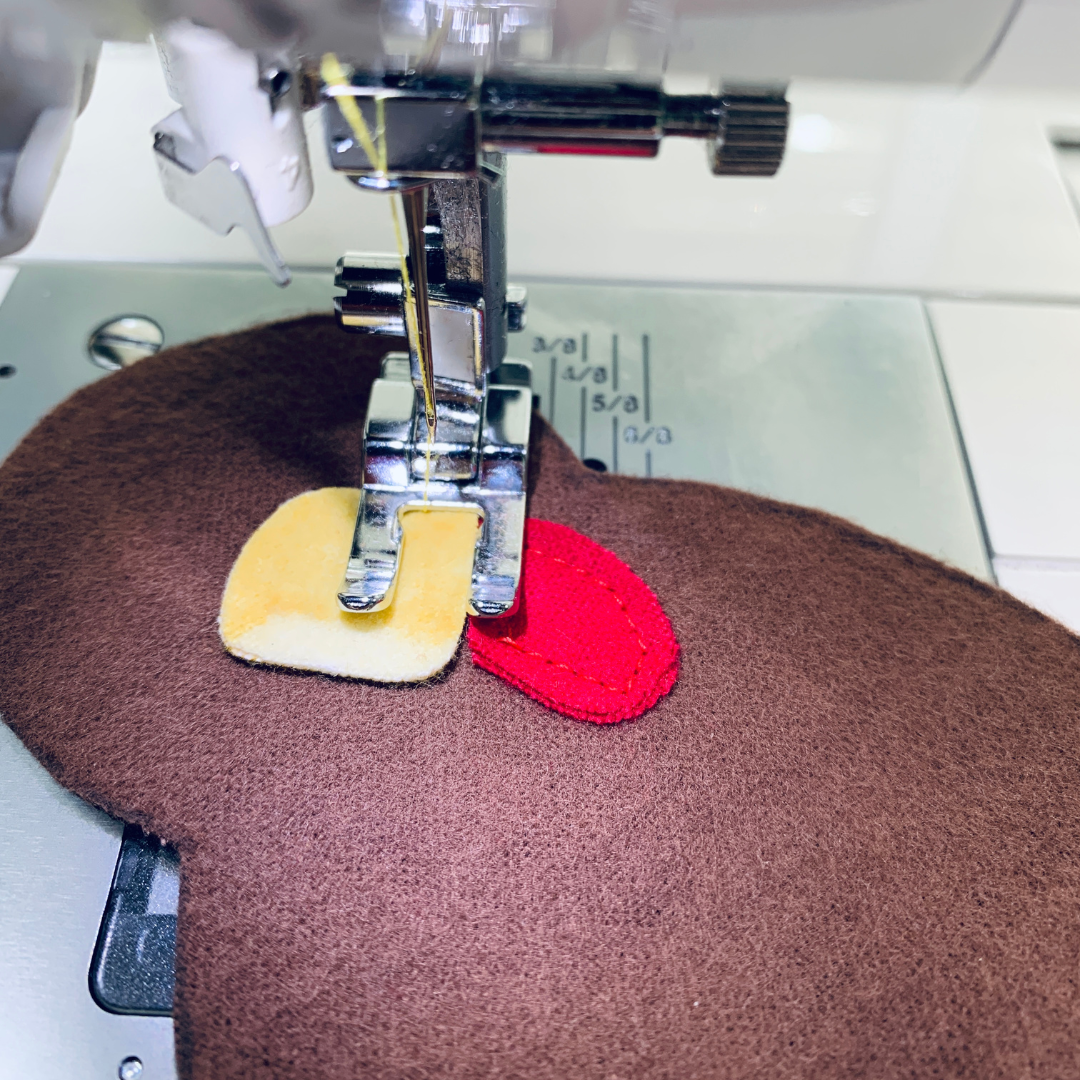
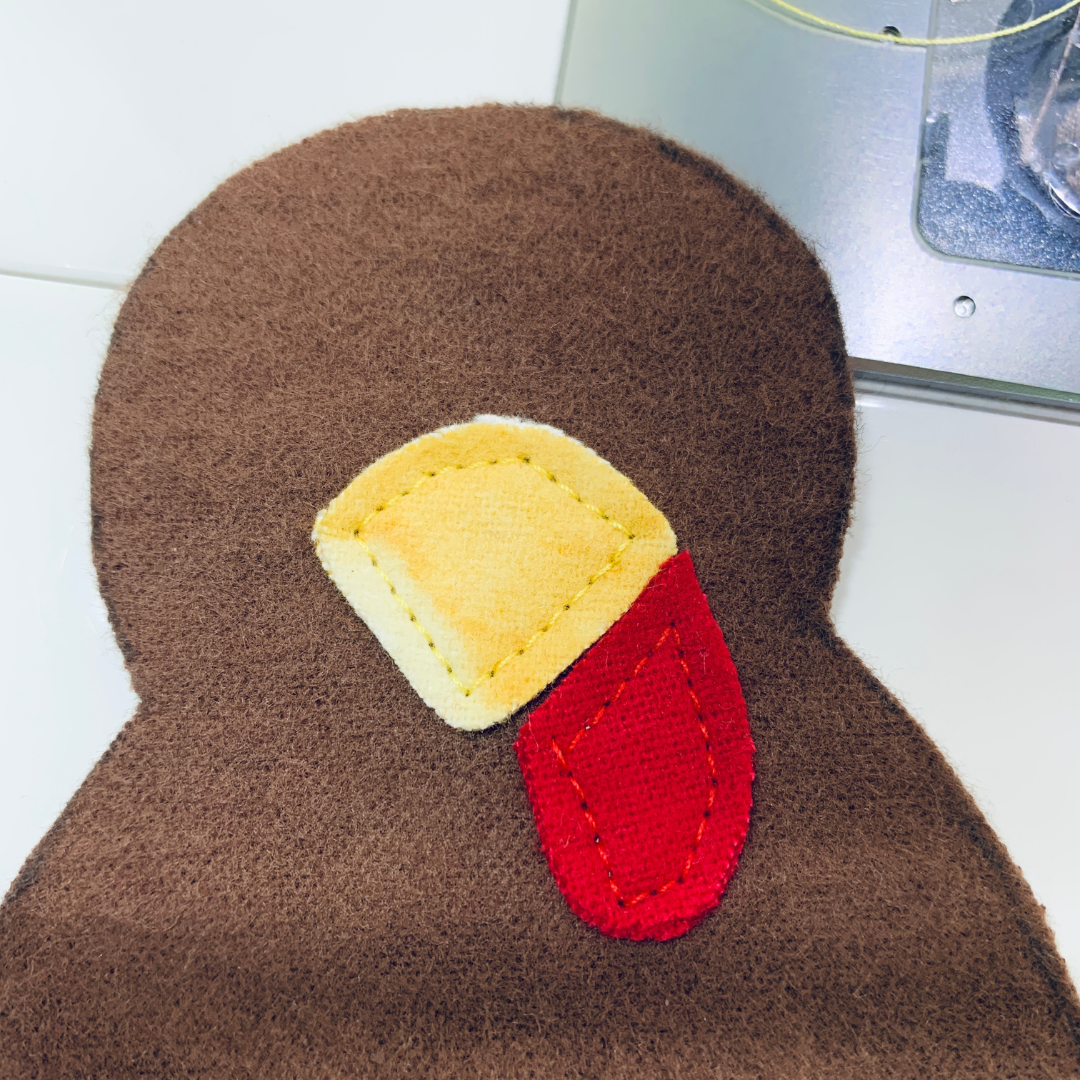
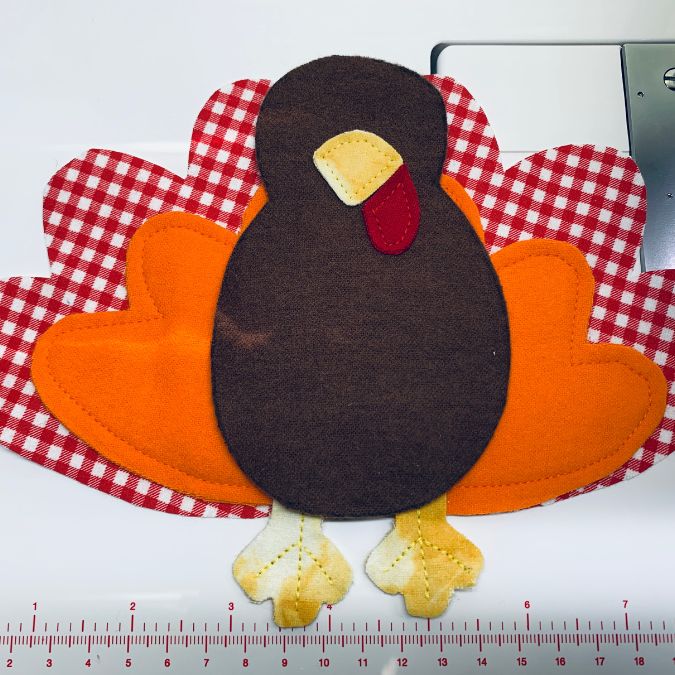
- Thread your machine with red thread. While using the Singer® Open Toe Foot Presser Foot & sew down the wattle to the two pieces of brown that create the turkey body.
- Thread your machine with yellow thread & sew down the beak in the same manner.
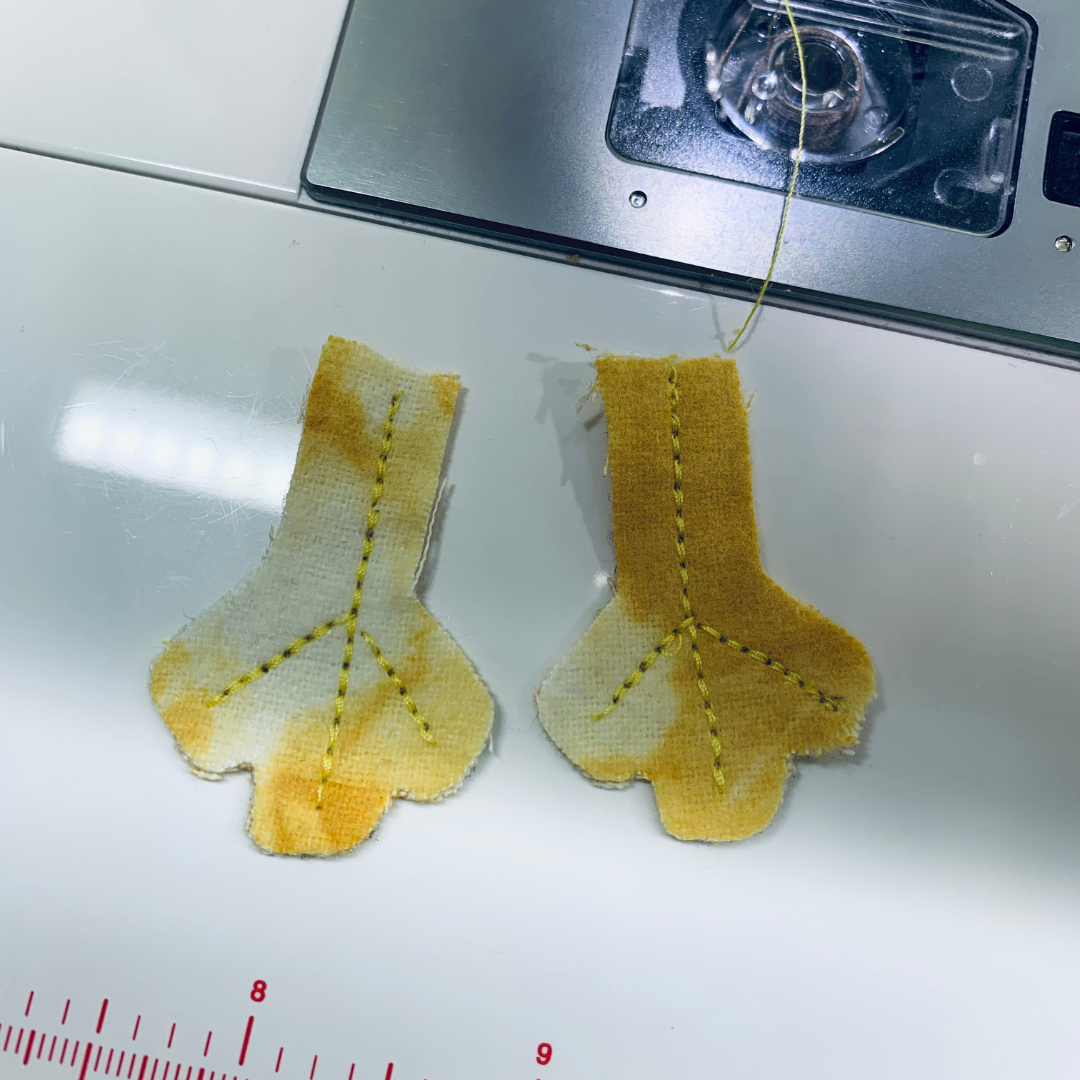
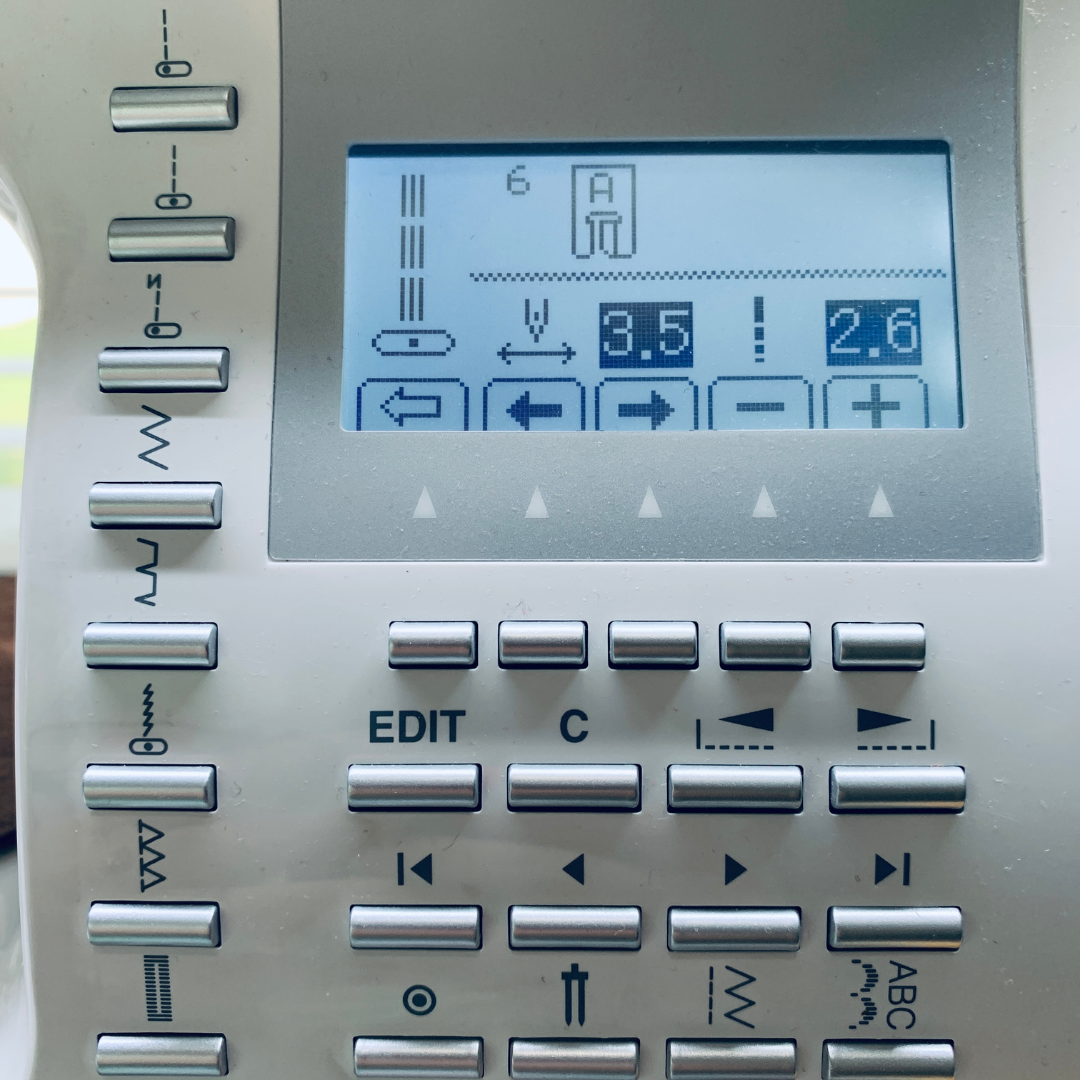
- With the yellow thread threaded on your machine use a reinforced stitch sew accent stitches to the turkey feet.
- Add eyes in your preferred way. We chose to use embroidery floss, be creative with what you have on hand.
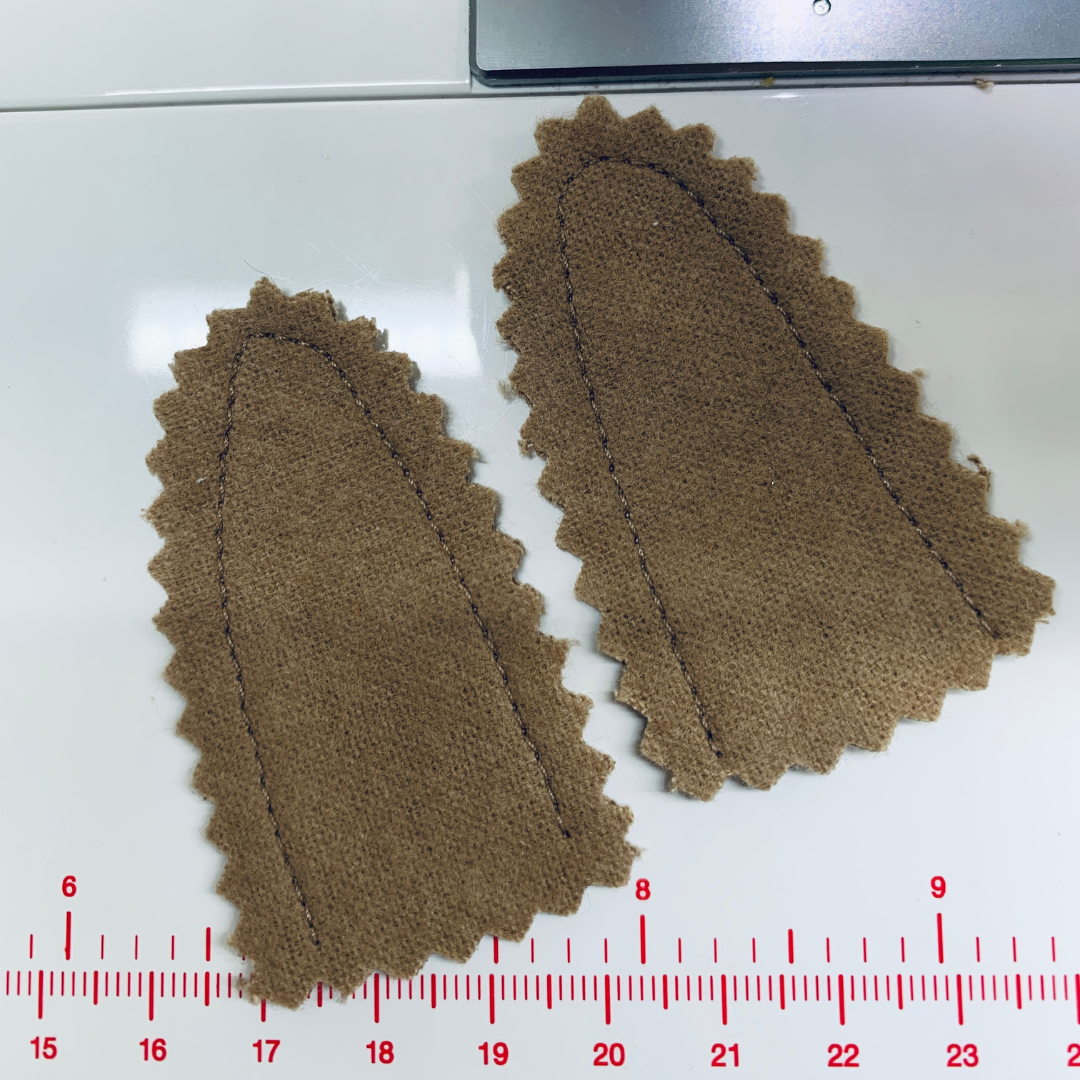
- Thread your machine with brown thread & sew around the curve of the turkey wings.
- Overlap the sewn turkey wings so that they are naturally crossed.
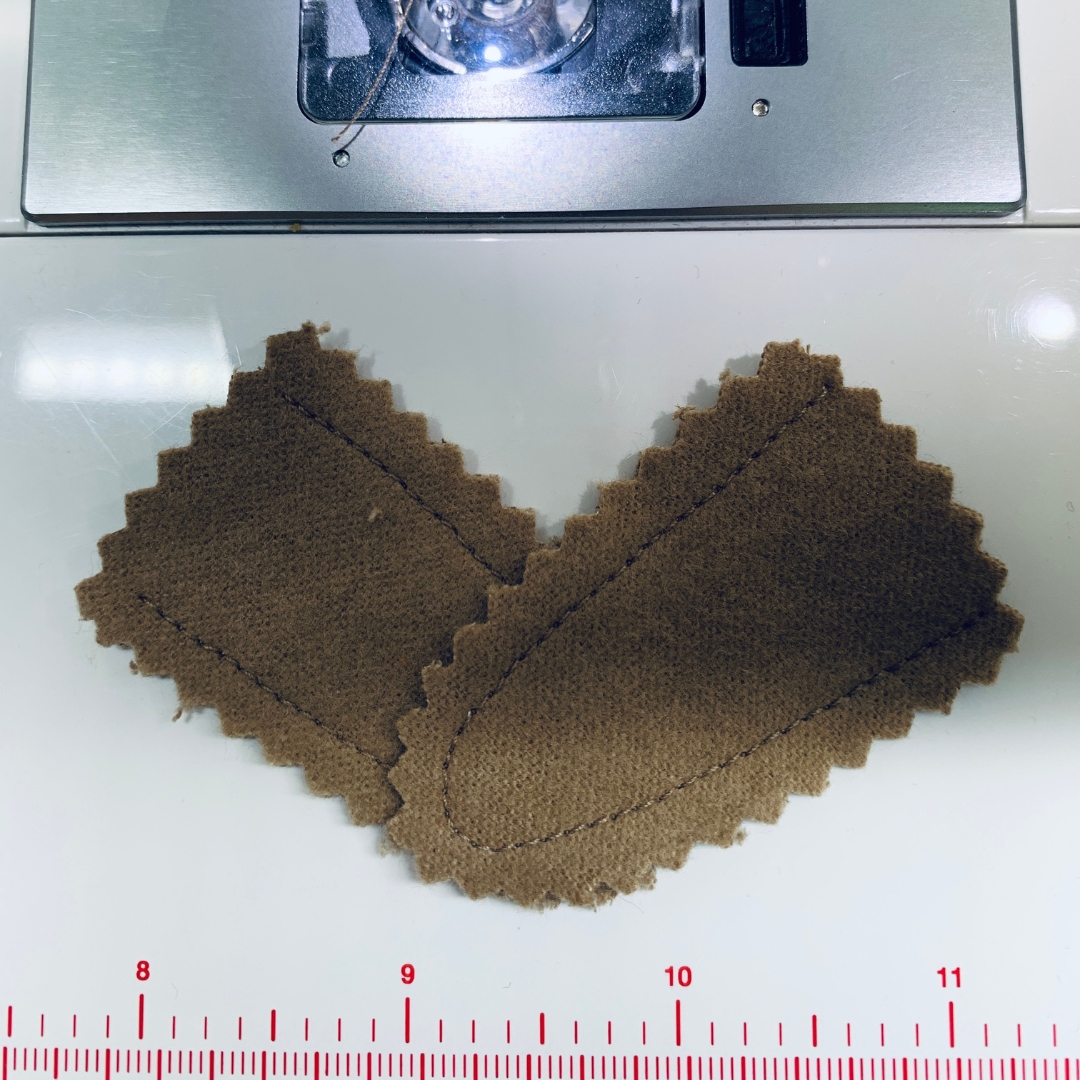
- Using a zigzag stitch, sew ½” across the overlap of the turkey wings to connect them.
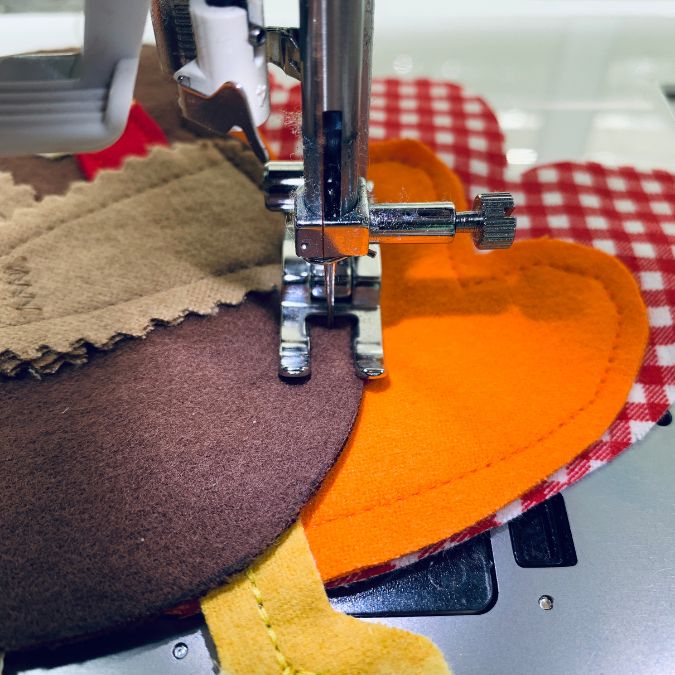
- Taking the one piece of the largest feather section line up the second largest feather section along the bottom.
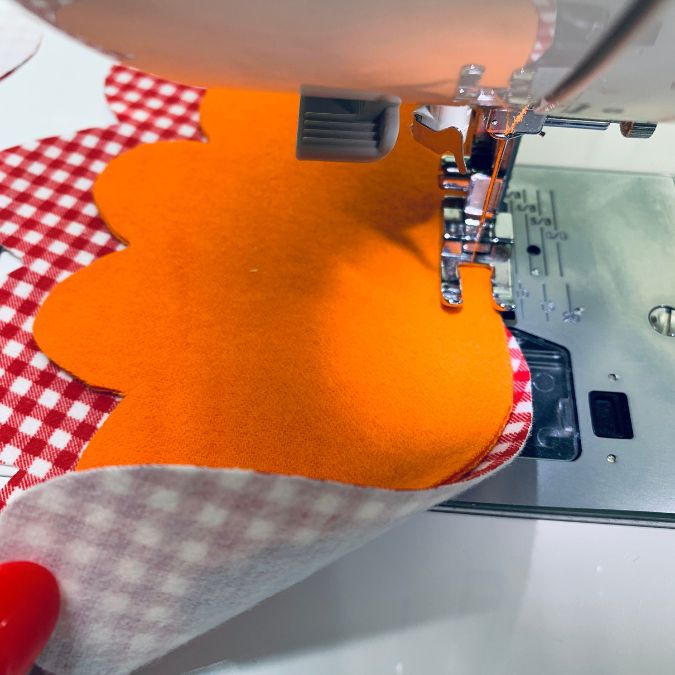
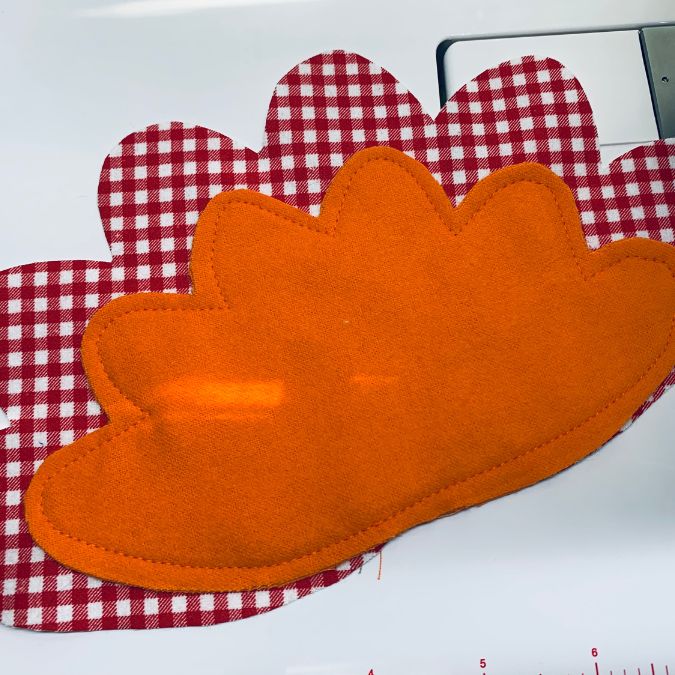
- Thread your machine with orange thread & sew around the second largest feather section.
- Line up the turkey feet at the bottom of the feather section & pin in place.
- Place the turkey body in the middle of the feather section, overtop of the turkey feet. Pin in place.
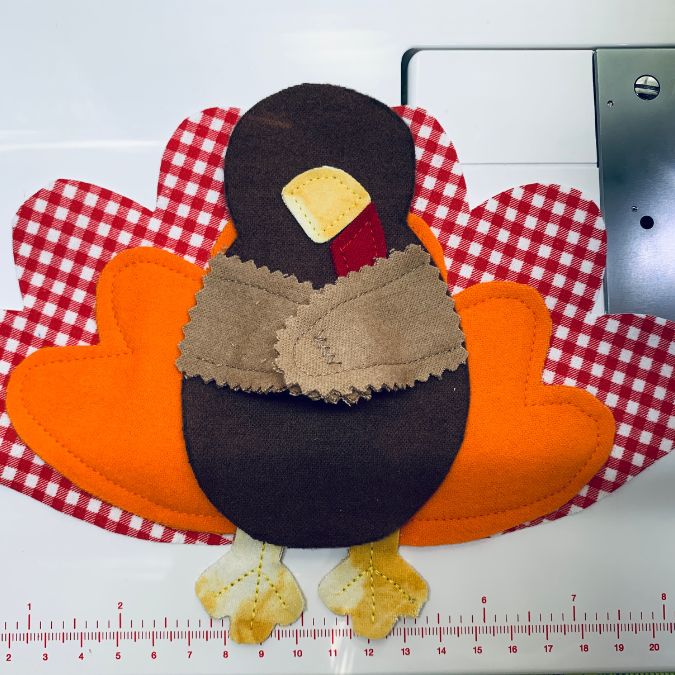
- Place the turkey wings on top of the turkey body lining up the edges around the curve. There should be space between the turkey wings & body to place your silverware.
- Thread your machine with brown thread & sew around the turkey body. Be mindful to catch the turkey feet & wings as you sew around the turkey body.
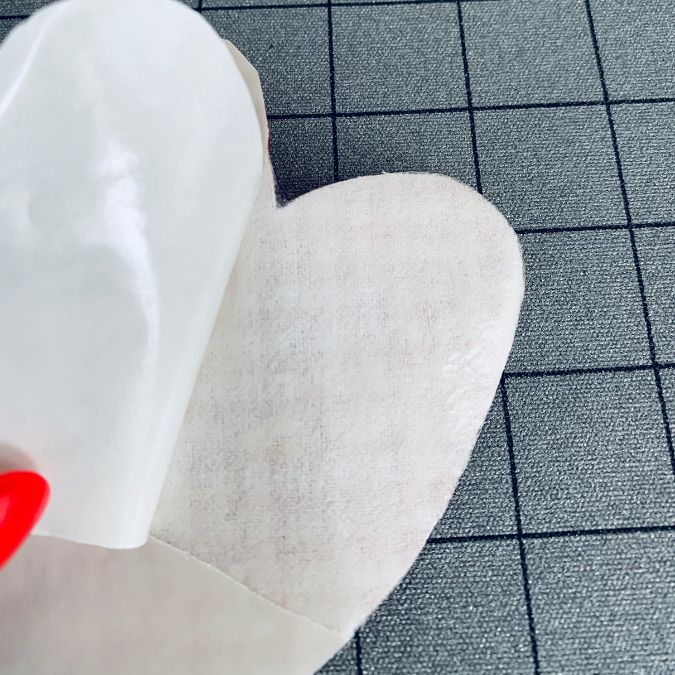
- Using the Inspira® Stitch N’ Fuse II it to the back of the second piece of the largest feather section using your SINGER® SteamCraft Steam Iron. Peel off paper backing & fuse the wrong side of the largest feather section together.
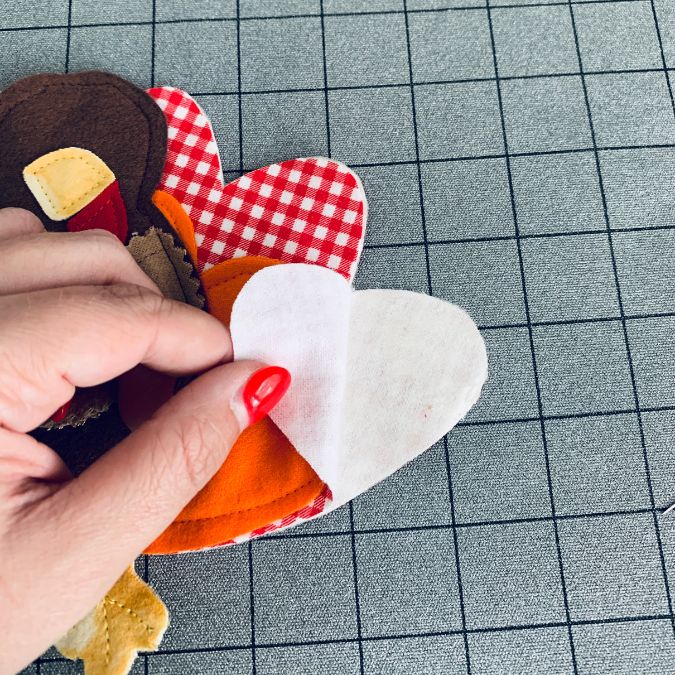
- Thread your machine with red thread & sew around the largest feather section to sew the two pieces together.
- Add silverware in between the turkey feathers & place on your Thanksgiving dinner china to add an extra touch to your Thanksgiving place setting.