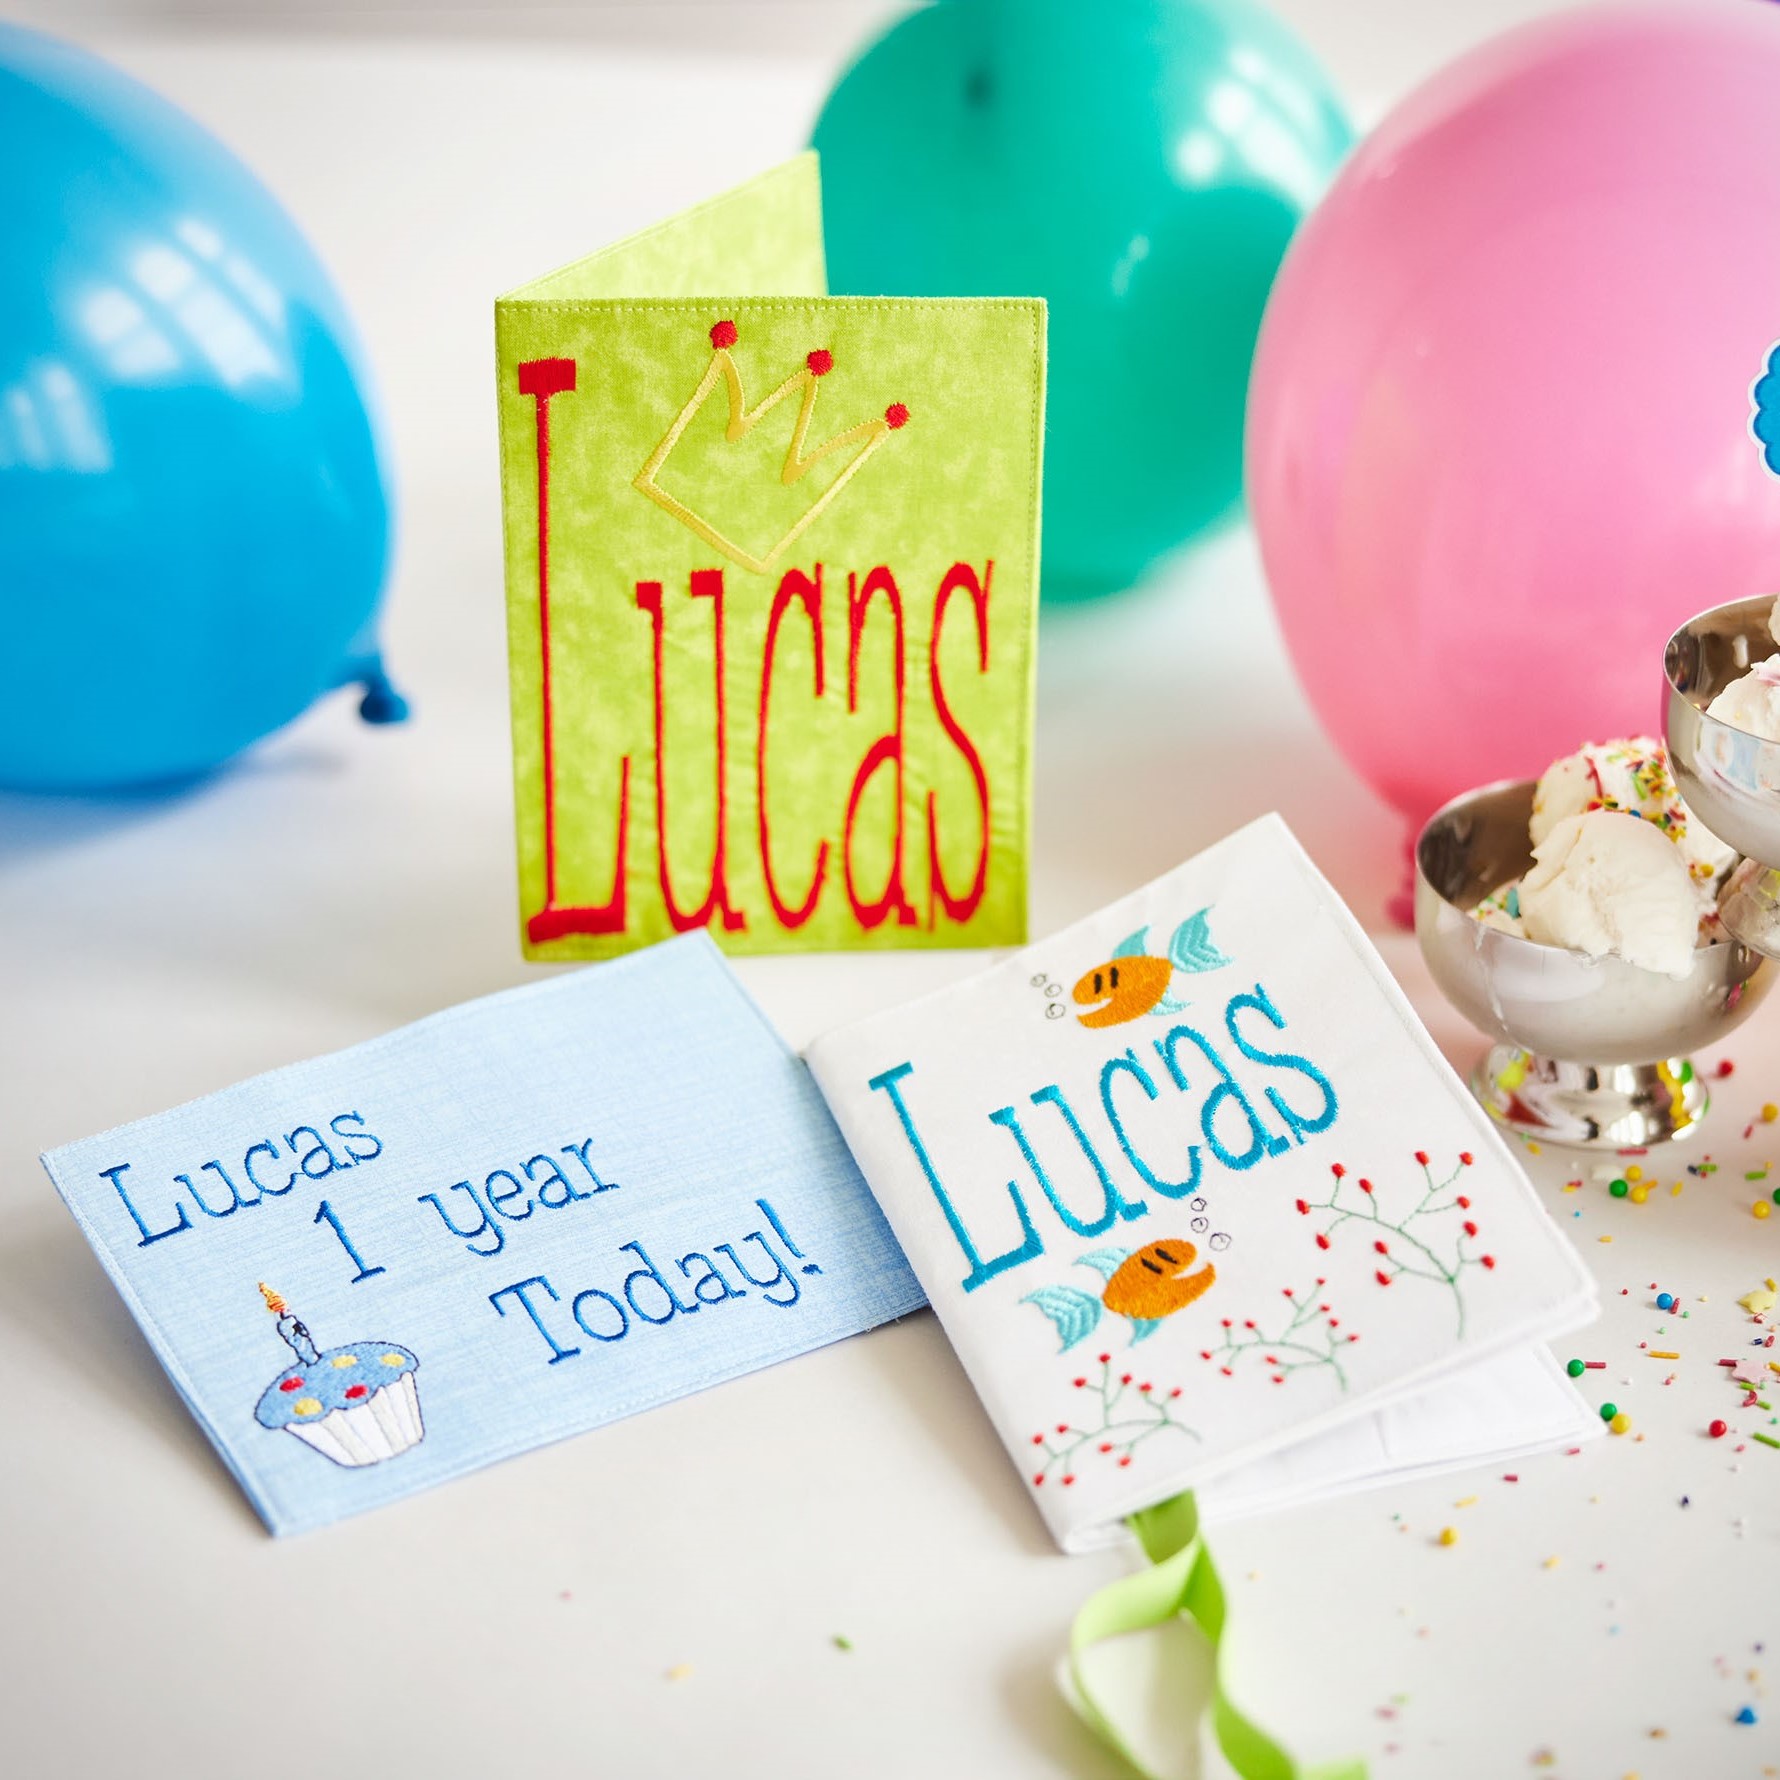
Create a Embroidered Birthday Postcard!
.jpg?language_id=1)
This postcard can be altered in many ways. You can make it blank on the back and handwrite and send it as it is or make an embroidered text.
What you need
- mySewnet Embroidery software, Gold level or above
- Fabric for the card, quilters cotton or similar works best.
- Tear away stabilizer
- Embroidery thread
- Thin cardstock for stabilizing the finished card.
How to do
1. Open mySewnet software, select Blank Canvas
2. Set hoop size to 360x200mm.
3. Go to Create and click on Project-in-the-Hoop.
4. Select Card and click Next.
5. Select Blank, Postcard and Landscape, click Finish.
Note: If this is the first time you make a card, take the time to read the PDF instructions to get more information. Click on View PDF-Instructions.
6. Now it will look like this. A Framework with the card outlines.
7. The rectangle on the right-hand side will be the front of the postcard. You can add any type of embroidery and text. I Chose the cupcake design from SuperDesign (celebrations 1 1 – Birthday Cake. Set the size to 60mm).
8. Place the design in the lower left corner of the rectangle.
9. Time to make the Text. Go to Letter select the Typo font from the Children selection. Set the size to 25mm. Write the text you want. Click on apply after each row to make each row of text movable.
10. Arrange the text as you like it.
11. If you want to you can add text and embroidery to the back of the card.
Finishing steps:
12. Go to Home tab, Click on Select All, Then Group. All designs will now be grouped together. It is better to Group than Combine. If you want to change anything later, like a name you just ungroup, change and the group again.
13. Click on File Save As and save the design on your computer. It will be saved in vp4 Format which is correct.
14. The last step is to export the design into your preferred format. I chose vp3. You can colorsort if you want to.
Stitching out the design
15. Hoop stabilizer and fabric in the 360x200 hoop.
16. Stitch out the design.
17. When finished, unhoop the embroidery and follow the instructions in the PDF to put the cards together.


 United Kingdom