United States
Shirt school: Lesson 4: Sleeve plackets and inserting the sleeve

Welcome to Shirt School - Lesson 4: Sleeve plackets and inserting the sleeve!
Welcome to lesson 4. In this lesson on adding Sleeve plackets and inserting the sleeve. This may seem confusing, but it is a clever idea to add them before all is sewn together. The buttons can also be added at this stage.
This instructions for the previous lessons:
- Shirt School - Lesson 1: Creating the Pattern
- Shirt School - Lesson 2: Cutting out the fabric piece
- Shirt School: Lesson 3: Making the shirt front and pockets
Sleeve plackets with binding strip
This shirt placket is a simplified version of the classic placket. It is easier to make, and the result looks nice.
Note: The fabric in the following instructions is made of another fabric for better visibility. Of course you will use your shirt fabric instead.
Preparations
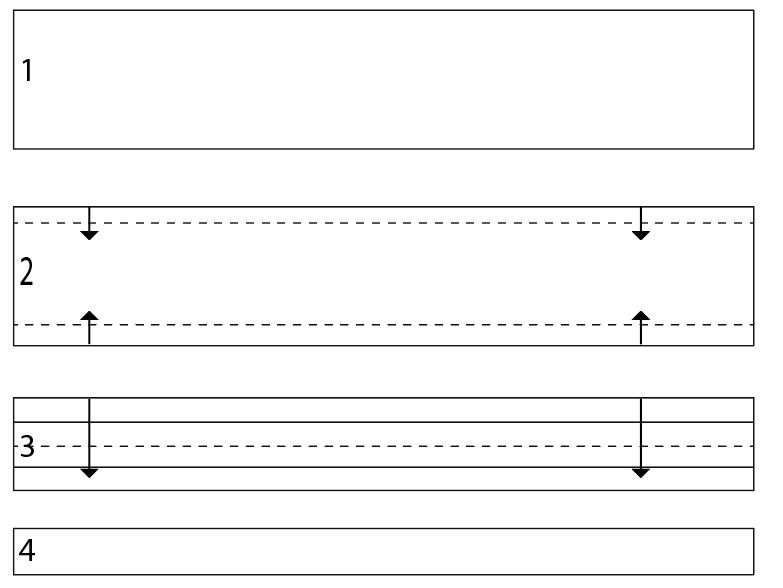
1. Cut a binding strip for each placket opening 3”x 16” (7 x 40cm)
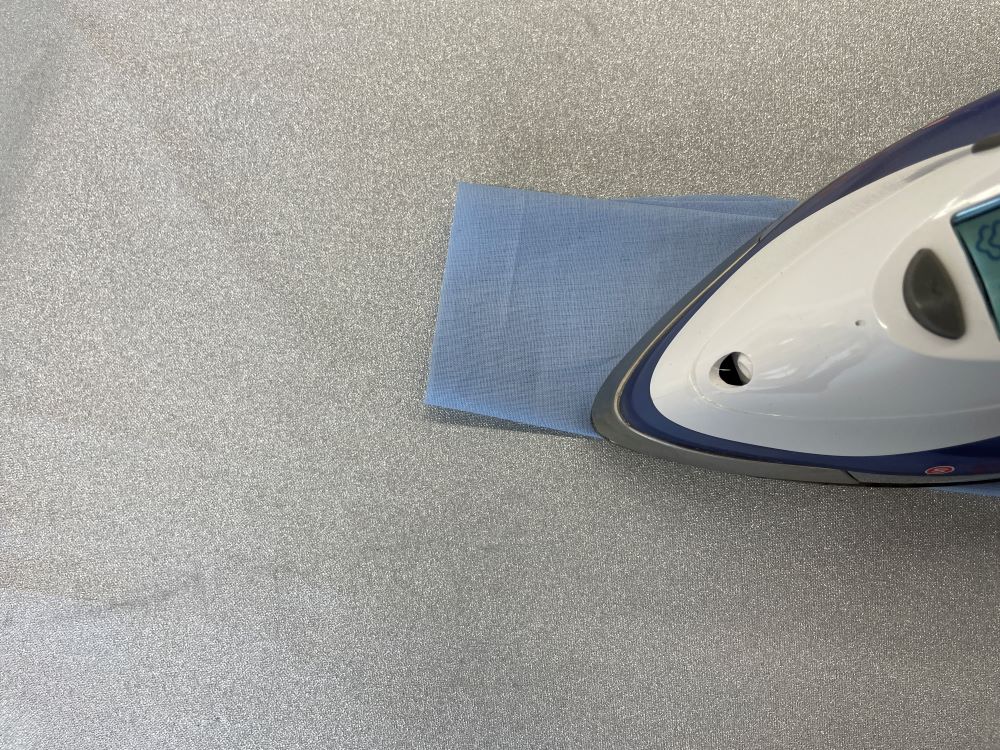
2. Fold½ (1cm) to the wrong side of the binding strips long edges, then fold the strips together. see images below. Finished width 1” (2,5cm)
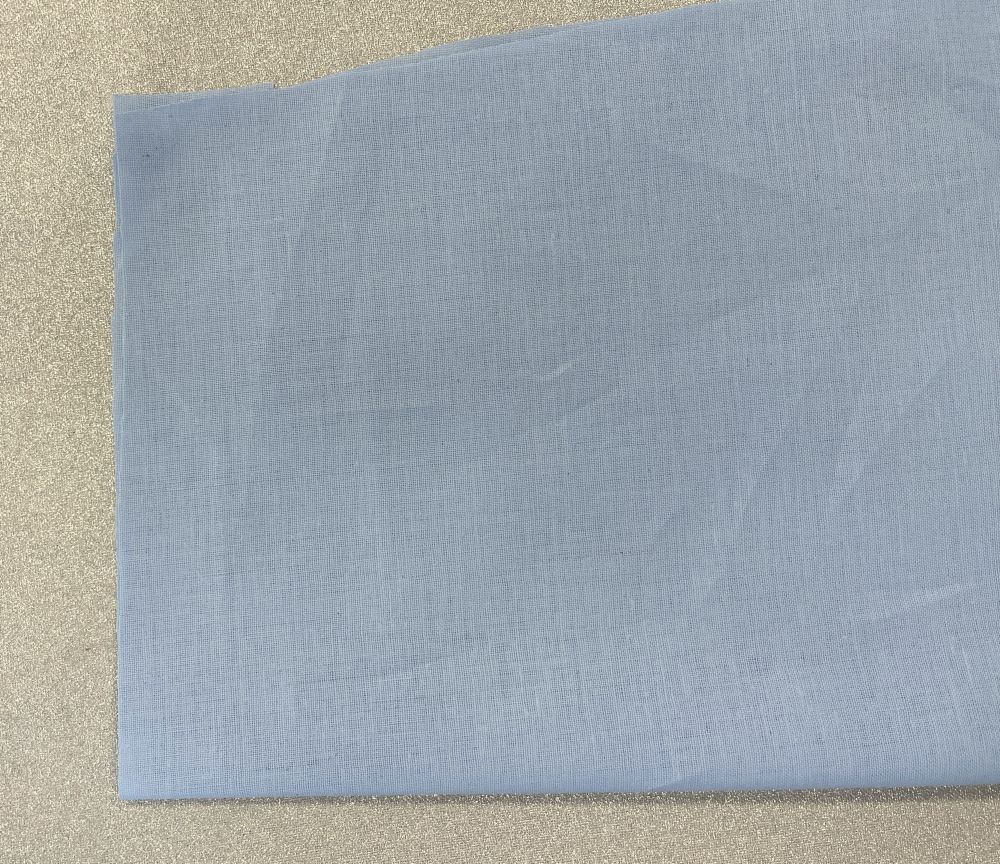
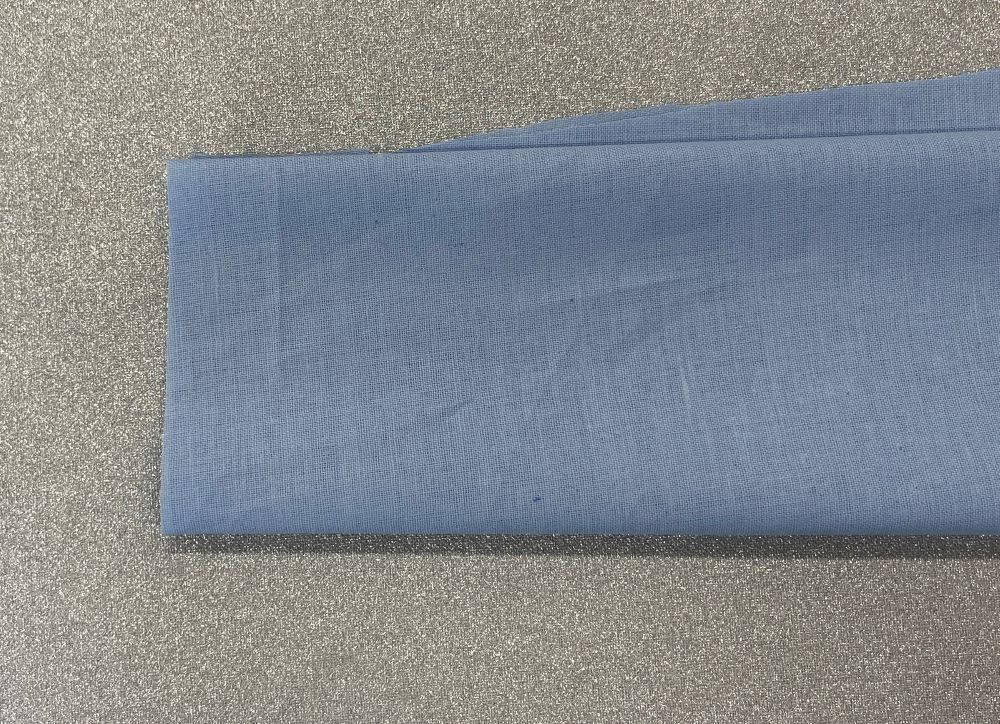
3. The placement for the sleeve placket is ¼ of the width at the lower edge in from the backside of the sleeve, see image below.

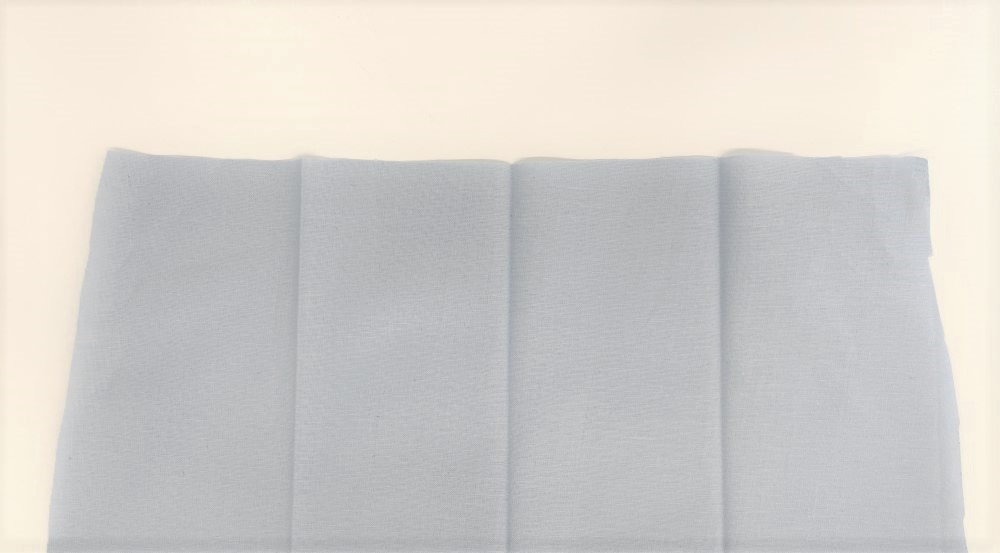
4. To determine where the placement should be do as follows: fold the sleeve double twice, press and fold out. Now you can see where to make the placket opening.
.jpg?language_id=1)
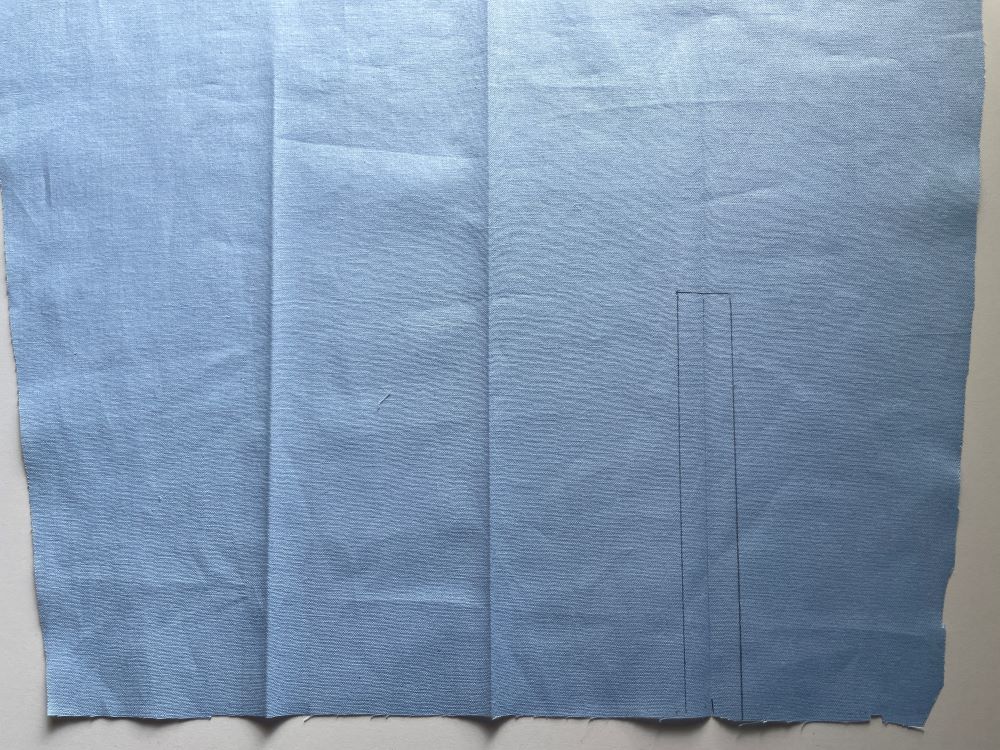
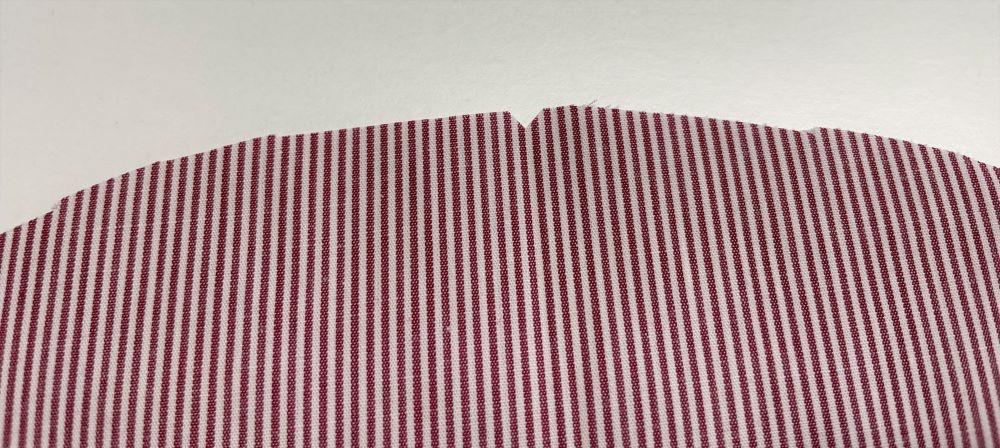
5. Draw lines to form the placket opening, 6” (15cm) high and 1” (2,5cm) wide.
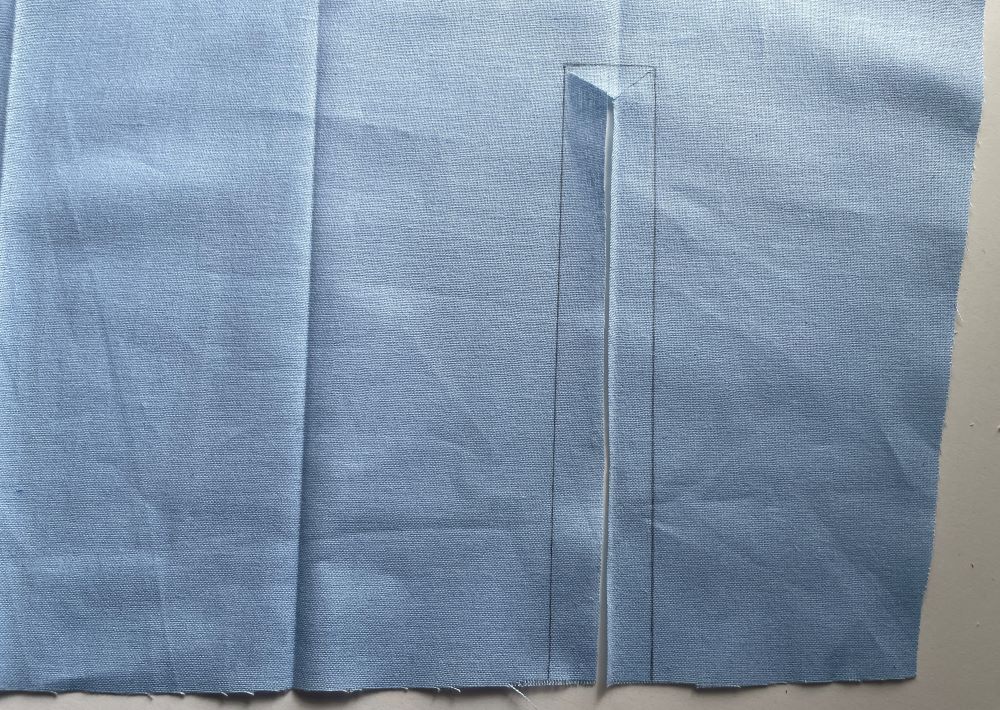
6. Cut in the middle of the opening and out to the sides.
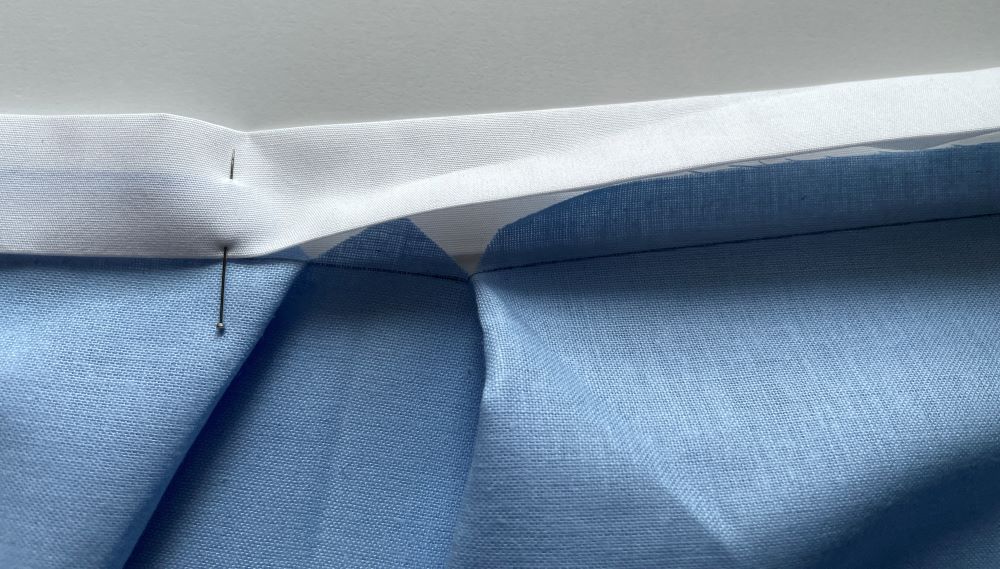
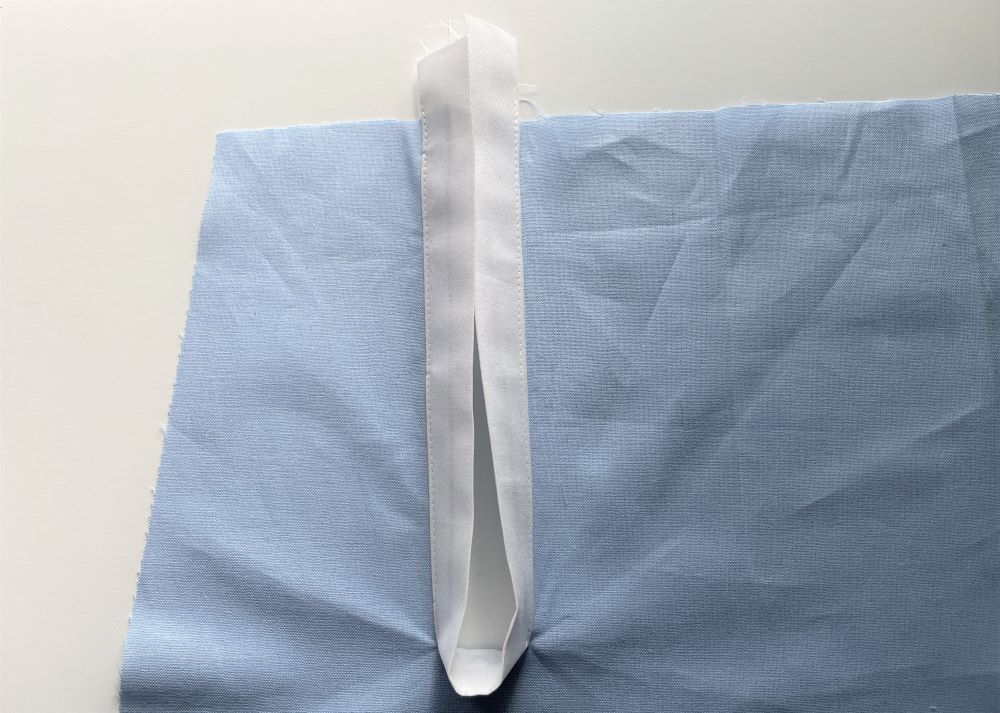
7. Open the placket opening and place the binding strip in front of it. The strip should be longer than the opening.
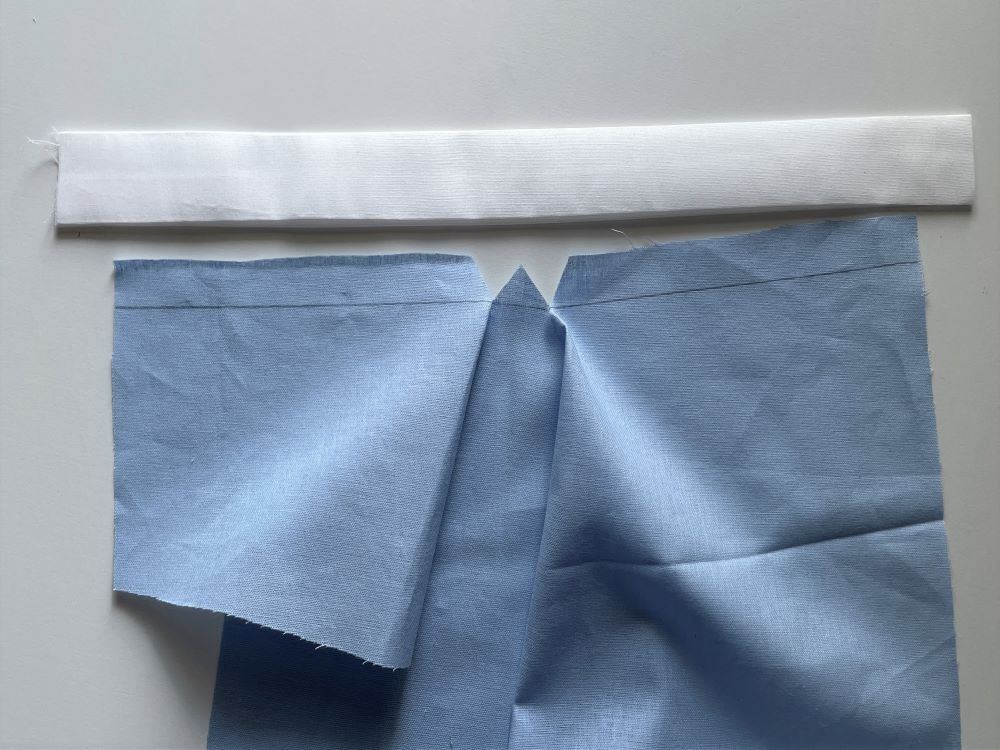
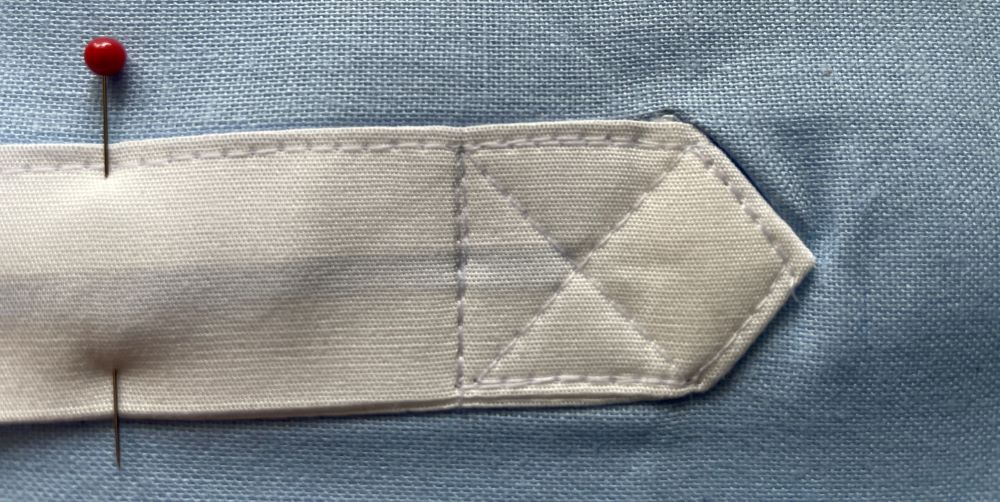
8. Put the seam allowance of the placket opening between the layers of the binding strip, the edge of the binding strip should go to the line you made. Pin in place.
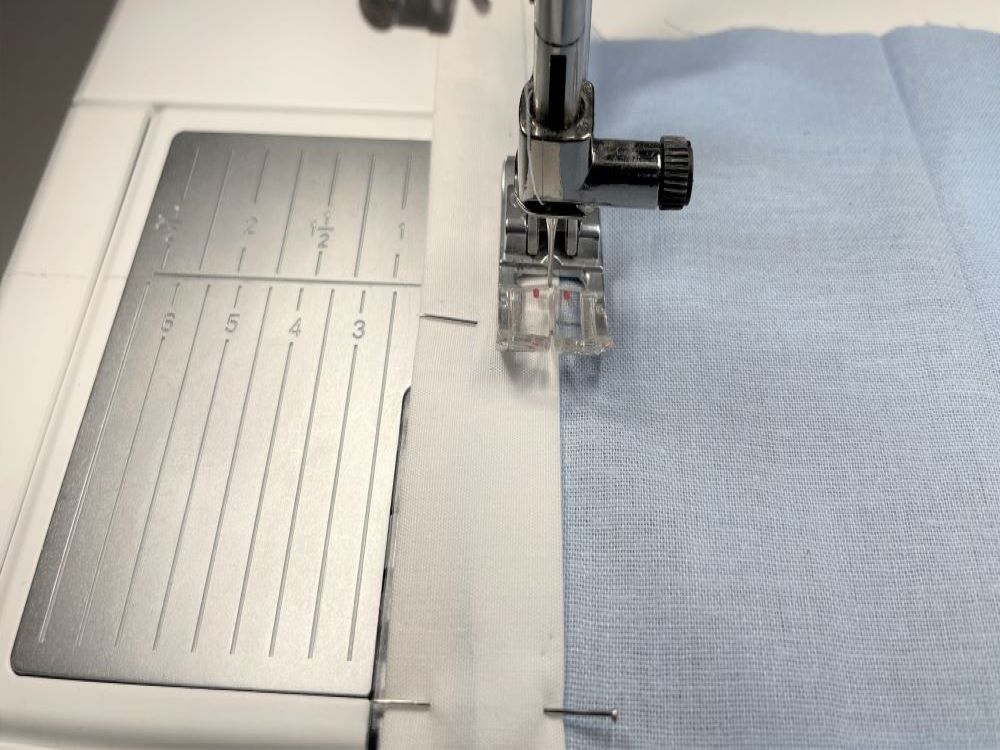
9. Stitch close to the folded edge of the binding strip.
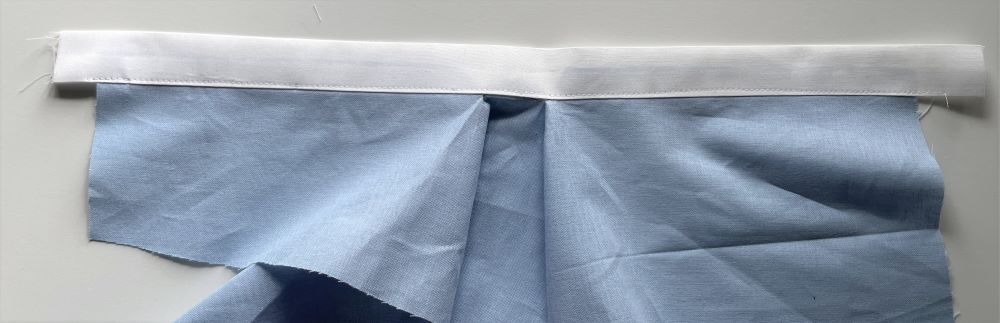
10. The finished strip looks like this:
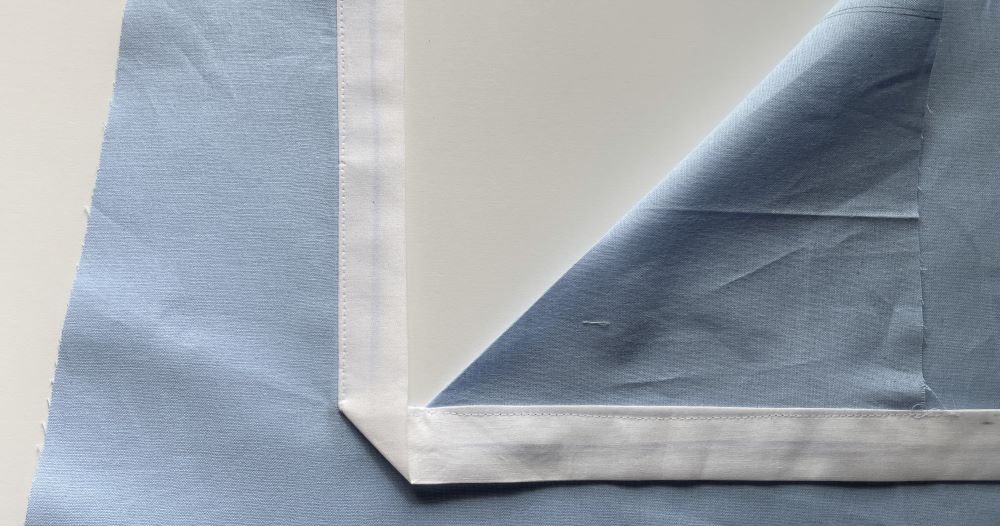
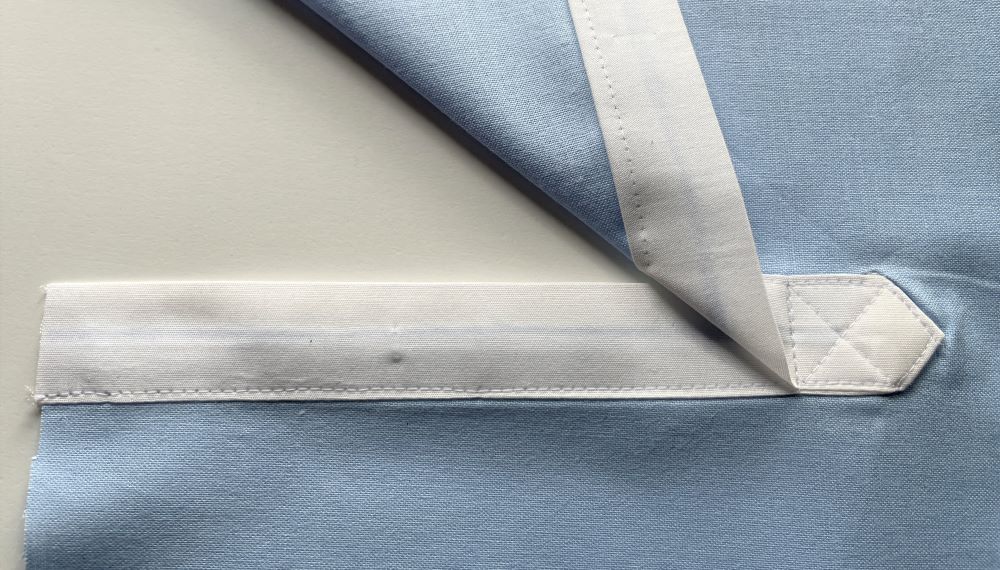
11. Bring the edges together at the outer ends.
12. Make a crease at the top.
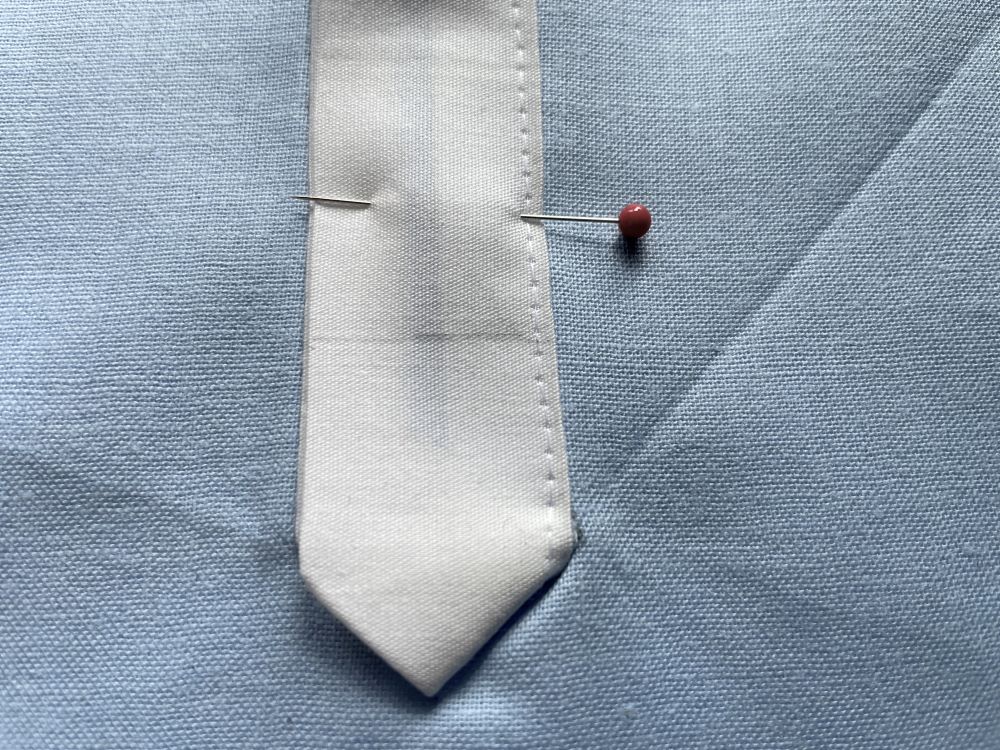
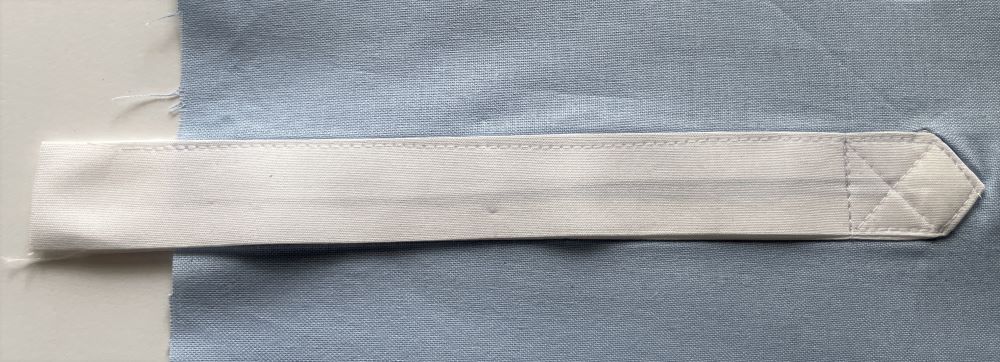
13. Fold the other half of the binding strip over and place it on top of the other. Pin in place and make a line 1 ½” (3,5cm) from the tip of the folded point.
14. Topstitch on the line and on the folded tip, see images below:
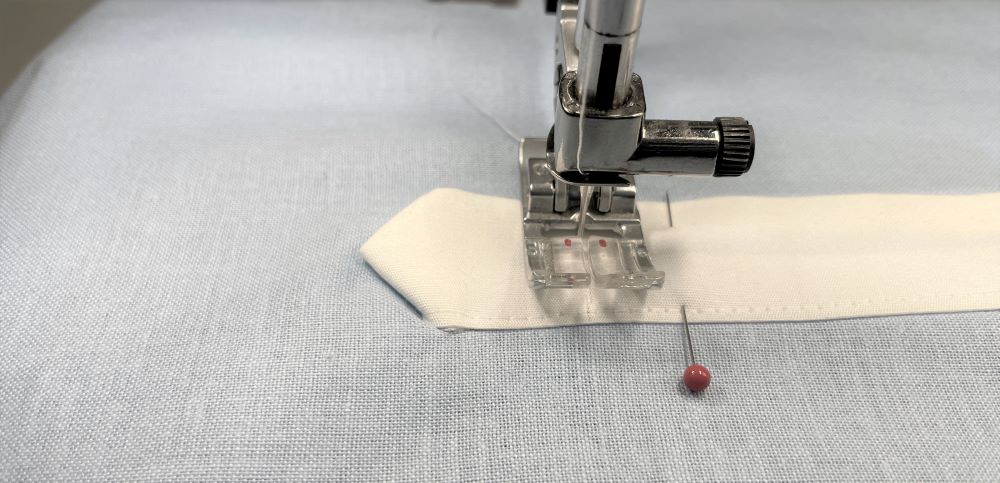
15. Cut away excess binding strip at the lower edge of the sleeve.
16. Your placket opening is now finished!
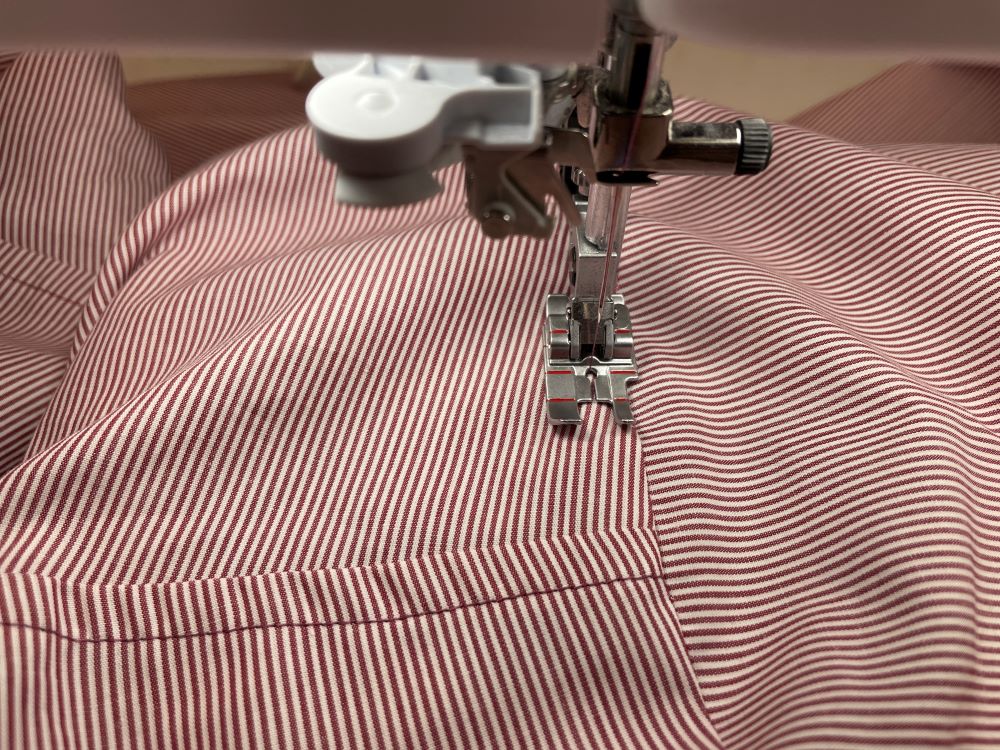
Inserting the sleeves
1. Mark the center on top of the sleeve.
2. Pin the sleeves to the armhole, the mark should be at the shoulder seam, sew with ⅜” (1cm) seam allowance. Zig-zag the seam allowances together, press towards the front and back. Topstitch ¼” (6mm) from the seam.