 United States
Shirt School - Lesson 3: Making the shirt front and pocket
Welcome to Shirt School - Lesson 3: Making the shirt front and pocket!
Welcome to lesson 3. In this lesson we will make your front plackets (the part of your shirt where the buttonholes are placed) and pocket. We will also add the buttonholes to the placket. This may seem confusing, but it is a clever idea to add them before all is sewn together. The buttons can also be added at this stage.
This instructions for the 1 & 2 lessons:
- Shirt School - Lesson 1: Creating the Pattern
- Shirt School - Lesson 2: Cutting out the fabric pieces
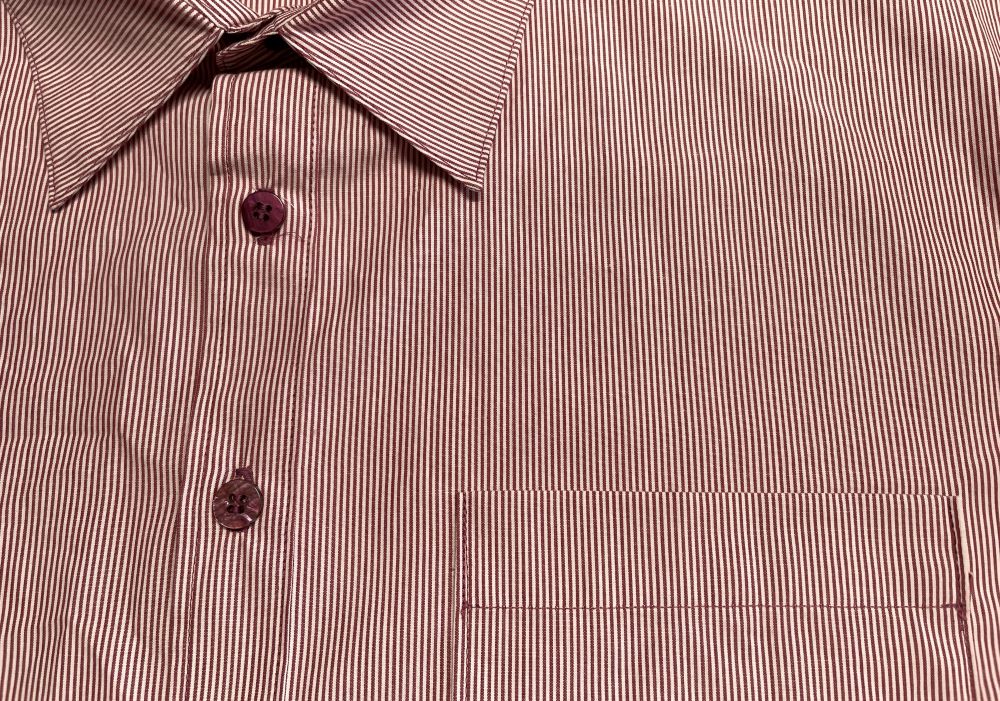
Shirt front placket
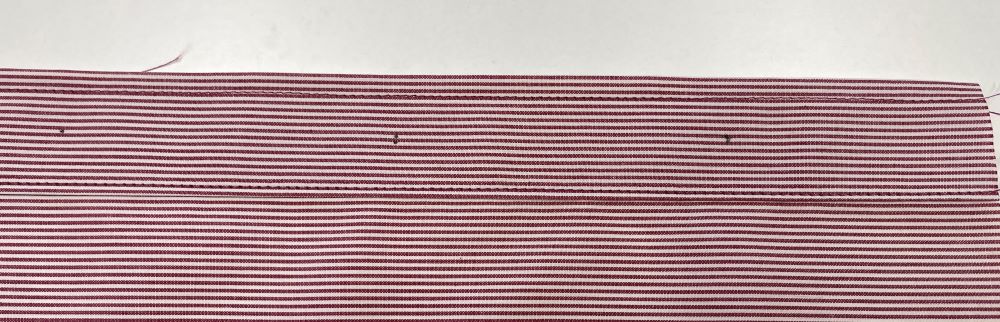
1. On the right front piece press 1 ¼” (3cm) to the wrong side. Fold once more and press. The right side is now finished.
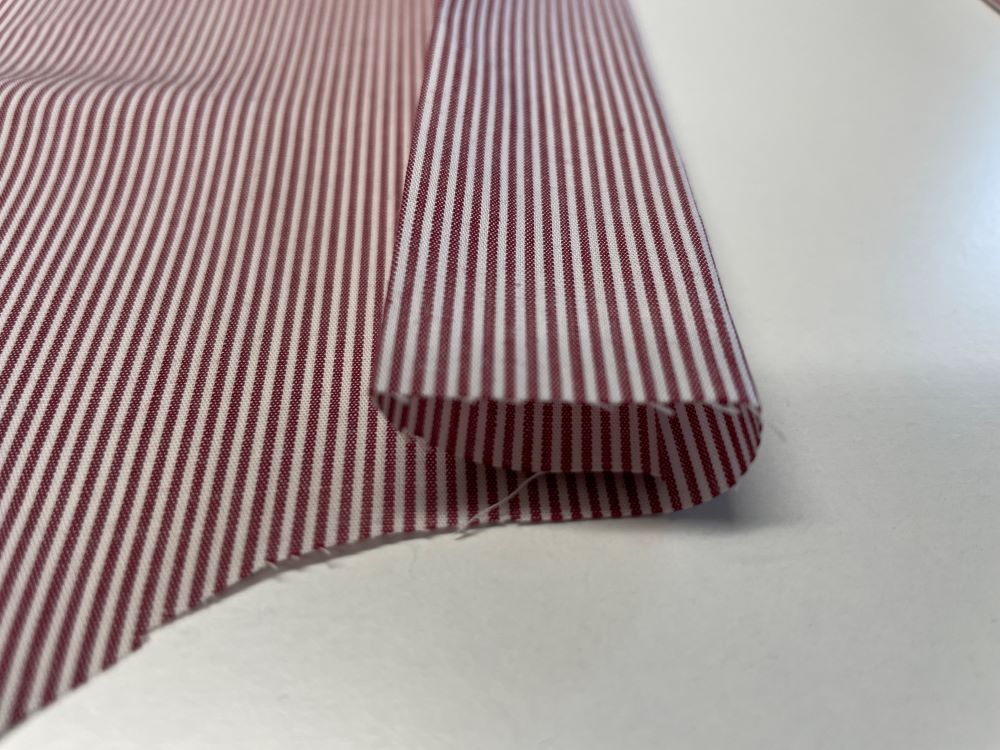
2. On the left side you have two options: If the fabric has no obvious right or wrong side you can press the folds towards the front which will give a more pronounced front placket, otherwise do the same as you did with the right side.
3. Stitch ⅛” (3mm) from the folded edge and the outer edge on the left side. (If you folded the left placket to the outside like the image above, otherwise no topstitching is needed.) The right side needs no stitching, the folds will be held in place with the buttons.

Buttonholes and buttons on front placket
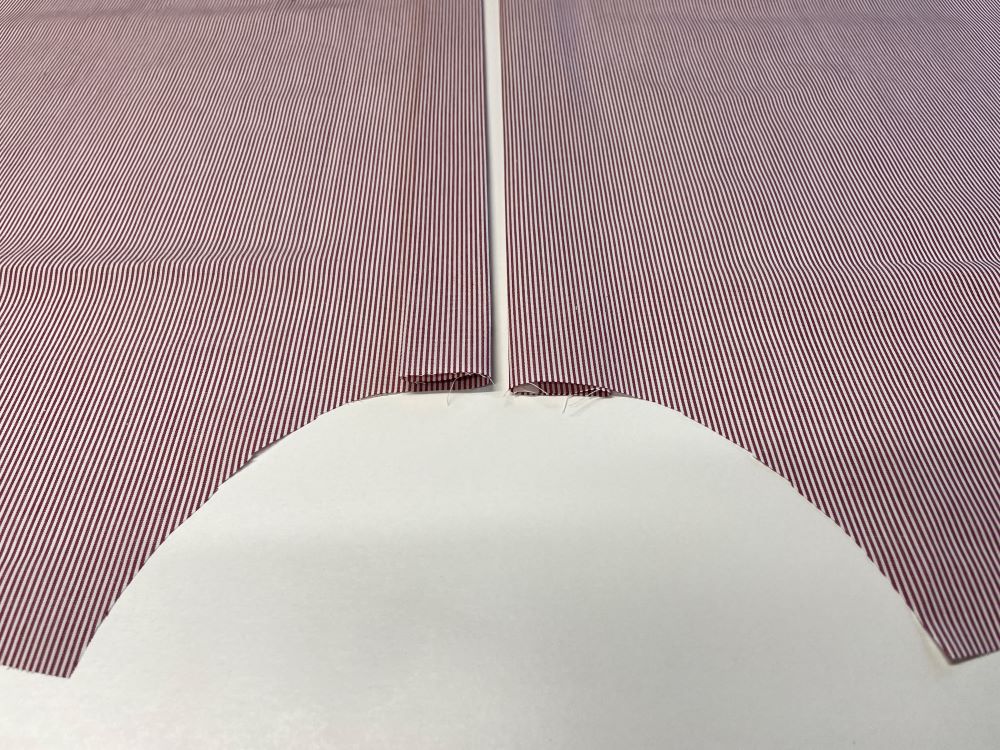
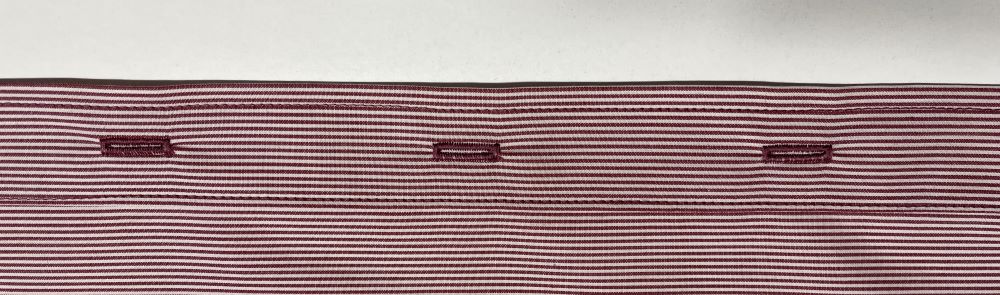
4. The buttonholes should be placed centered on the left side placket. They are stitched out lengthwise. Make a point for the top of the first buttonhole 2½” (6cm) from the top raw edge. Then make points every 3 ¼"(8cm) along the placket. Make as many as needed, depending on the shirt length. Leave at least 4” (10cm) at the bottom of the shirt.
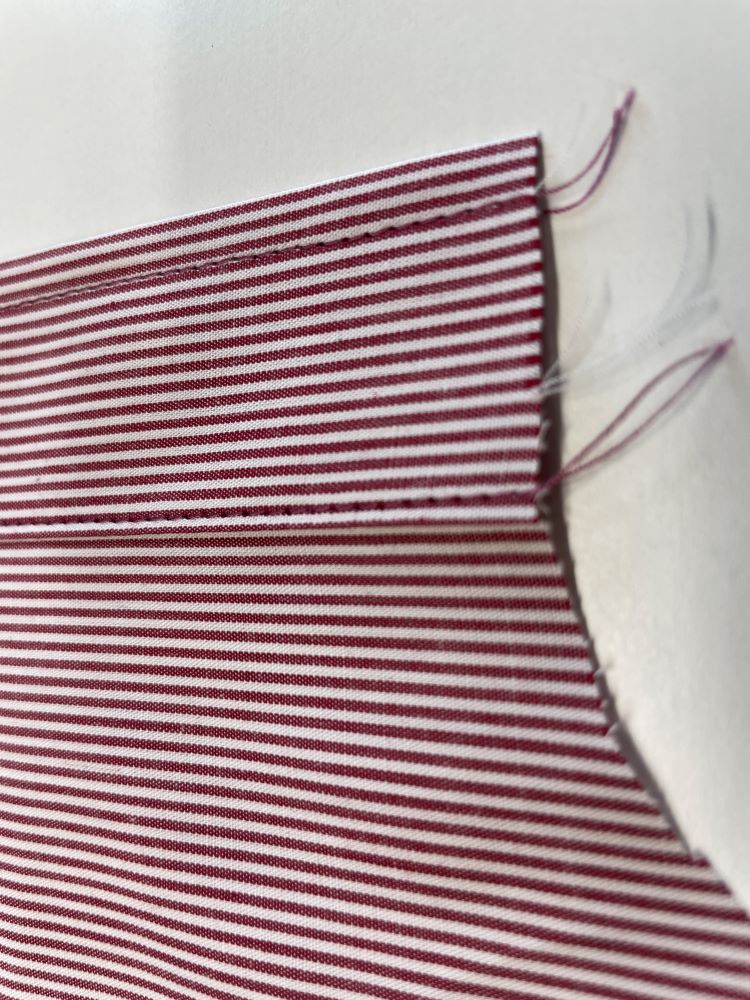
5. Stitch out the buttonholes following the instructions for your sewing machine. The point represents the top of the buttonhole. Length is decided by the size of the button. Shirt buttons usually are about ⅜” (1,1cm) in diameter.
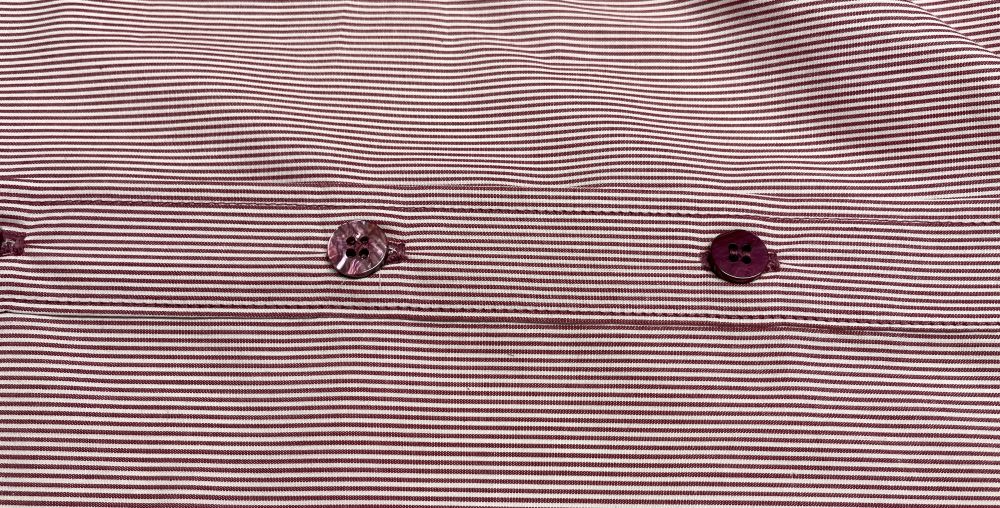
6. When the buttonholes are finished you can place the buttons on the right placket. Sew them in place with your machine or by hand.
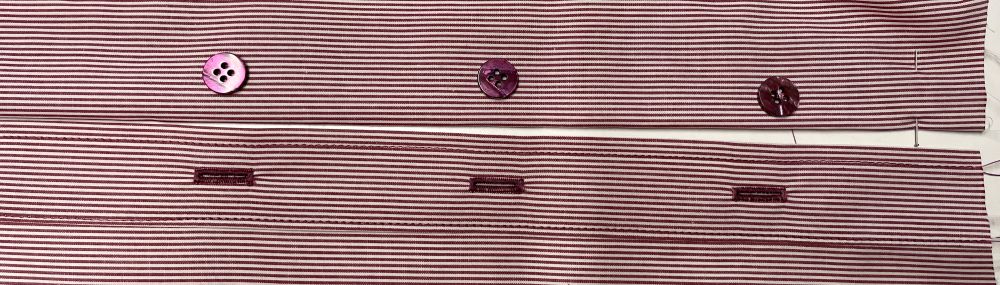
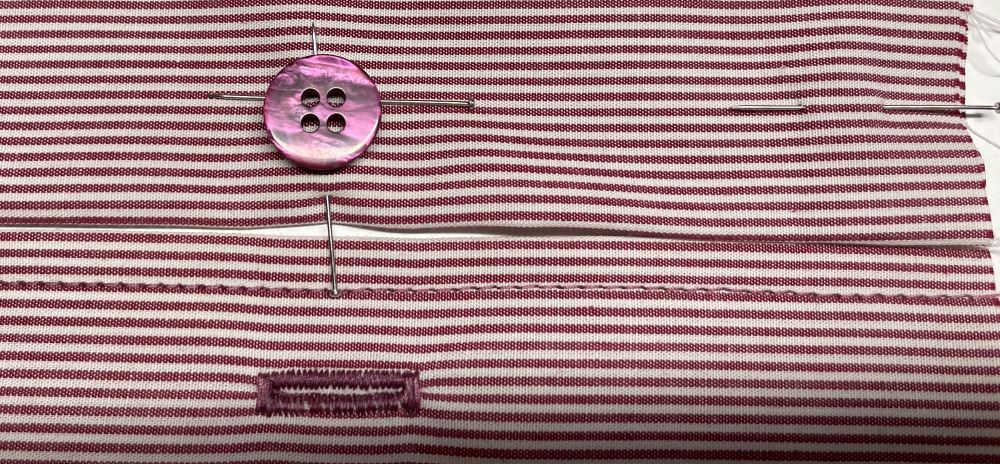
7. The button and buttonholes on the front plackets are now finished.
Shirt pocket
8. Cut out a fabric piece for the pocket, 8x8” (20x20cm).
9. Place the press template on top of the fabric 1 ½” (4cm) from the top.
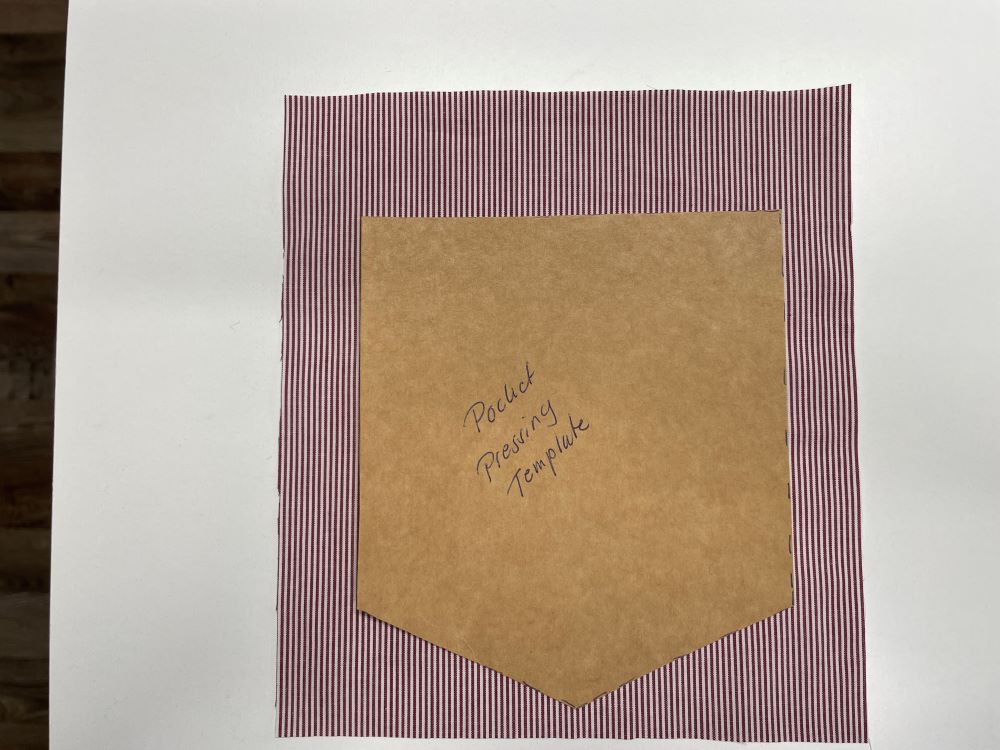
10. Fold ⅜” (1cm) down at the top edge, then press all sides around the edge of the template.
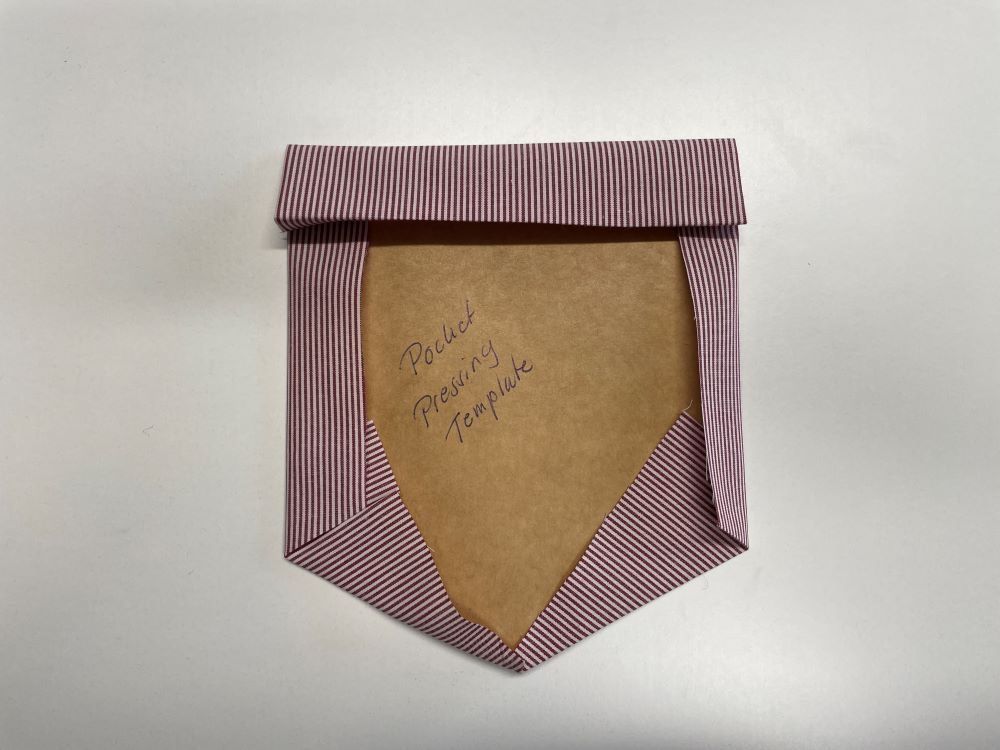
11. Remove the template and cut away excess seam allowance, leave about 3/8“(1cm).
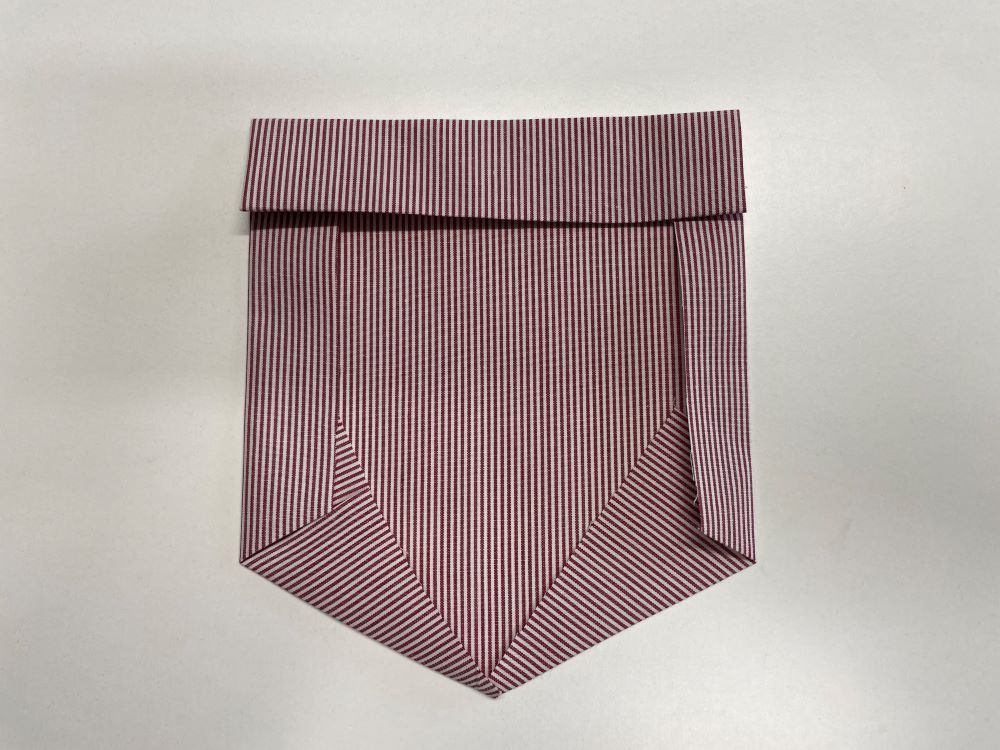
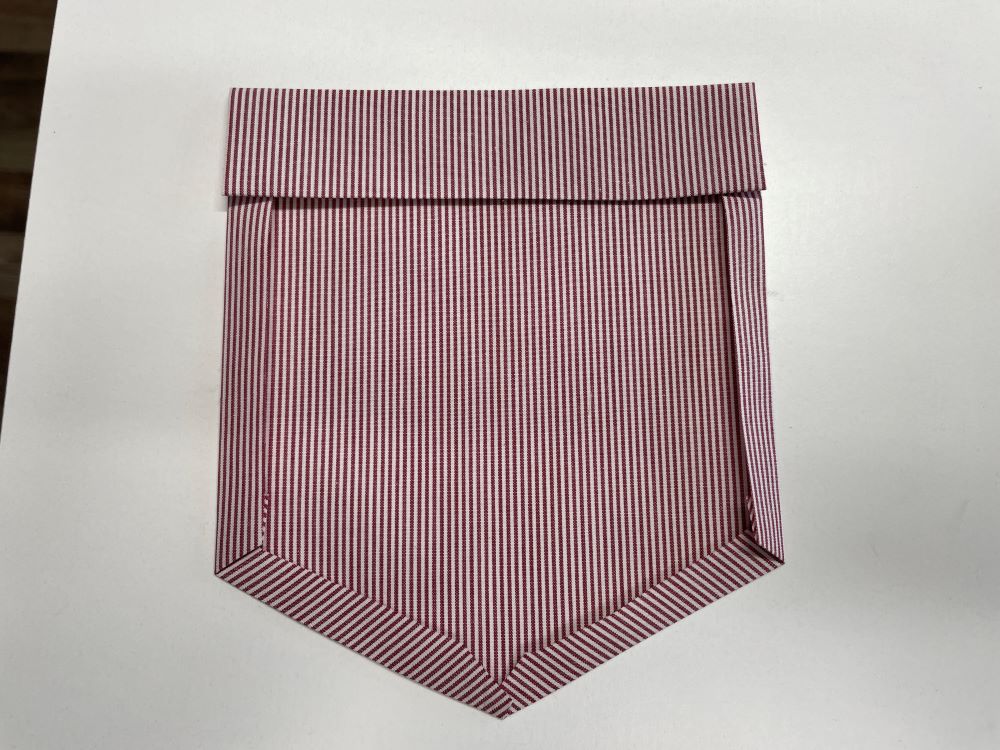
12. Topstitch 1” (2,5cm) from the top of the pocket to secure the fold.
13. Place the pocket on the left front. The top of the pocket should be aligned with the second buttonhole and 2” (5cm) from the center front (the buttonhole) Of course the placement can be changed as desired, this is just the standard placement.
14. Topstitch close to the edges of the pocket. Reinforce the stitching at the edges of the opening.
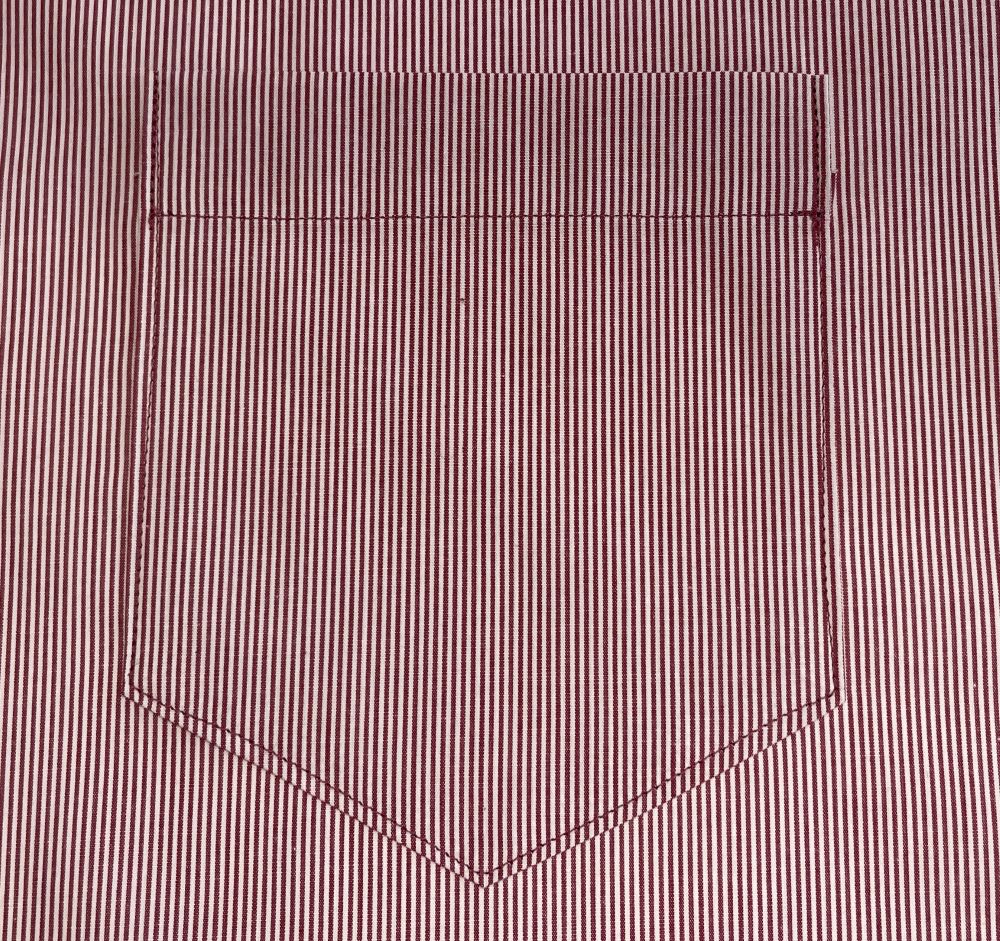
Your pocket is now finished.
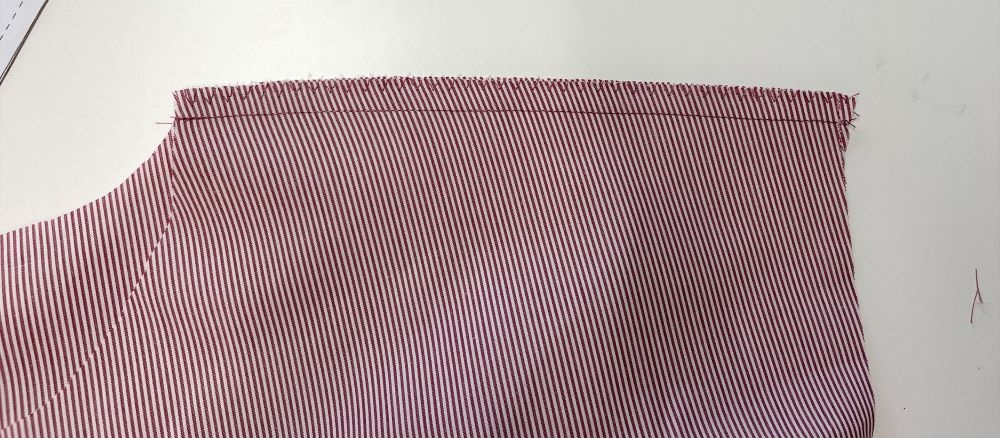
Shoulder seams
15. Stitch the front and back together at the shoulder seams, using a ⅜” (1cm) seam allowance. Zig-zag the edges together, press towards back and topstitch ¼” (6mm) from the seam.
This lesson is now finished! In the next lesson we will make the Sleeve plackets and insert the sleeves to your shirt!