 United States
Shirt School - Lesson 2: Cutting out the fabric pieces

Welcome to Shirt School - Lesson 2: Cutting out the fabric pieces!
Welcome to Lesson 2, this instruction is part of a 7-part series on crafting the perfect shirt! Last week we introduced, lesson 1 on picking the pattern, you can find that lesson here! In this lesson, we will focus on how to cut out your shirt in fabric.
We will start by cutting out the front, back, pocket and sleeves from fabric. The collar and cuff will only be cut in interfacing in this step, it will be cut in fabric later in the process.
Preparing the fabric and cutting out the shirt main pieces
1. Before we can place the pattern on the fabric there are some preparations needed. If your fabric is made of cotton or linen, it probably will shrink in the first wash. It is a clever idea to wash the fabric before cutting to avoid problems later. When washed and dry press the fabric thoroughly and fold it double lengthwise, right side together. The selvedges should meet each other. 
2. Place the front, back and sleeve pattern pieces on the fabric. If you have chosen a fabric with a directional pattern, it is important that all pieces are placed in the right direction, this means that what is up on the fabric pattern should be up on the pattern. See the arrow on the image below. The back should be placed on fabric fold. Sometimes the fabric pieces for back and front could be placed side by side, it depends on which size you have and the fabric width.
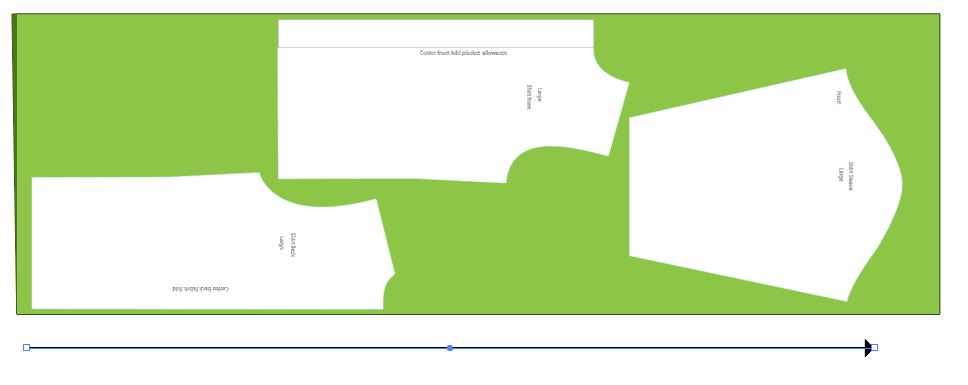
3. The pattern pieces already have seam allowances added so you will cut on the outer lines of your pattern. You can use pins or pattern weights to hold the pattern in place while cutting them out.
4. Remember to mark which is the wrong side of the fabric with masking tape or tailor's chalk. This is to avoid confusion later. You can also write the name of the pattern piece on the masking tape. Note. Do not leave masking tape on the fabric for a long time, it could make stains on the fabric that is hard or impossible to remove.
5. I usually Zick-Zack or serge the sems together as I go, but if you want to do this in advance, now is the time to do it. It could be a clever idea if your fabric frays a lot.
Cutting out the interfacing
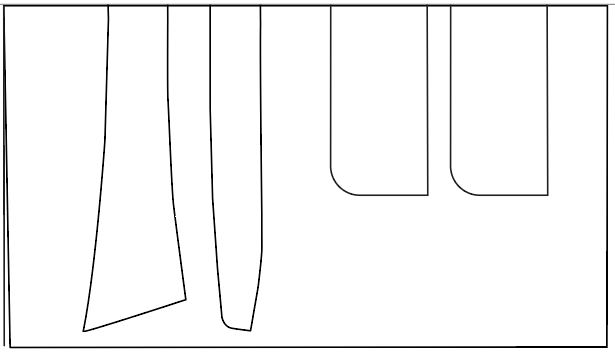
6. To cut the interfacing we need pattern pieces for the collar, collar stand and cuffs.
7. Place the pattern pieces on double folded interfacing and cut them out. We added the necessary seam allowance to the pattern piece in the first lesson, so you just cut around the outer edges of the pattern. Remember that you need to cut the cuffs two times.
Do not press the interfacing to the fabric yet. It will be done in a later step.
Special Tip for those that have a SINGER® MOMENTO™ you can easily cut your fabric pattern pieces!
- Men’s Shirt Pattern Size S/M
- Men’s Shirt Pattern Size L
- Men’s Shirt Pattern Size XL
- Men’s Shirt Pattern Size 2XL
- Men’s Shirt Pattern Size 3XL
Stay tuned for Lesson 3, coming on Tuesday June 18th, where we will make the front placket with buttonholes, shirt pocket and shoulder seams!