United States
PJ Memory Pillow Upcycle
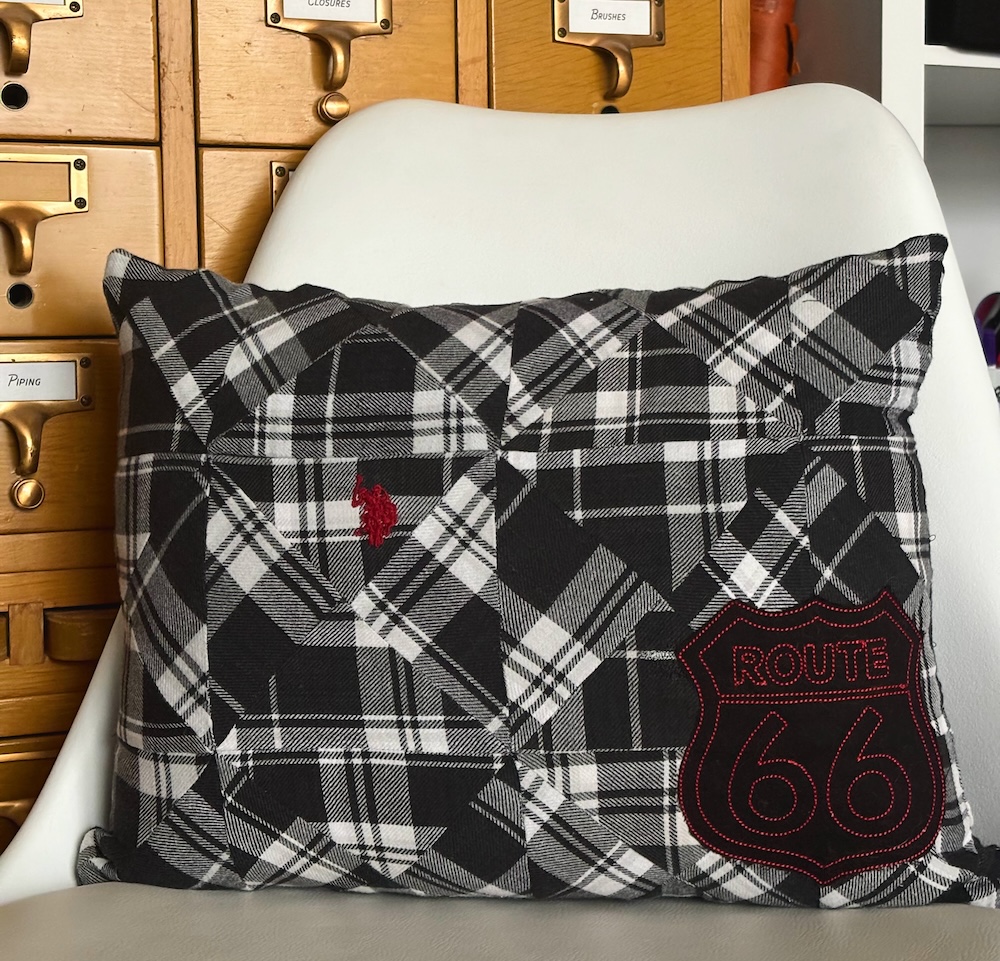 Wearing clothing from a past loved one can be so comforting but with years of wear can come many rips and tears. These plaid pj pants had hit that point where it’s no longer worth continuing to repair, so I wanted to salvage as much as I could. This project will show you how I incorporated some design elements of the pants and how you can use raw edge applique to incorporate more of the original owner’s personality.
What you need:
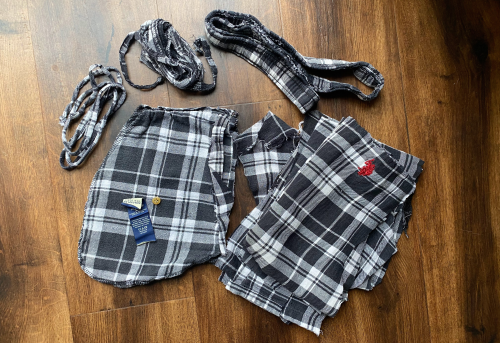
- Clothing item
- Pillow form
- Cutting tools (preferably rotary cutter, mat, and ruler)
- Iron
- Spray starch
- Fabric marking tool
- Fat quarter or 1/4yd Accent fabric (optional)
- Stabilizer (optional)
- Printed template (optional)
- Fusible interfacing (needed if the source fabric is more delicate)
Preparing Fabric
1. Start by making sure the fabric is clean.
2. Remove hems and seams. If you need more fabric from your piece you may want to seam rip these out to get the most usable fabric. If you definitely have enough fabric, I recommend cutting them off to save time.
Note: Don’t discard the fabric until the project is done just in case you cut a piece with more damage than you expected.
3. If your fabric is weaker, before cutting your pieces attach fusible interfacing to the back. This can also be helpful if your fabric has a loose weave.
4. Iron all your fabric flat. Use spray starch when ironing to add a bit more stability to the fabric.
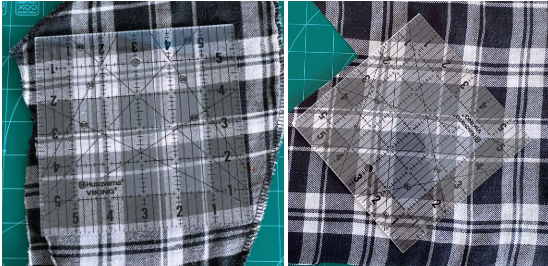
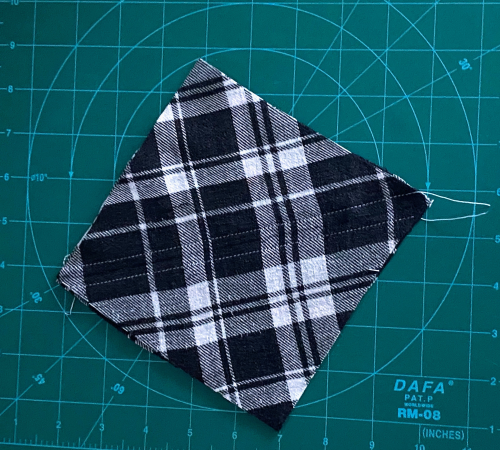
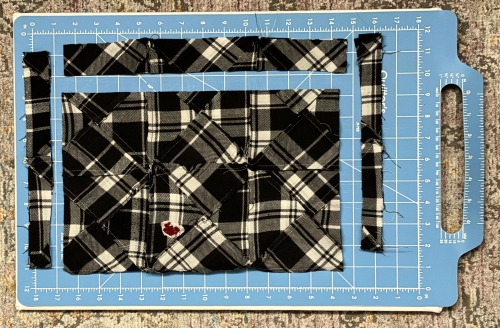
5. Cut your fabric to the size square you need. This may depend on the size print you have. For example, the plaid on these pants was on the larger side so I decided a 6” block was needed to include more of the print and design elements.
Tip: If you have a directional print, carefully align the print with the lines on your ruler.
Note: If you have a directional print and want to do half or quarter square triangles, make sure half are cut in the same direction of the print and half are cut on the diagonal.
6. Now if you want to keep the print less altered you can sew this up now and skip to step X.
Making Half and Quarter Square Triangles
7. Take
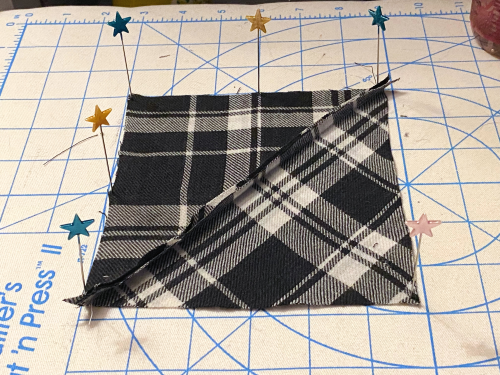
8. Mark across from corner to corner.
9. Then sew ¼” on both sides of this line.
10. Cut along your marked line in between your stitching.
11. Press your seams open for a flatter finish or to one side for more stability. I would recommend using more spray starch in this step as well
Tip: If you are now realizing the weave was more loose than you had realized, I recommend holding your square down with pins when you iron the seam.

12. Once you have done this will all your pieces, audition them on your pillow form to see if you like this or want to create even more interest.
13. To make smaller, quarter square triangles, repeat steps 8-11 but use two of the squares you had just sewn.
Tip: When putting the two square right sides together, make sure the straight and diagonal directions are facing the opposite one on the other square. 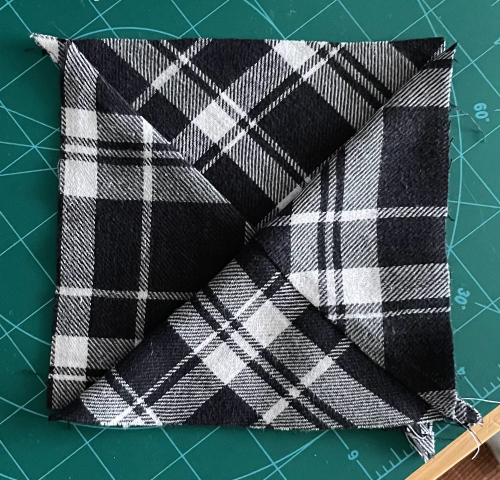
Assembling the Squares
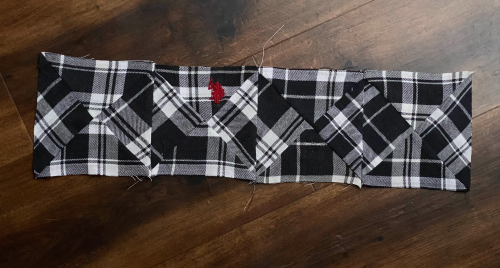
14. With the right sides together, sew together one line of squares that covers more than the width of the pillow.
Note: If you have a directional print, make sure you pay attention to which sides you are attaching so they all face the same direction.
15. Continue until you have enough strips to put together to cover the length of the form plus a bit extra.
16. Then sew the strips together so you have one piece that is larger than your pillow form.
Note: you will either need to do this for a front and back or you can piece them together until they wrap around the pillow form with some extra.
17. Trim down so it is 1” (3cm) larger than the form in both length and width.
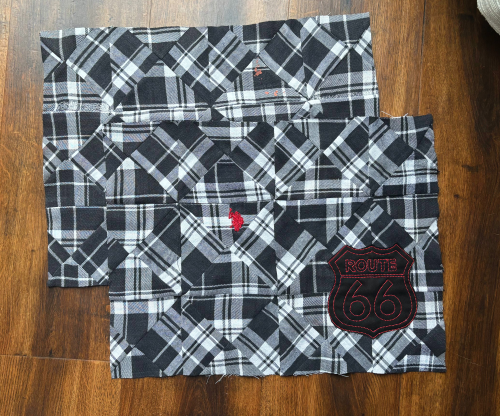
Adding Applique
18. Draw or print off the shape for your applique and trim around the shape leaving about ¼” (6mm) around the image.
19. Find where to place your applique.
20. In that post, sandwich and pin together the following in this order from bottom to top: stabilizer, pieced fabric, solid/accent fabric.
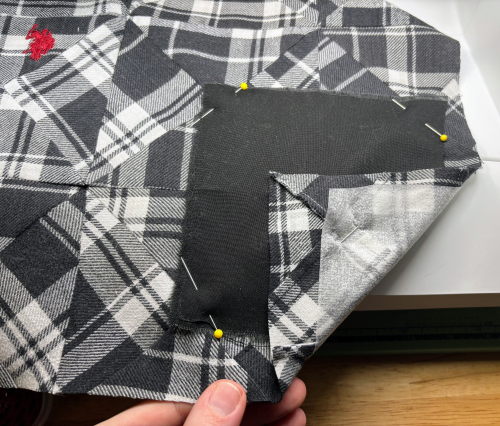
21. Center the template on this sandwiched section and pin in place. Tip: If you are centering the pattern fold you paper in half and align the fold with the seam.
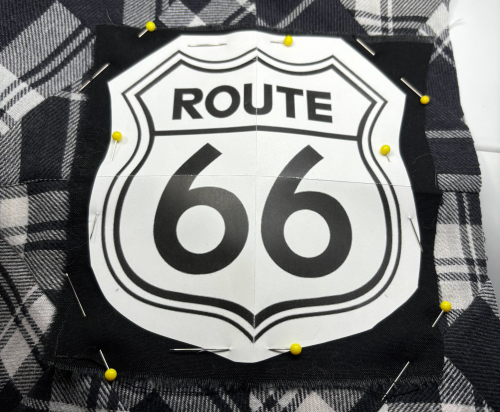
22. Rethread your machine so the top thread stands out against your accent fabric.
Tip: Embroidery thread also adds a bit of a sheen to stand out more.
23. If you have simple shapes, select a triple stitch and sew along your shape.
Tip: Shorten your stitch length so you don’t overshoot your shape but the shape is fully outlined. Also, be sure to engage the needle up/down for easy pivoting.
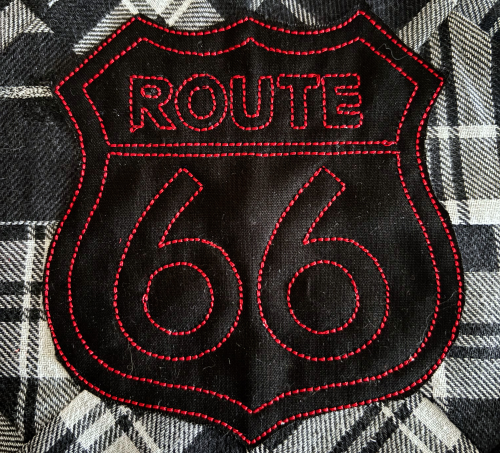
If you have a more complex image, set your machine for free-motion sewing and move the fabric to trace the shapes.
Note: If you can use lighter paper or paper that matches your fabric more for the applique, less will be left behind/visible after tearing the paper off.
24. When you are done sewing the details of your applique carefully tear the paper off and cut close to the stitching.
Note: Do not cut right against the stitching of the fabric. Since this is a raw edge applique, the fabric will fray overtime and if it is cut too close, the fraying could affect the quality. Meaning the fabric could start coming out of the applique.
25. Now you are ready to create the pillow. I used a serger to sew up 3 sides and hand stitched the remaining side after inserting the pillow.
Tip: When sewing the sides, match the seams and pin in place, then continue pinning if needed.