United States
Make your own Oven Mitts
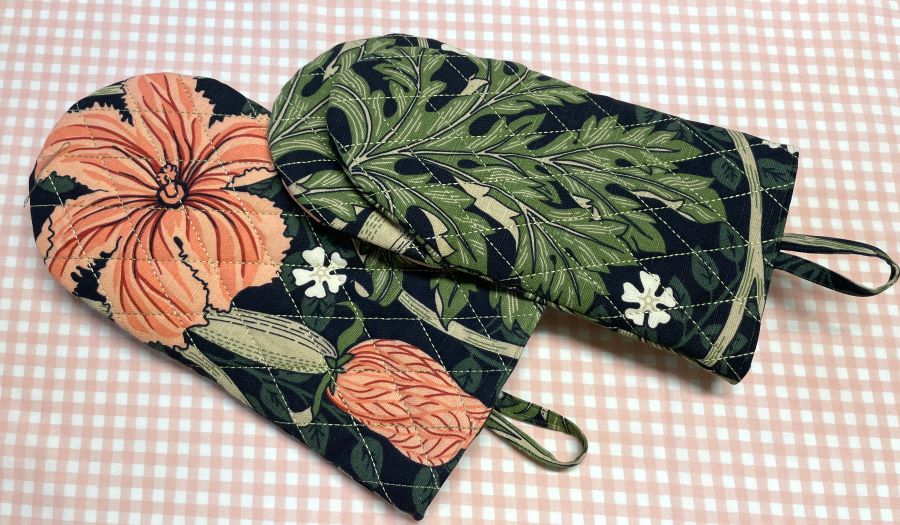
This oven mitt is easy to make, the outline and quilting is done in the hoop and then sewn together on your sewing machine. This instruction will guide you all the way!
What you need
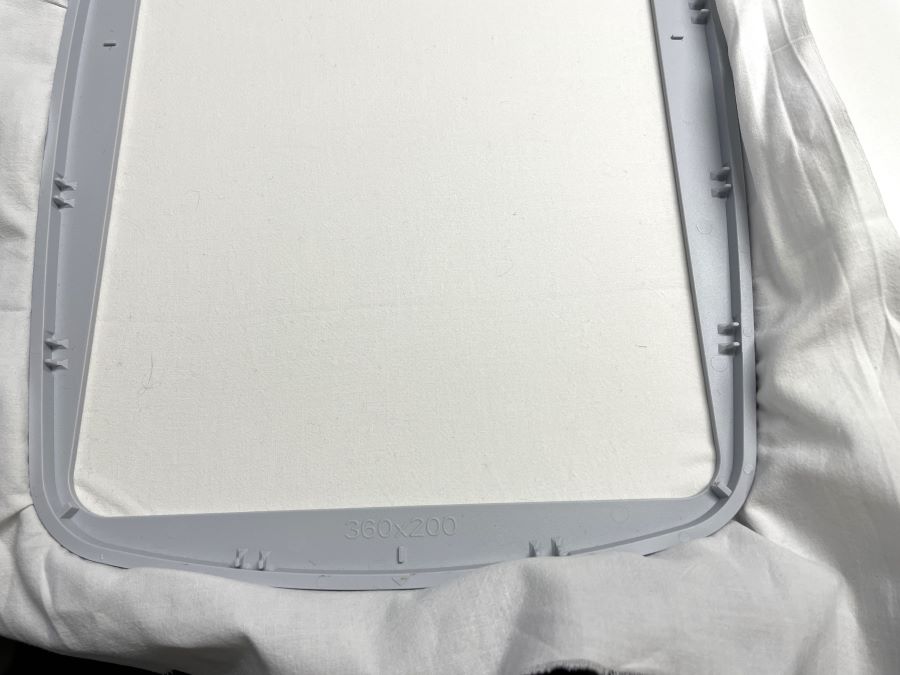
- Embroidery hoop 360x200mm or larger
- Embroidery files, find them Here:
If you have mySewnet embroidery software, platinum level you can digitize the files yourself, find instructions Here:
To make the oven mitt you need:
- Fabric for the outside and the hanger
- Lining fabric
- Batting for the back and front parts
- Heat resistant batting for the inside part of the mitt
- Sewing thread
How to make:
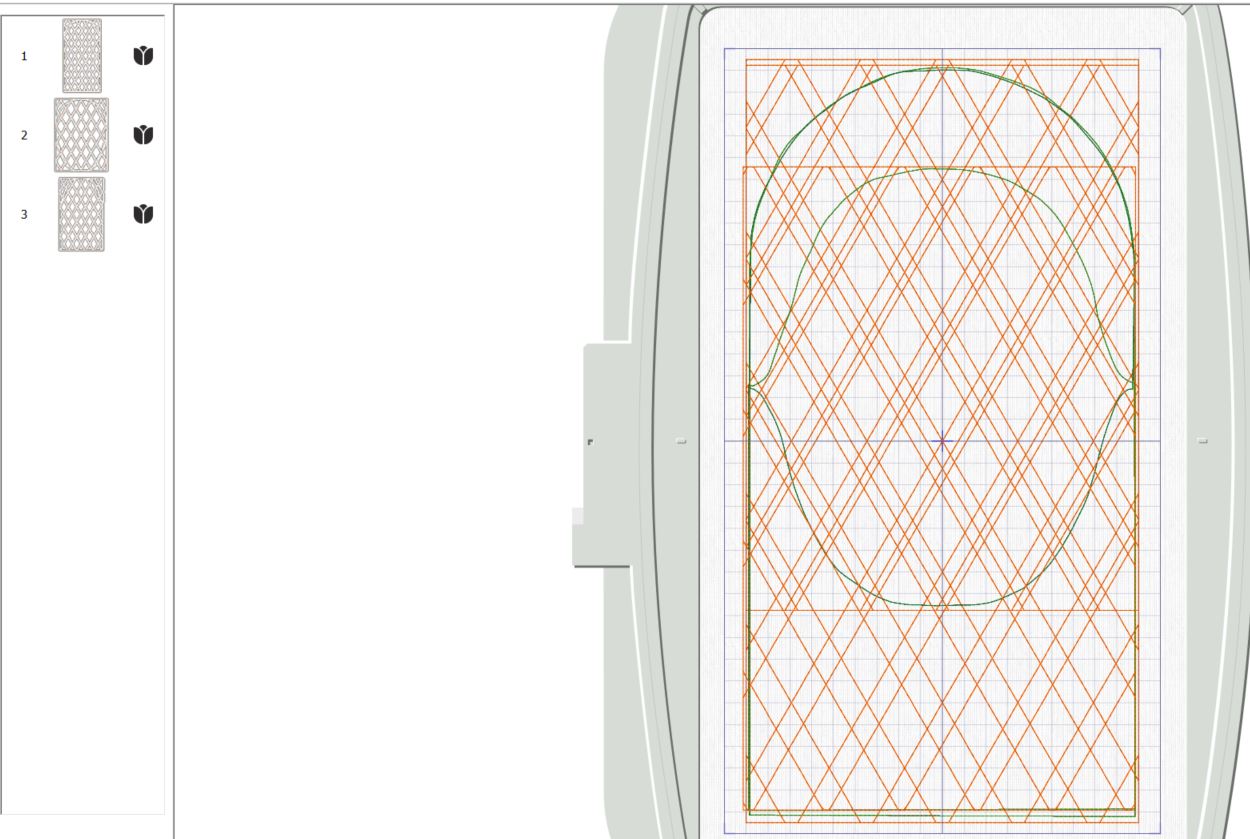
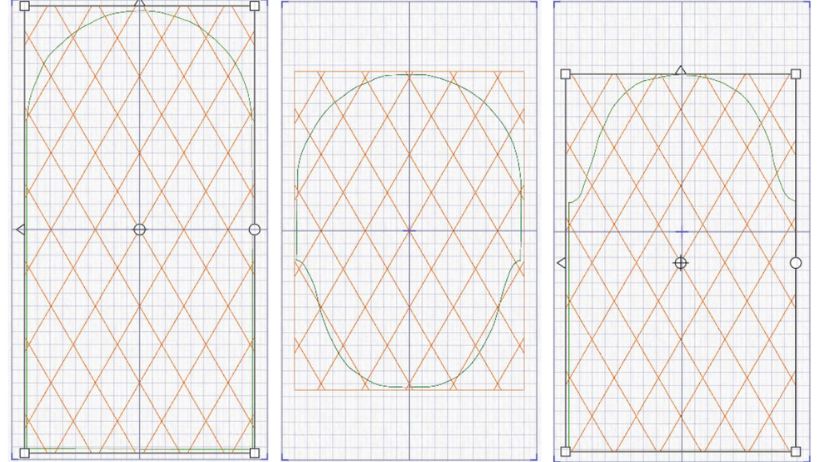
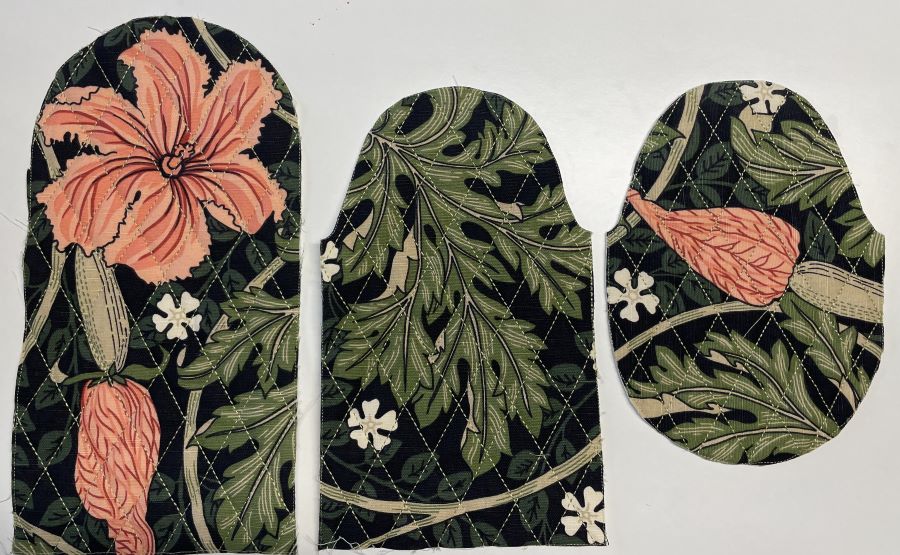
The different parts are stitched out separately. You need one each of the three parts to make the project.
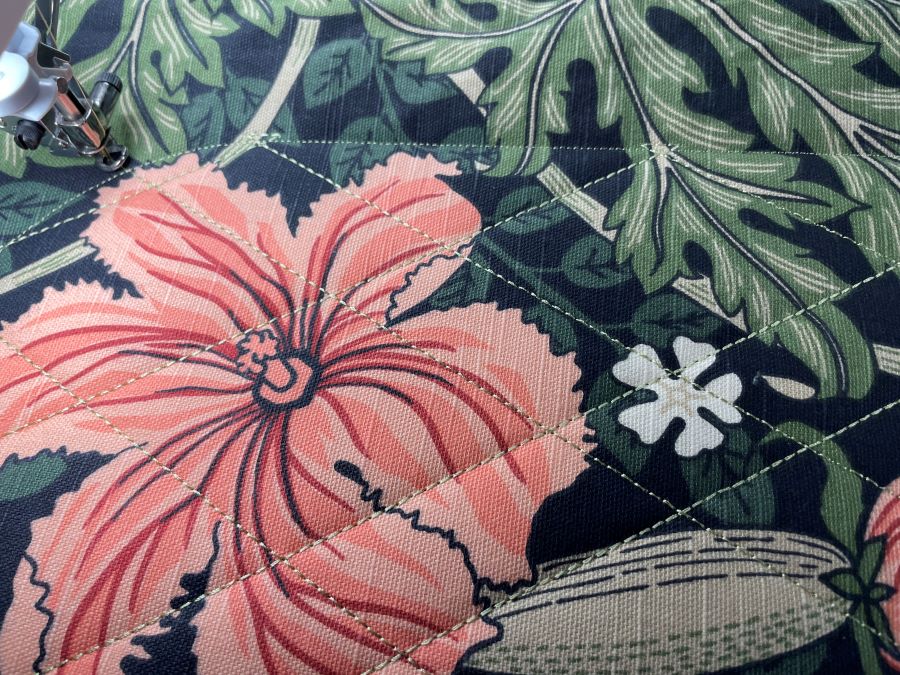
The images in the instruction are showing the back of the mitt.
Stitching out the different parts
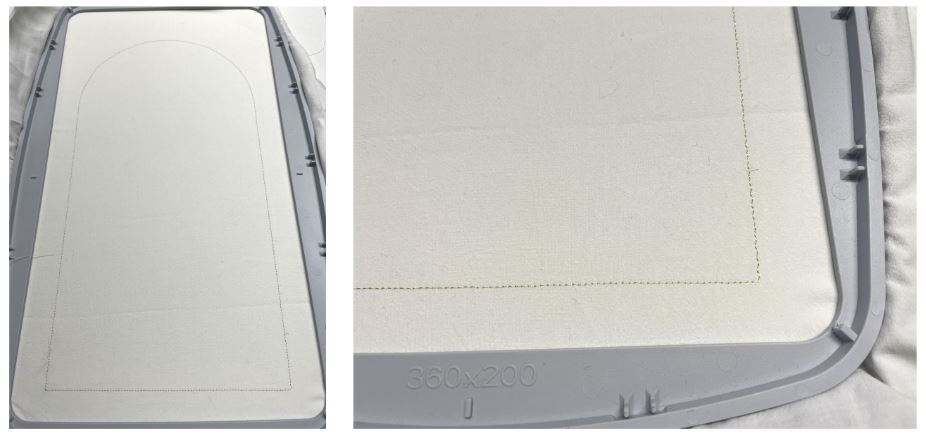
- Hoop the stabilizer in the 360x200mm hoop. I used an old bed sheet for this. It will not be visible in the finished project.
- Stitch out color 1, this will make the outline for the batting.
- Place batting in the hoop covering the outline on all sides. It is not necessary to use heat resistant batting on this piece, since it will not be exposed to direct heat when using the mitt. Using a thinner and softer batting will make the mitt more pliable and soft.
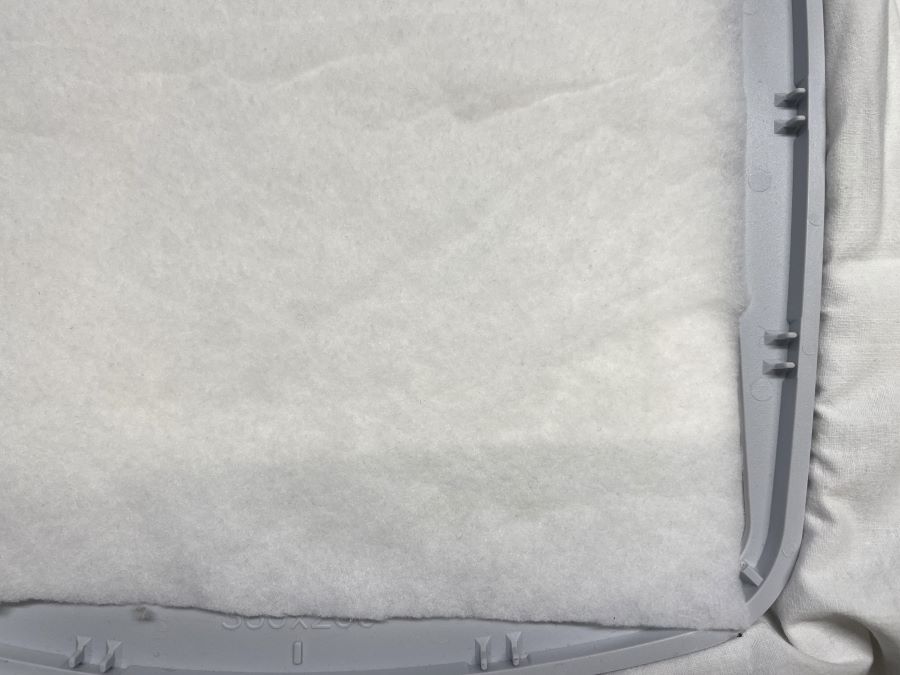
- Stitch out color 2, this will secure the batting in the hoop.

- Place the fabric for the outside of the mitt right side up in the hoop, covering the stitching on all sides. You have the opportunity to place the fabric so you get the most out of the fabric pattern, e.g centering a flower or similar, using the stitch line as a guide. Remember that you will use a ⅜” (1cm) seam allowance on all sides.
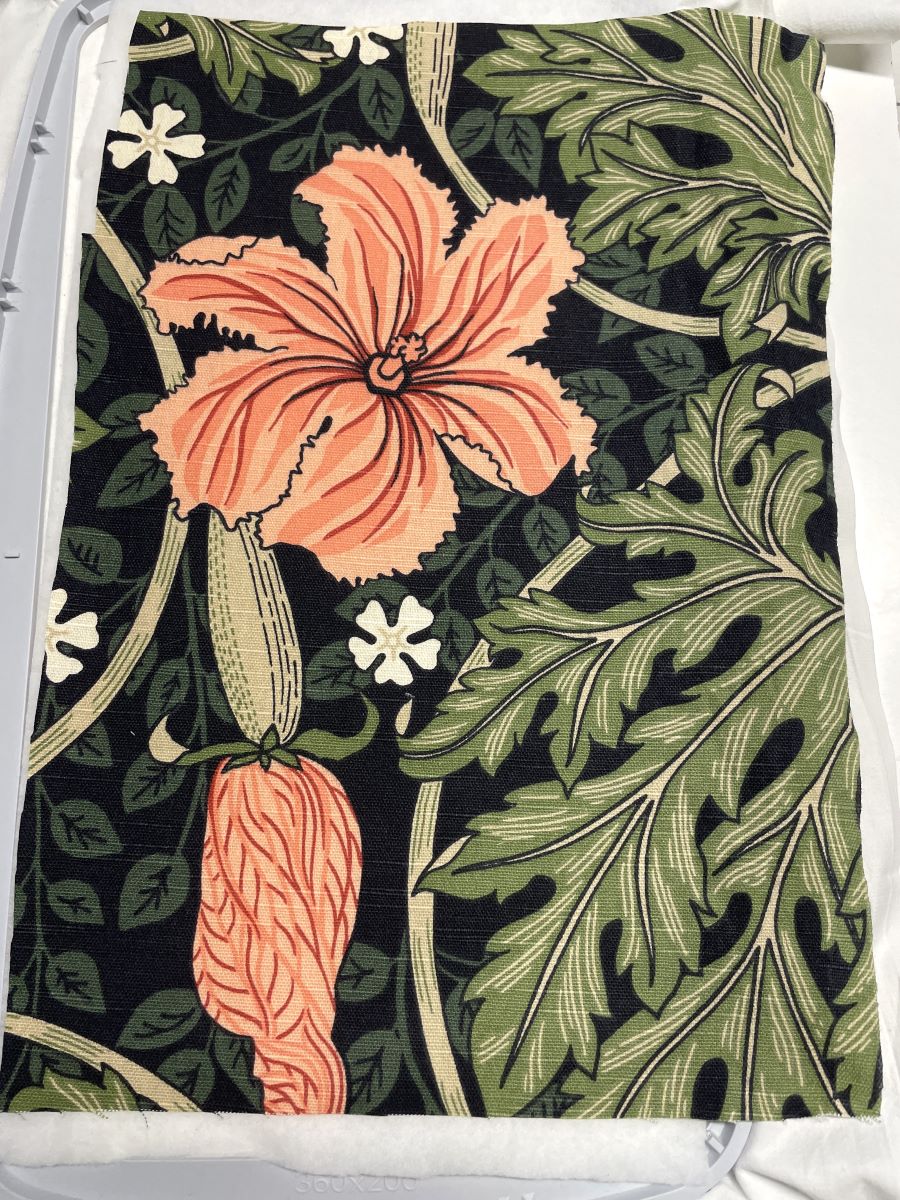
- Stitch out color 3, this will secure the fabric in the hoop.
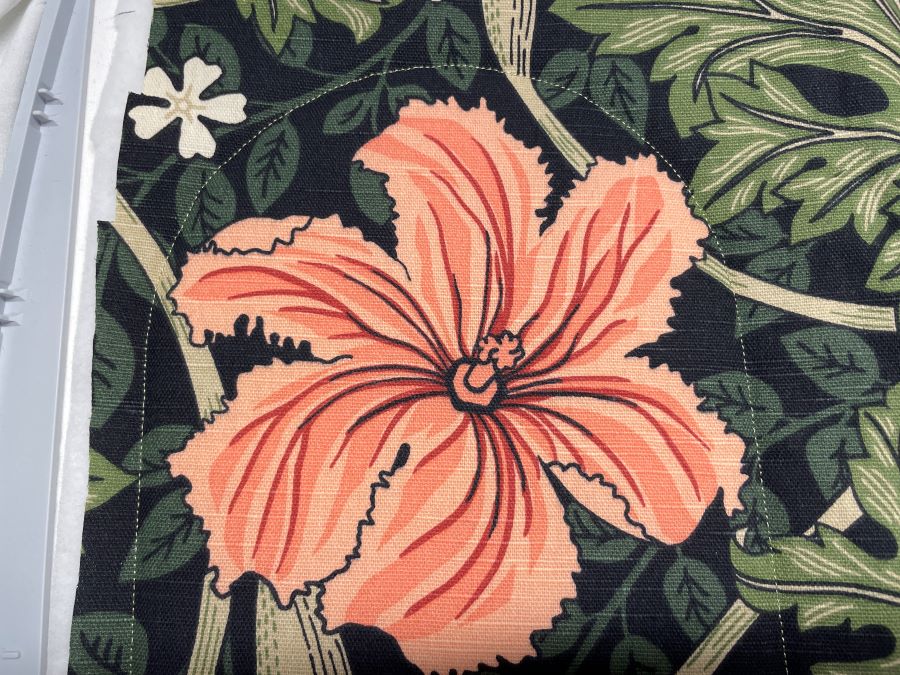
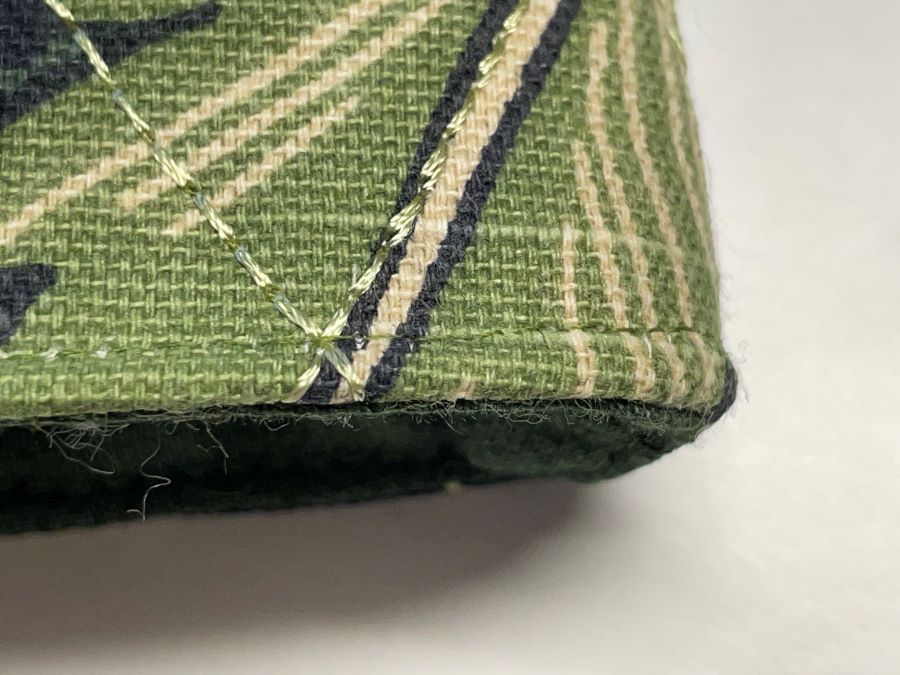
- Stitch out color 4, the quilting. It will be made with triple stitch.
- Unhoop and cut out just outside the outline stitching.
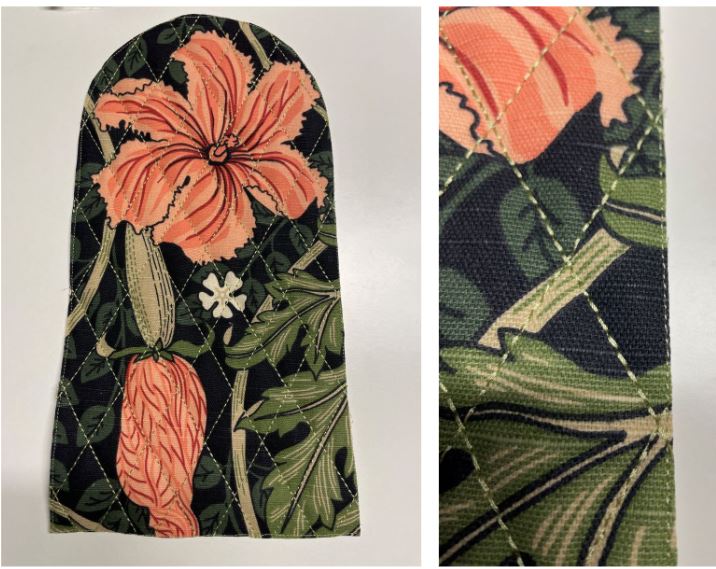
- Repeat with the other parts. Remember to use a heat resistant batting for the Oven mitt inside part, since this is where you will hold the hot items later.
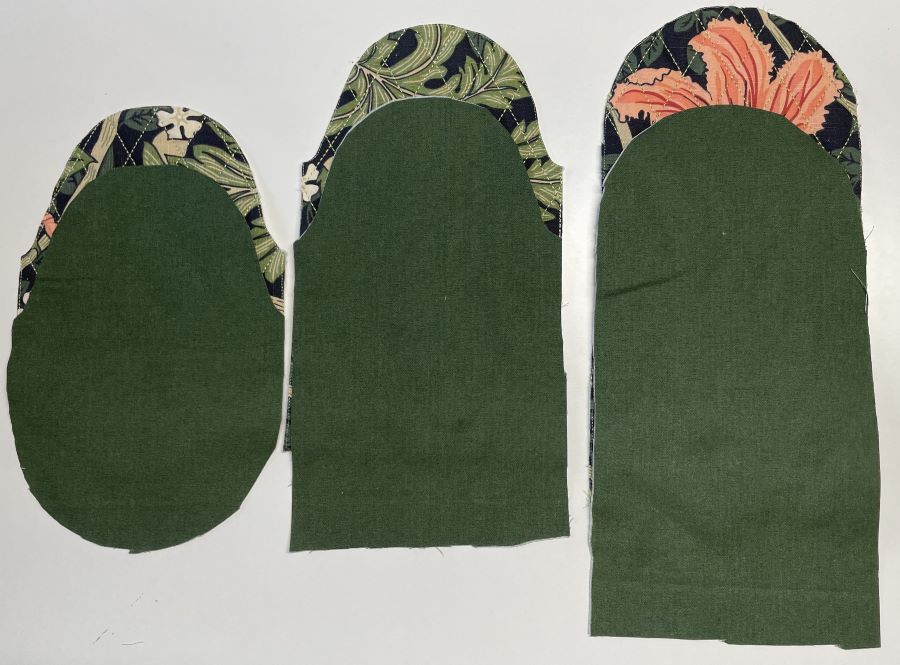
Cutting out the lining:
- Cut out the lining parts using the outside pieces as a guide.
Sewing it all together:
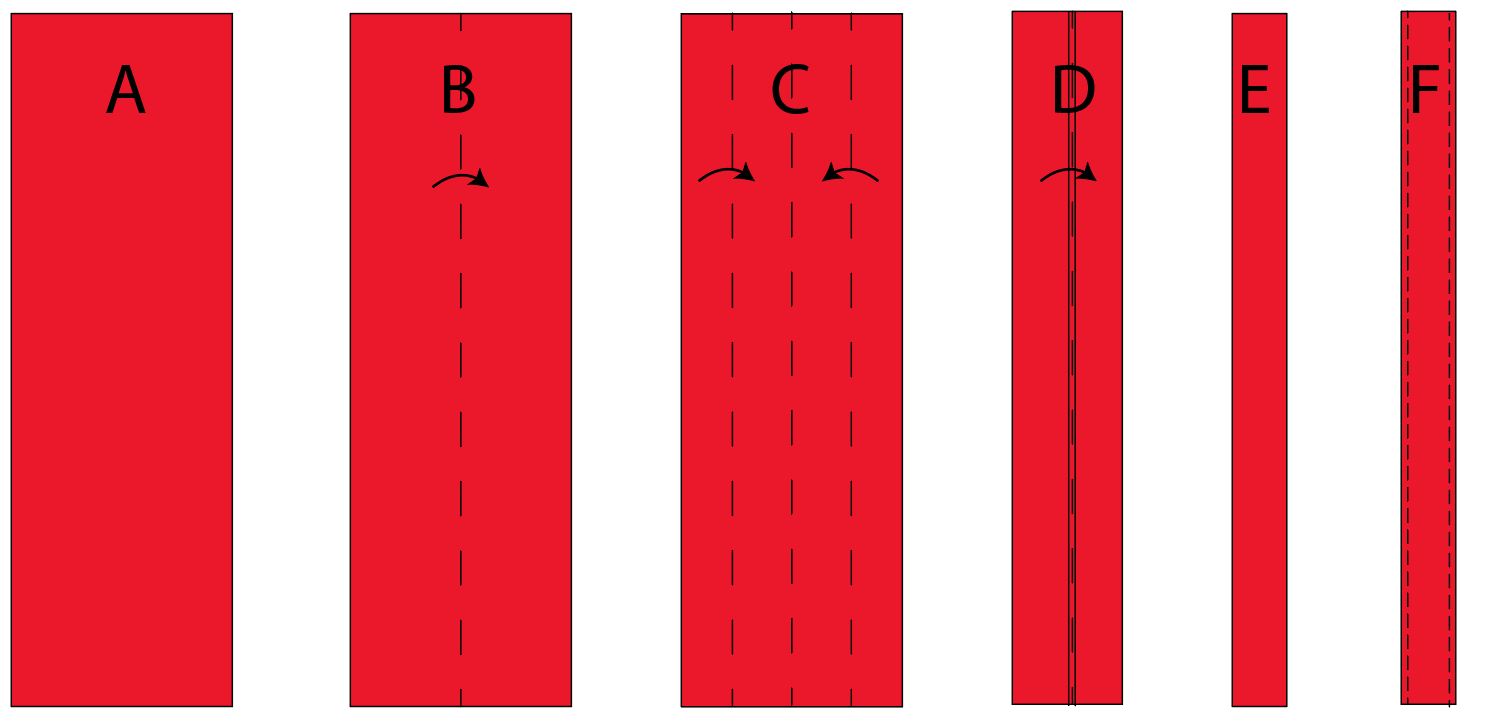
- First we make the hanger: From outside fabric cut a piece 6”x1½ (15x4cm).
Follow the steps A to F below: Fold the piece lengthwise(B), open and fold the edges towards the middle( C-D). Fold together and topstitch close to the edges.(E-F)
- Sew the mitt inside and back piece together at the rounded edge. Use a small seam allowance here, ¼” (6mm).

- Place the front on the table right side up and place the sewn piece on top. The front piece will be a little longer at the bottom edge. Cut away the excess.
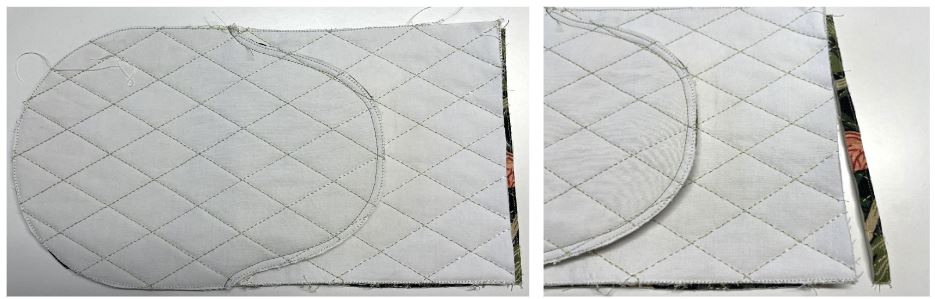
- Sew the pieces together up to the intersecting seam and tie off. Move the grip piece down and continue to sew around the rounded edge, tie off.. Move the grip piece up again and sew the last section of the seam. Cut in to the seam at the intersecting seam
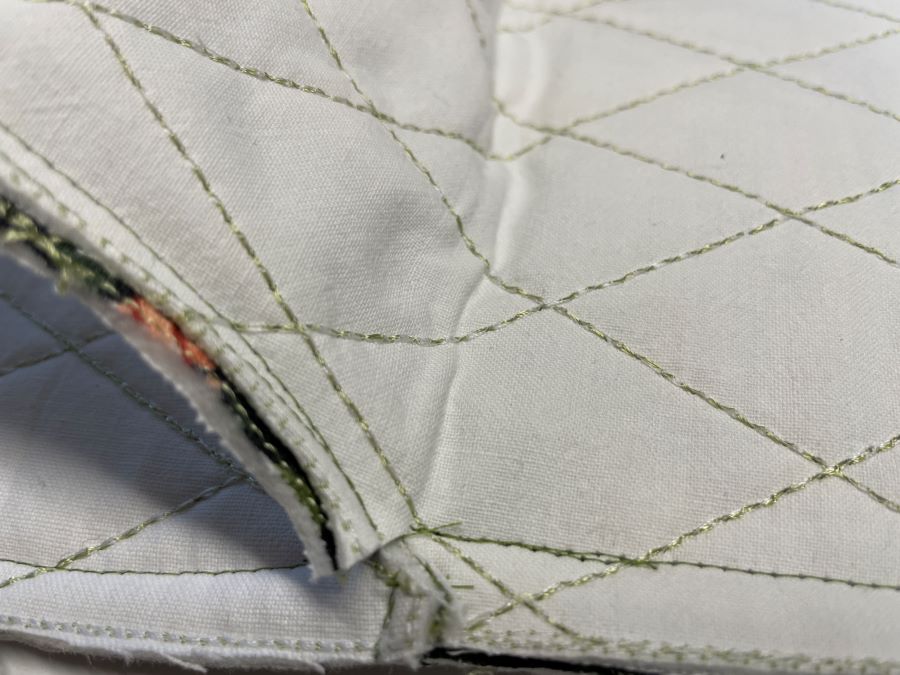
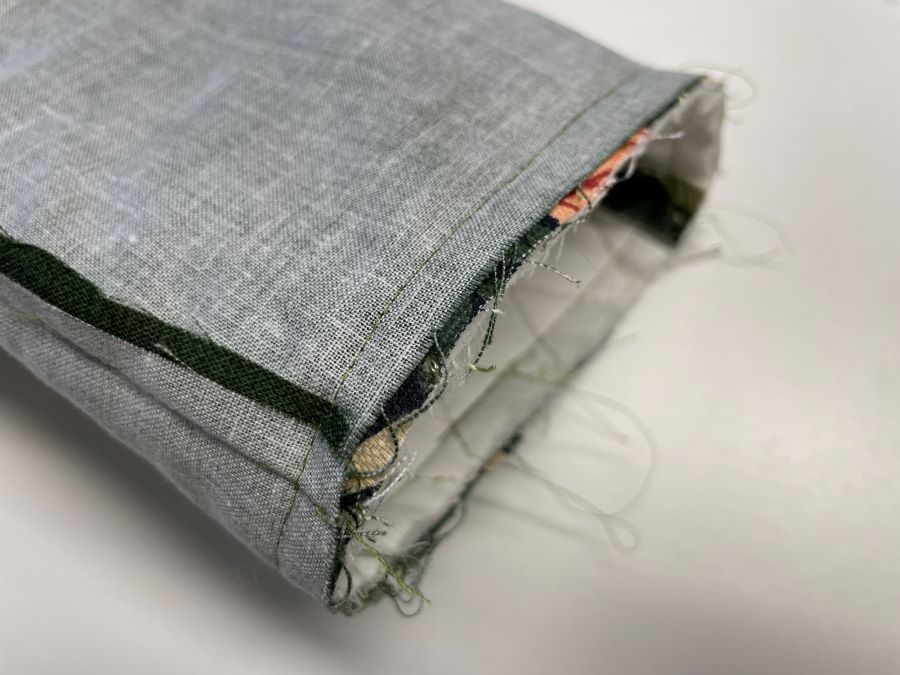
- Turn right side out and press.

- Repeat with the lining pieces, but leave an opening at one of the sides for turning.
- Locate the middle of the back piece and pin the hanger in place.
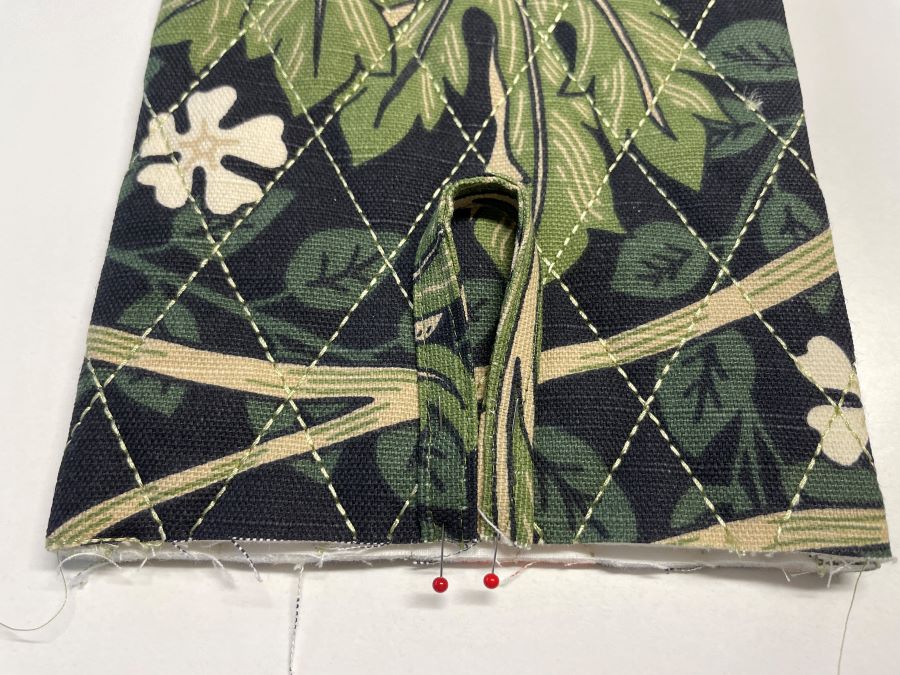
- Put the lining and the outer mitts together, right sides facing each other. Take care to get the lining pinned in the correct position,the front piece to the front piece and the back piece to the back piece. Sew together with a ⅜” (1cm) seam allowance around the edge.
- Turn right side out and fold the seam allowances on the lining together. Topstitch close to the edge to close the opening.
- Turn the lining to the inside and topstitch close to the edge around the opening.
Now you have finished your oven mitt! In the future there will be instructions on how to change and personalize the design.
- TIP: It is possible to use the resize function if you want to make the oven mitt smaller, just remember to resize all the different parts so that they will fit together. Place the embroidery files on top of each other in the program before resizing to ensure accuracy.