 United States
Learn how to make Fine Art with your Embroidery Machine! Part 2
In lesson 1 we made the sky with the help of quilt wizard, but now we will use another module, the Sketch Program to make the sky look more realistic.
1. First open the sky file we made in lesson 1:
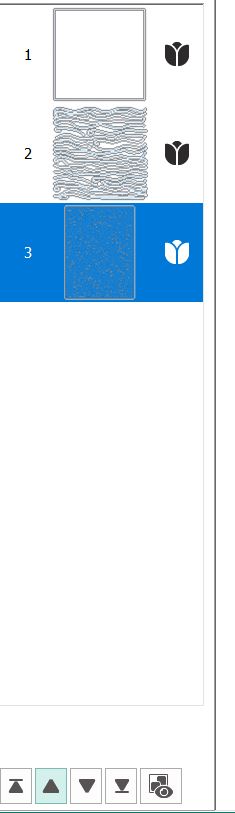
2. Click on the fill pattern in the filmstrip on the left side and click delete
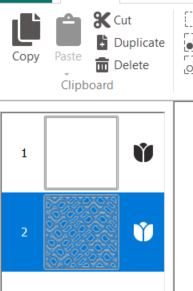
3. Now you only have the first part left:
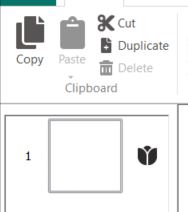
4. Go to Create and select the Sketch Module.

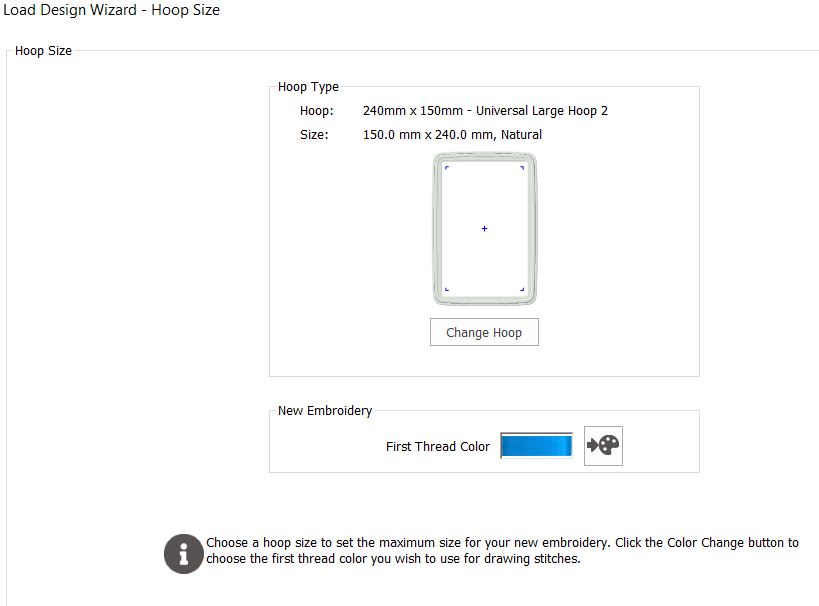
5. Select Start a New Embroidery File with no Picture.
 6.
6.
6. Click on Change Hoop.
7. In the Enter Size box, click on Enter Hoop Size. Set the Width and Height to 140mm.
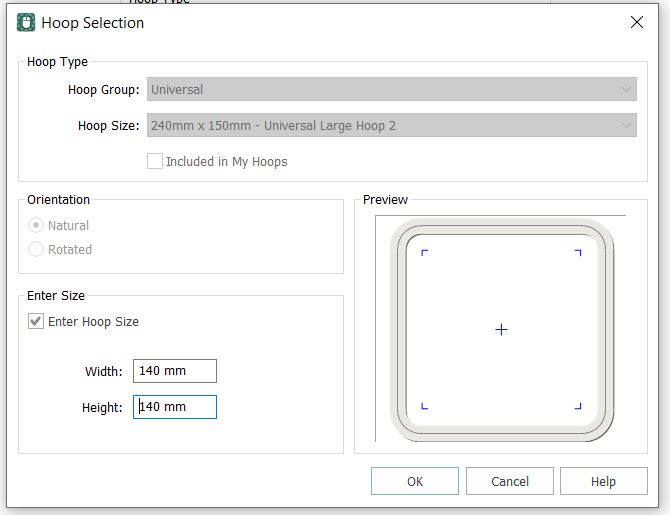
8. Click on finish.
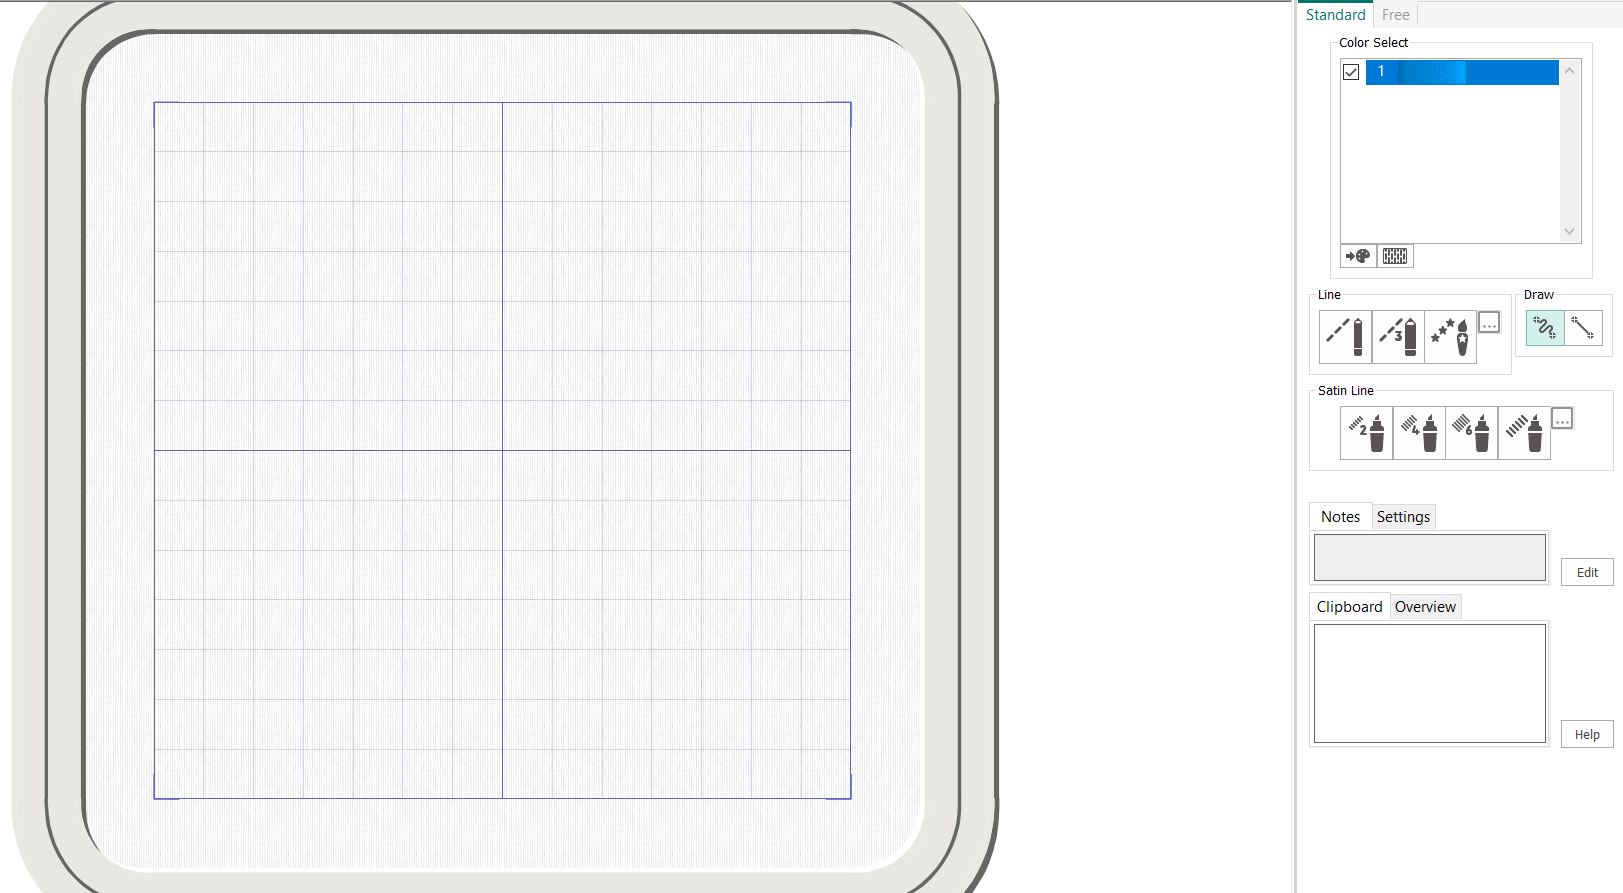
9. On the right side of the window, you can see some tools, we will use the line tool. You can select single stitch (the first pen), triple stitch (the second one) or motif line (the third). I will use the single stitch.
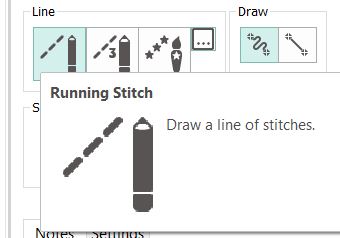
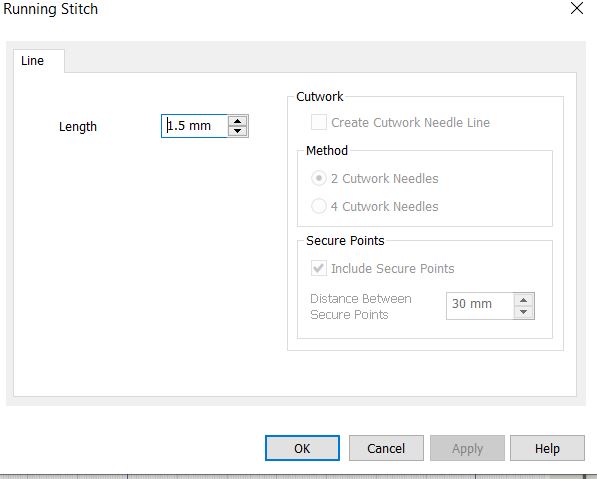
10. In the box with the three dots at the right side of the motif line pencil you can click to change the property of the stitch, change the length to 1,5mm to get smoother lines and curves.
11. The pen tool makes lines as you move over the surface holding down the left button on your mouse. When you release the button, it will convert the line into stitches.
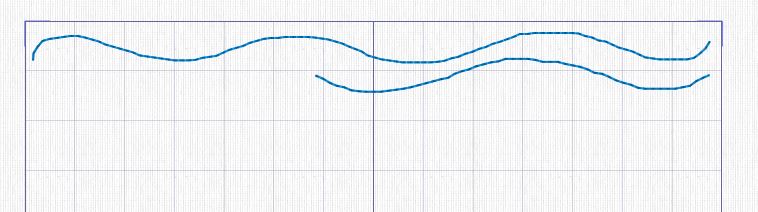
12. Move the pen tool over the surface in wavy lines to create the sky effect. Remember to stay inside the hoop area, if you do not like the line you made, just click on the undo arrow on the top.
13. Make the first line on top from left to right, the next line from right to left. Making the lines in this way makes stitching out easier.
14. When finished right click to unselect the pen.
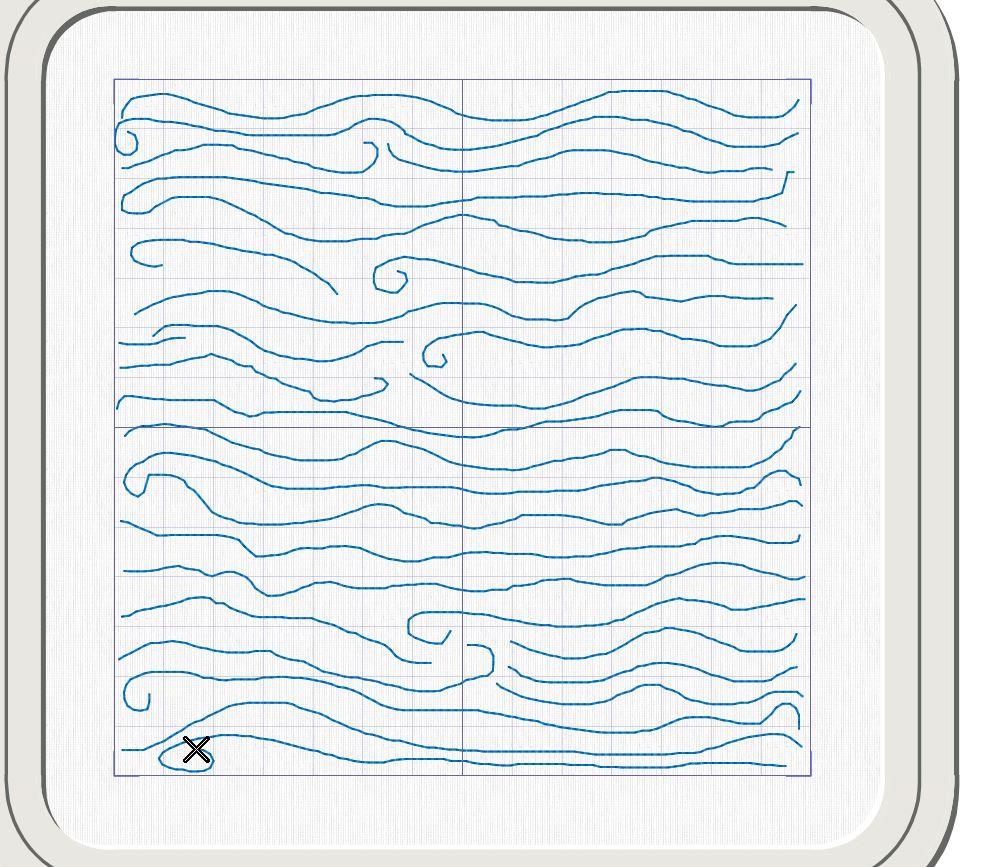
15. If you want to change the stitches you can zoom in and click on the stitch you want to move. If you accidentally made a line outside the hoop area, you remove the stitches like this:
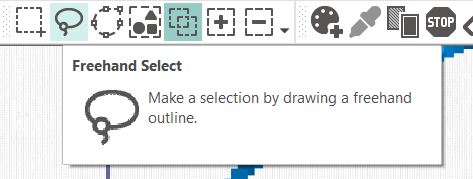
16. Click on the freehand select tool, make a ring around the stitches you want removed. And click on the waste bin.
17. Now go to file and select Save As. Save the embroidery file as Sky1. In the future you can make many different skies to choose from when you are creating your art pieces!
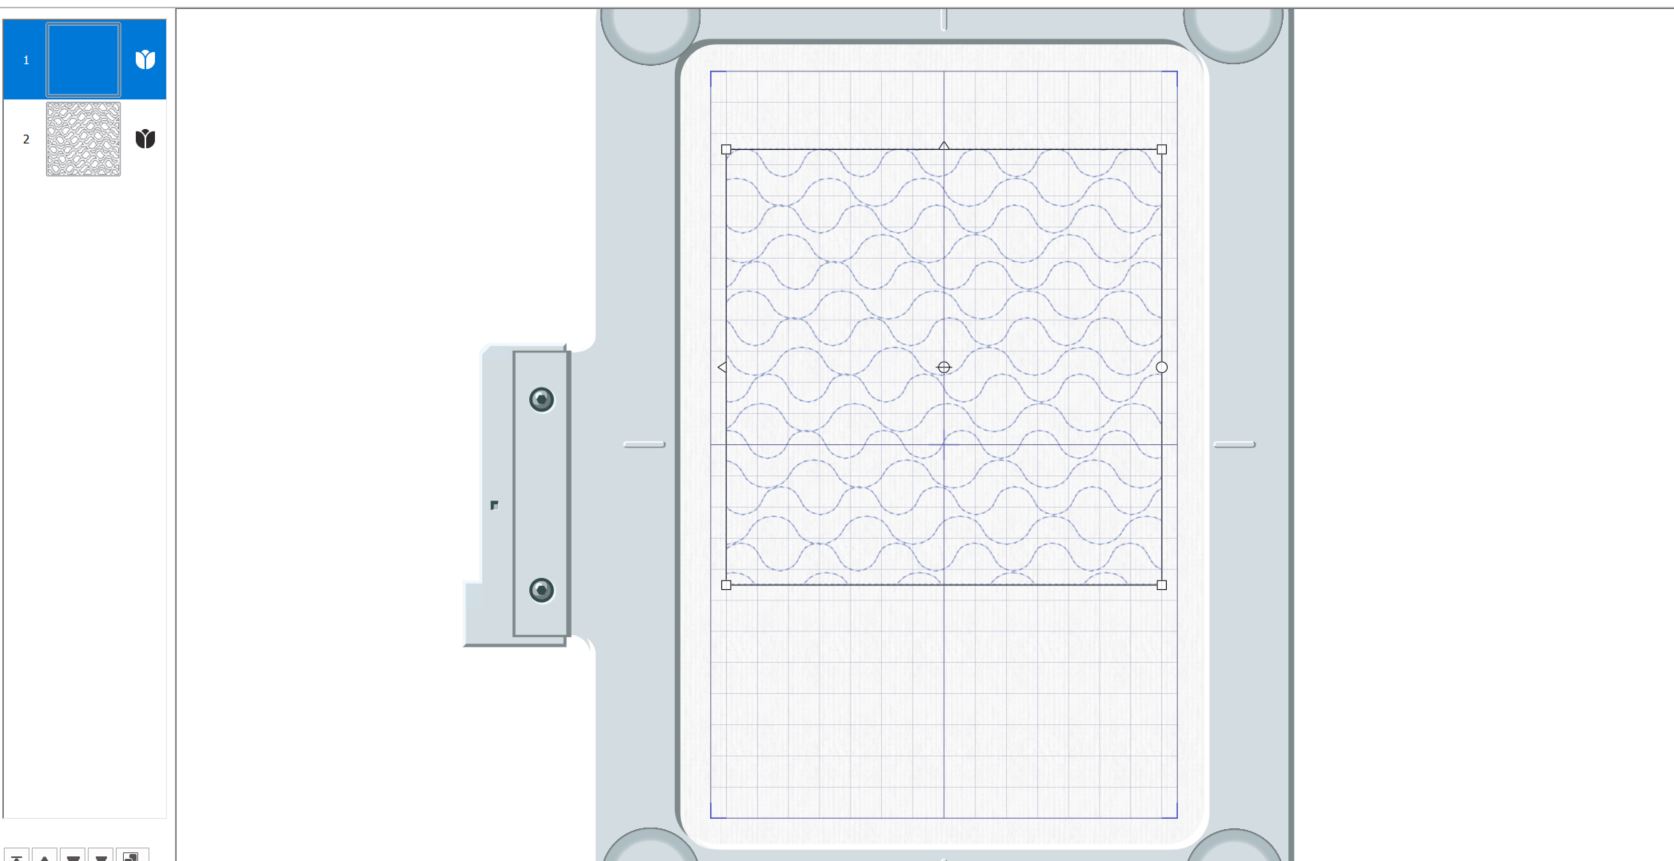
18. Next step is to click on Copy. The embroidery will now be visible in the clipboard. Close the sketch program and return to where we started. The embroidery is on the clipboard. Go to the Home tab and click on paste.
![]()
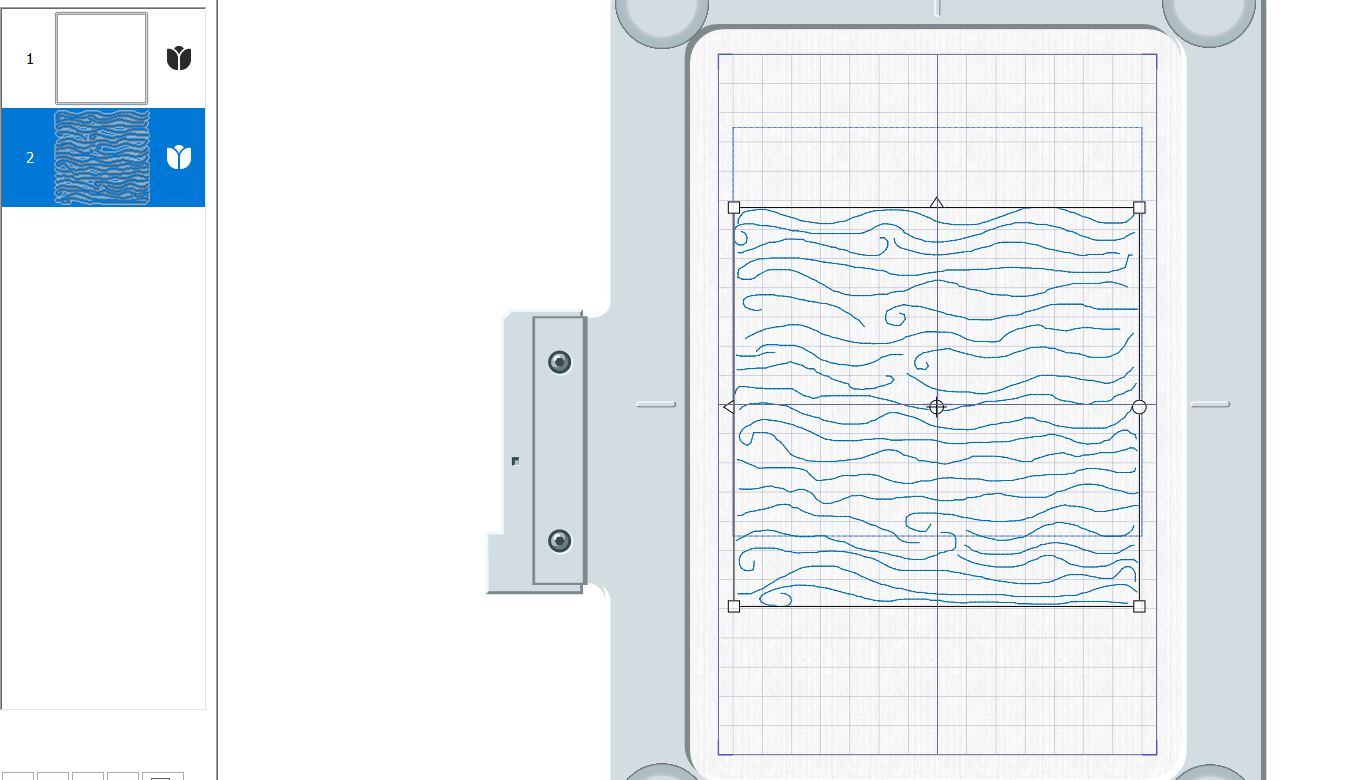
19. Move the embroidery inside the square with the arrow keys.
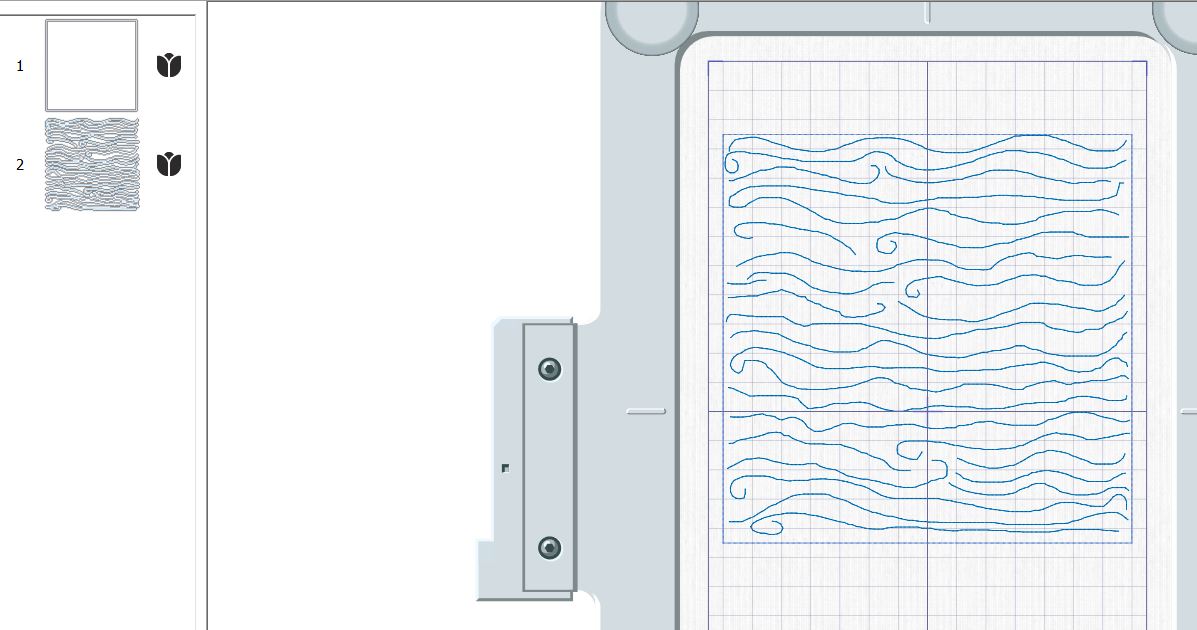
20. Now go to File and Save As, give it the name Sky1 combined.
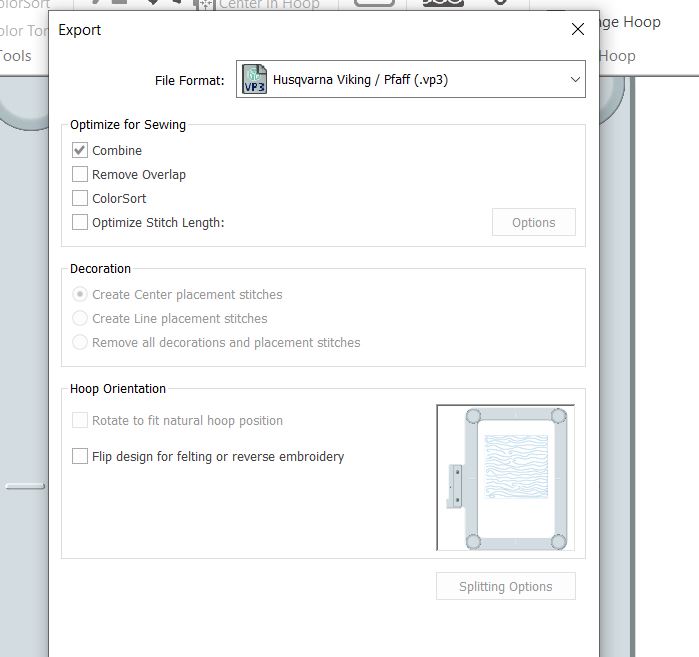
21. Go to File, Export. Select your preferred file Format and Uncheck everything except Combine. Click on ok and save the file where you want it.
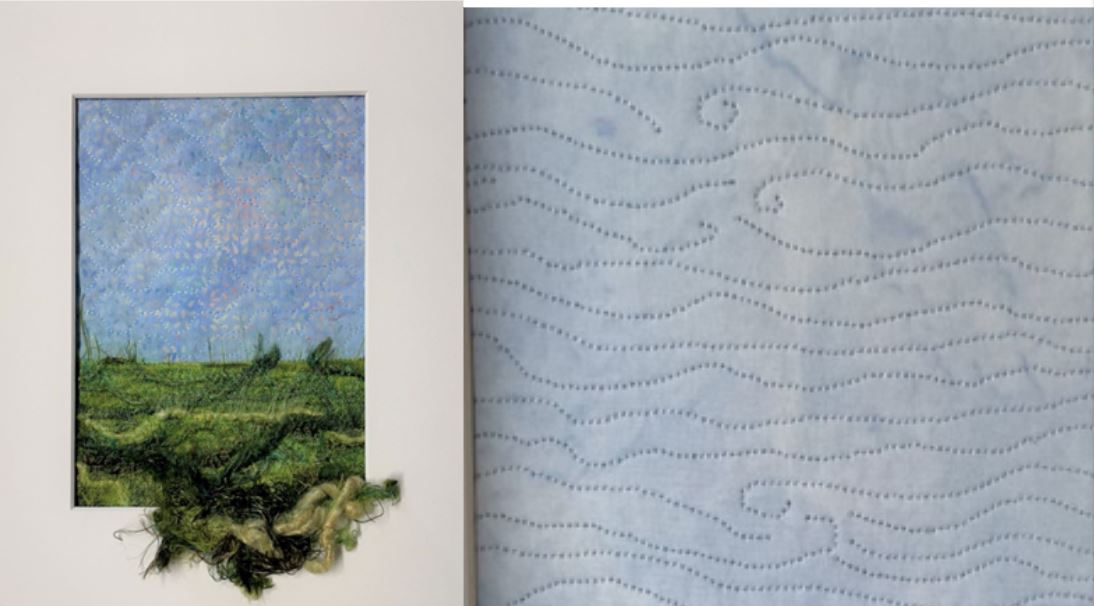
Let´s see how it looks when stitched out!
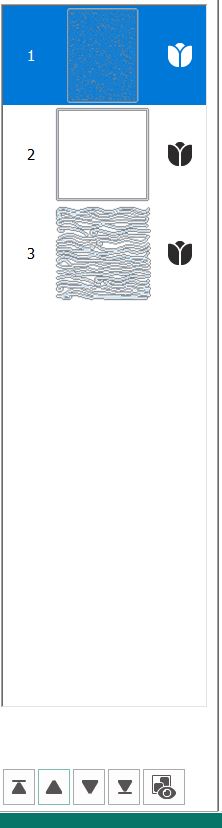
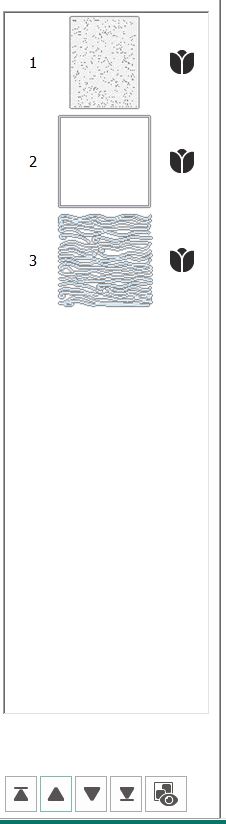
22. Go to File and Insert the Background 140x190 file we made in lesson 1. Use the arrow keys on the filmstrip to move it to the top.
23. Next insert the file Grass 140x60mm
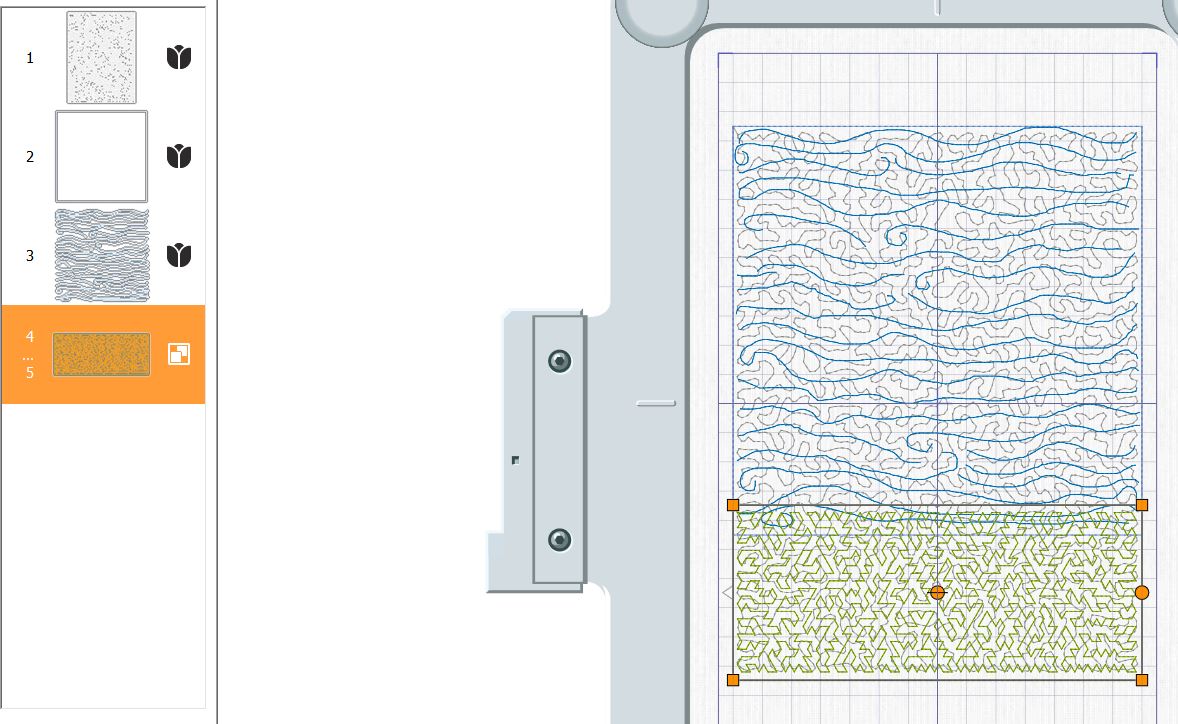
24. Click on File Export and select your preferred format. Uncheck everything except combine. Name it lesson2.
25. Stitch out following the instructions from lesson 1.
Now you have made your unique sky for upcoming projects!