 United States
Fringe Embroidery Technique
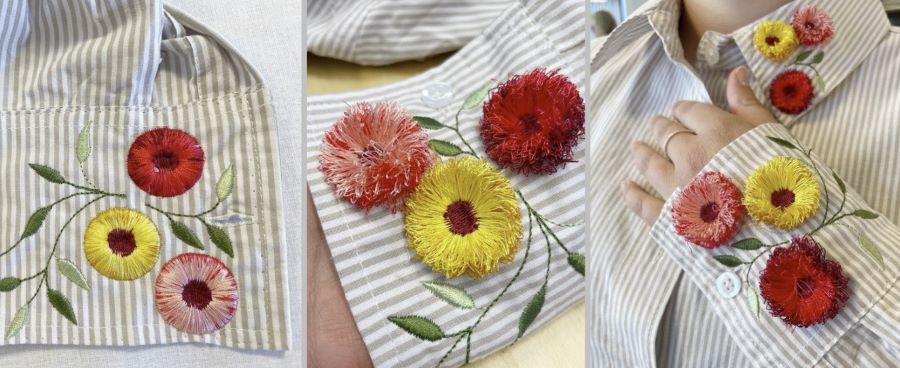
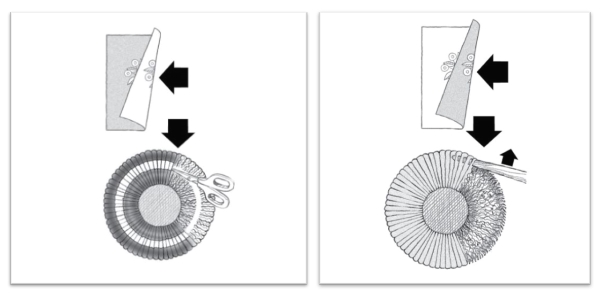
Fringe Embroidery adds texture and a 3D effect to your project and is an easy and fun technique! There are two different ways of creating and cutting the fringe effect. Either you cut the bobbin thread to get fringe with loops or you cut the thread at the edge to create a non-looped fringe.
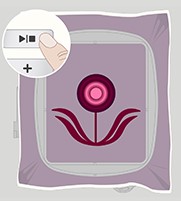
Embroider
Embroider all the colors in your embroidery.
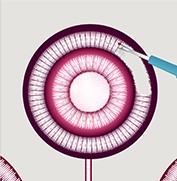
Cut Bobbin Thread
Remove the hoop. Turn the hoop over and remove the stabilizer. Cut the long satin stitches of bobbin thread with your seam ripper.
Fringe
Turn your embroidery to the right side. Pull the threads that you have just cut to the front.
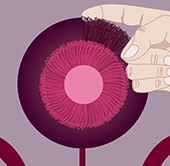
Tips: You can also choose to cut the satin stitches open from the front side to get a design without loops.
Here are two additional illustrations of the techniques:
Done!
If you have project files in your machine you can get the directions right on the machine screen and even filter on the technique to find fringe embroidery designs included in your machine.
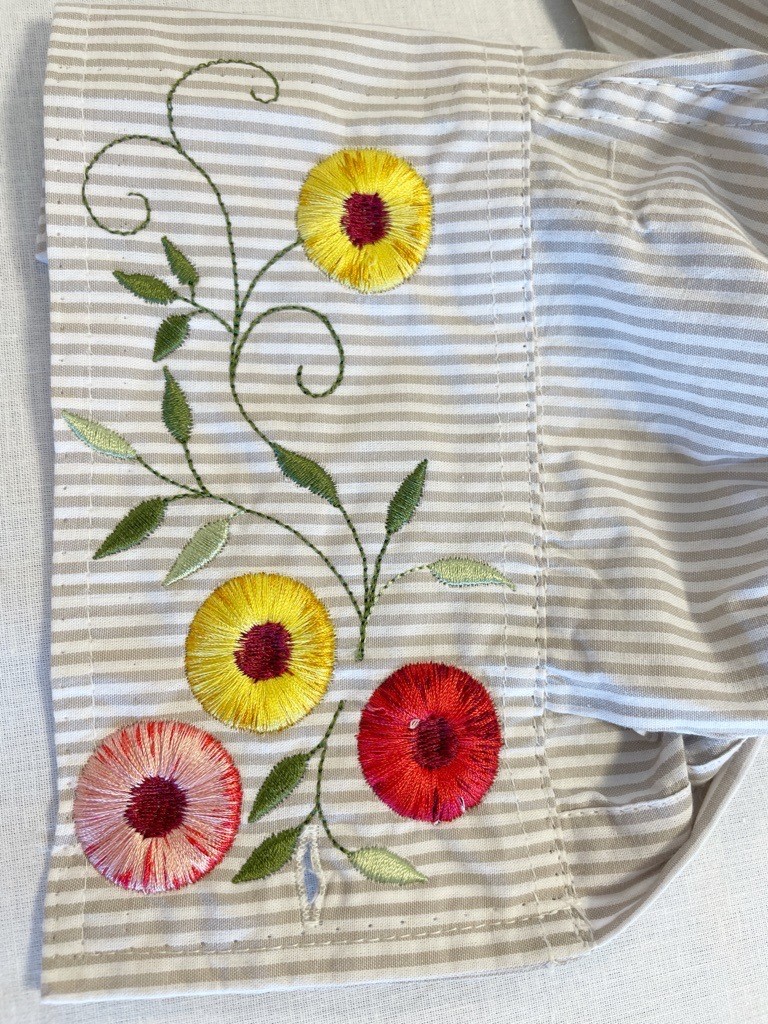
Before
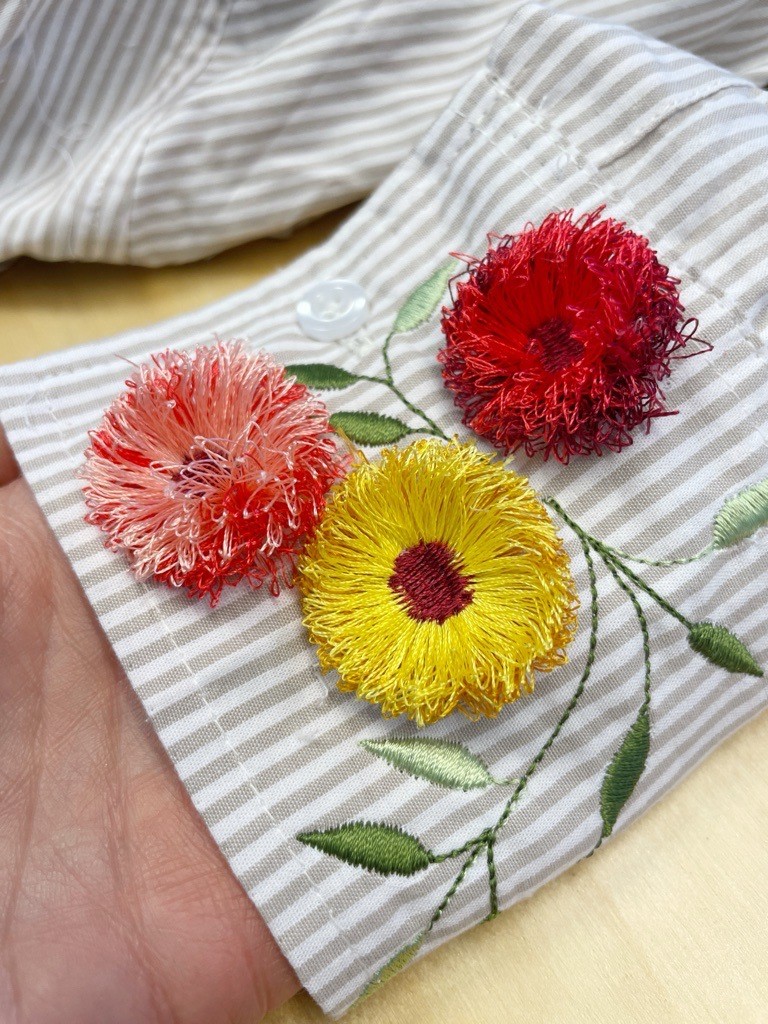
After
Here are some designs in mySewnet Library with Fringe that can now be found in the Techniques section on the search page.