 United States
Flutter into Fun: DIY Embroidered Butterfly Cake Topper
- By Emily McGinley
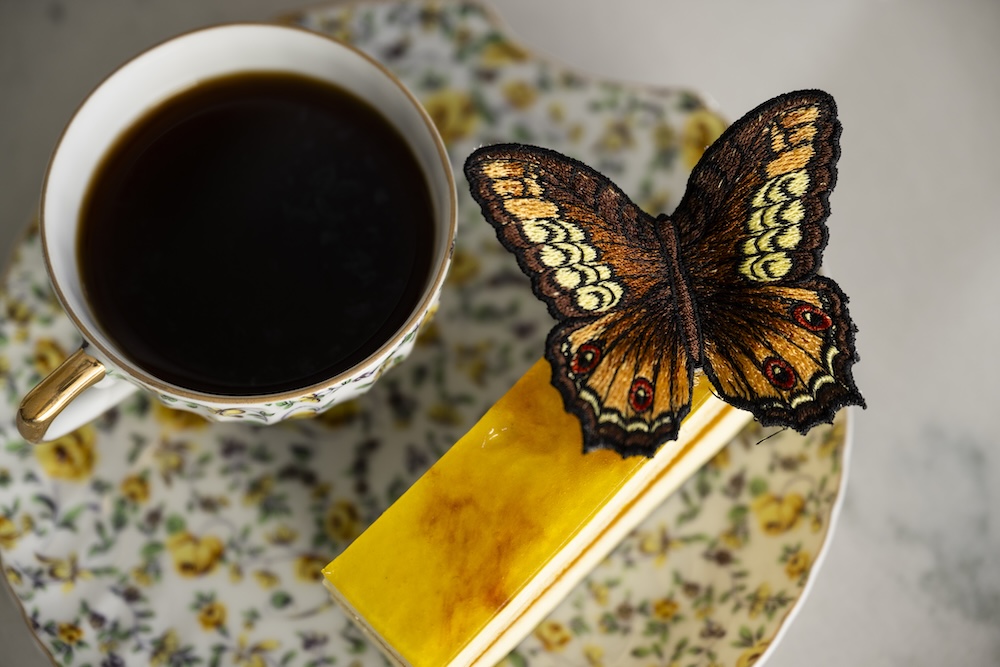
Meet Emily McGinley, our Senior Global Product Specialist who transforms her free time into a whirlwind of creative sewing projects. In this tutorial, Emily shares her expertise to teach us how to craft a stunning Butterfly Cake Topper. As she puts it, "I am a much better sewist than I am a cake decorator, so I was determined to add an embroidered decoration." This free-standing embroidery butterfly not only adds a unique and beautiful touch to your cake but also serves a practical purpose by protecting your frosting from cling wrap if you don’t have a dome top. Let's dive into this delightful DIY project and make your next cake truly memorable.
What you need:
- Embroidery machine
- Water soluble stabilizer
- Embroidery thread
- Bobbins
- Bowl
- Hot glue gun
- Hot glue
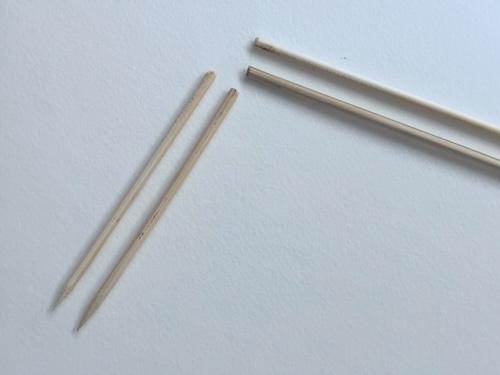
- Wooden skewers
- Heavy duty scissors or small saw
- Ruler
- Cake
Stitching the Free-Standing Design
1. Choose a free-standing embroidery design. Many machines come with one built-in.
Tip: You can easily find more on the mySewnet Library by searching or filtering
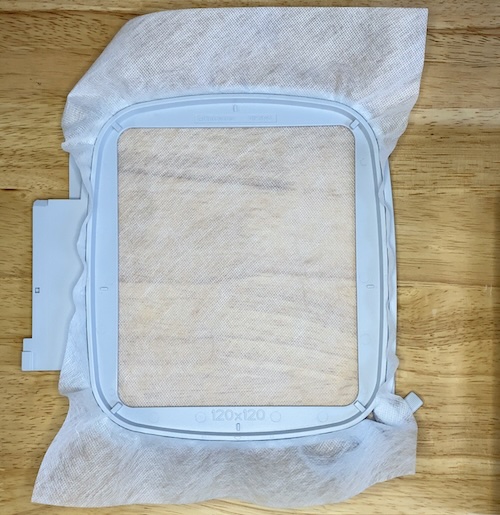
2. Hoop water soluble stabilizer to stitch on.
3. When embroidering a color, make sure you have a bobbin with matching thread rather than bobbin thread as you will see the underside of the embroidery.
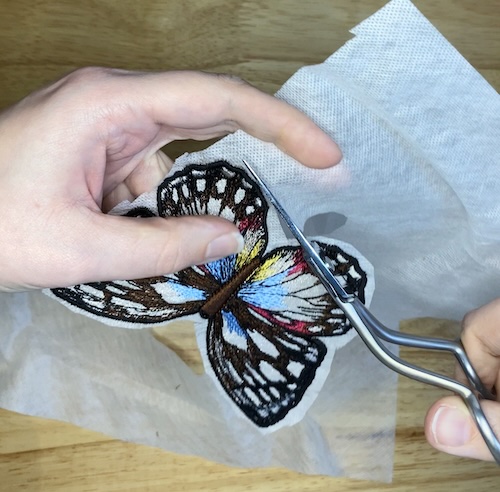
4. When your design is done stitching, cut away as much stabilizer as you can.
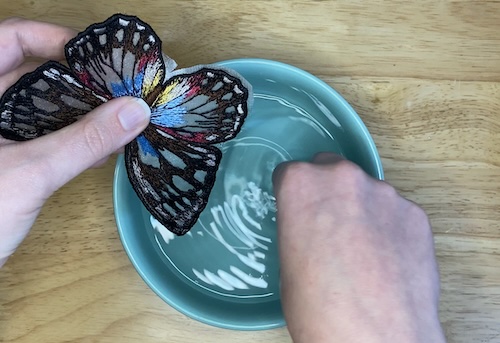
5. Rinse the rest gently using a bowl with warm water. Do not remove all the stabilizer from the design, you just don’t want any stabilizer outside of the design.
6. When you have removed the surrounding stabilizer, let the piece dry. Please note that what state the embroidery is resting is how it will dry.
Tip: When doing the butterfly, I placed mine in between 2 cups to have the wings bent when dry
Completing the Decoration
7. Measure approximately how tall your cake is.
8. Subtract 1-2” (2-5cm) from this measurement and mark that on your skewer.
Note: You will want to measure from the pointed end when marking.
9. Cut on this mark and keep the pointed end.
10. When the embroidery is completely dry, use your hot glue to attach the cut end of the skewers to the embroidery.
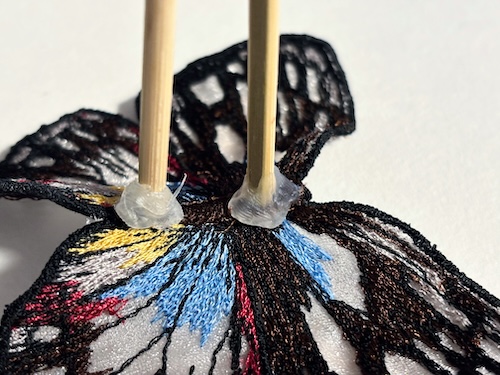
11. Place the decoration in your cake, making sure the embroidery doesn’t actually touch the cake but hovers over it slightly.
Bonus tip: If you are using this to help protect your frosting, make sure you cut your cling wrap so it can drape over the cake. I used two pieces that crossed and then secured the wrap under the stand. And remember the higher up the decoration, the less likely your cling wrap is to touch the frosting.