Easy Placemat with Blocks
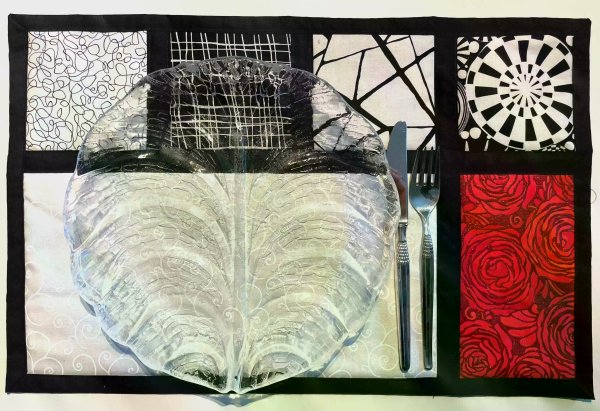
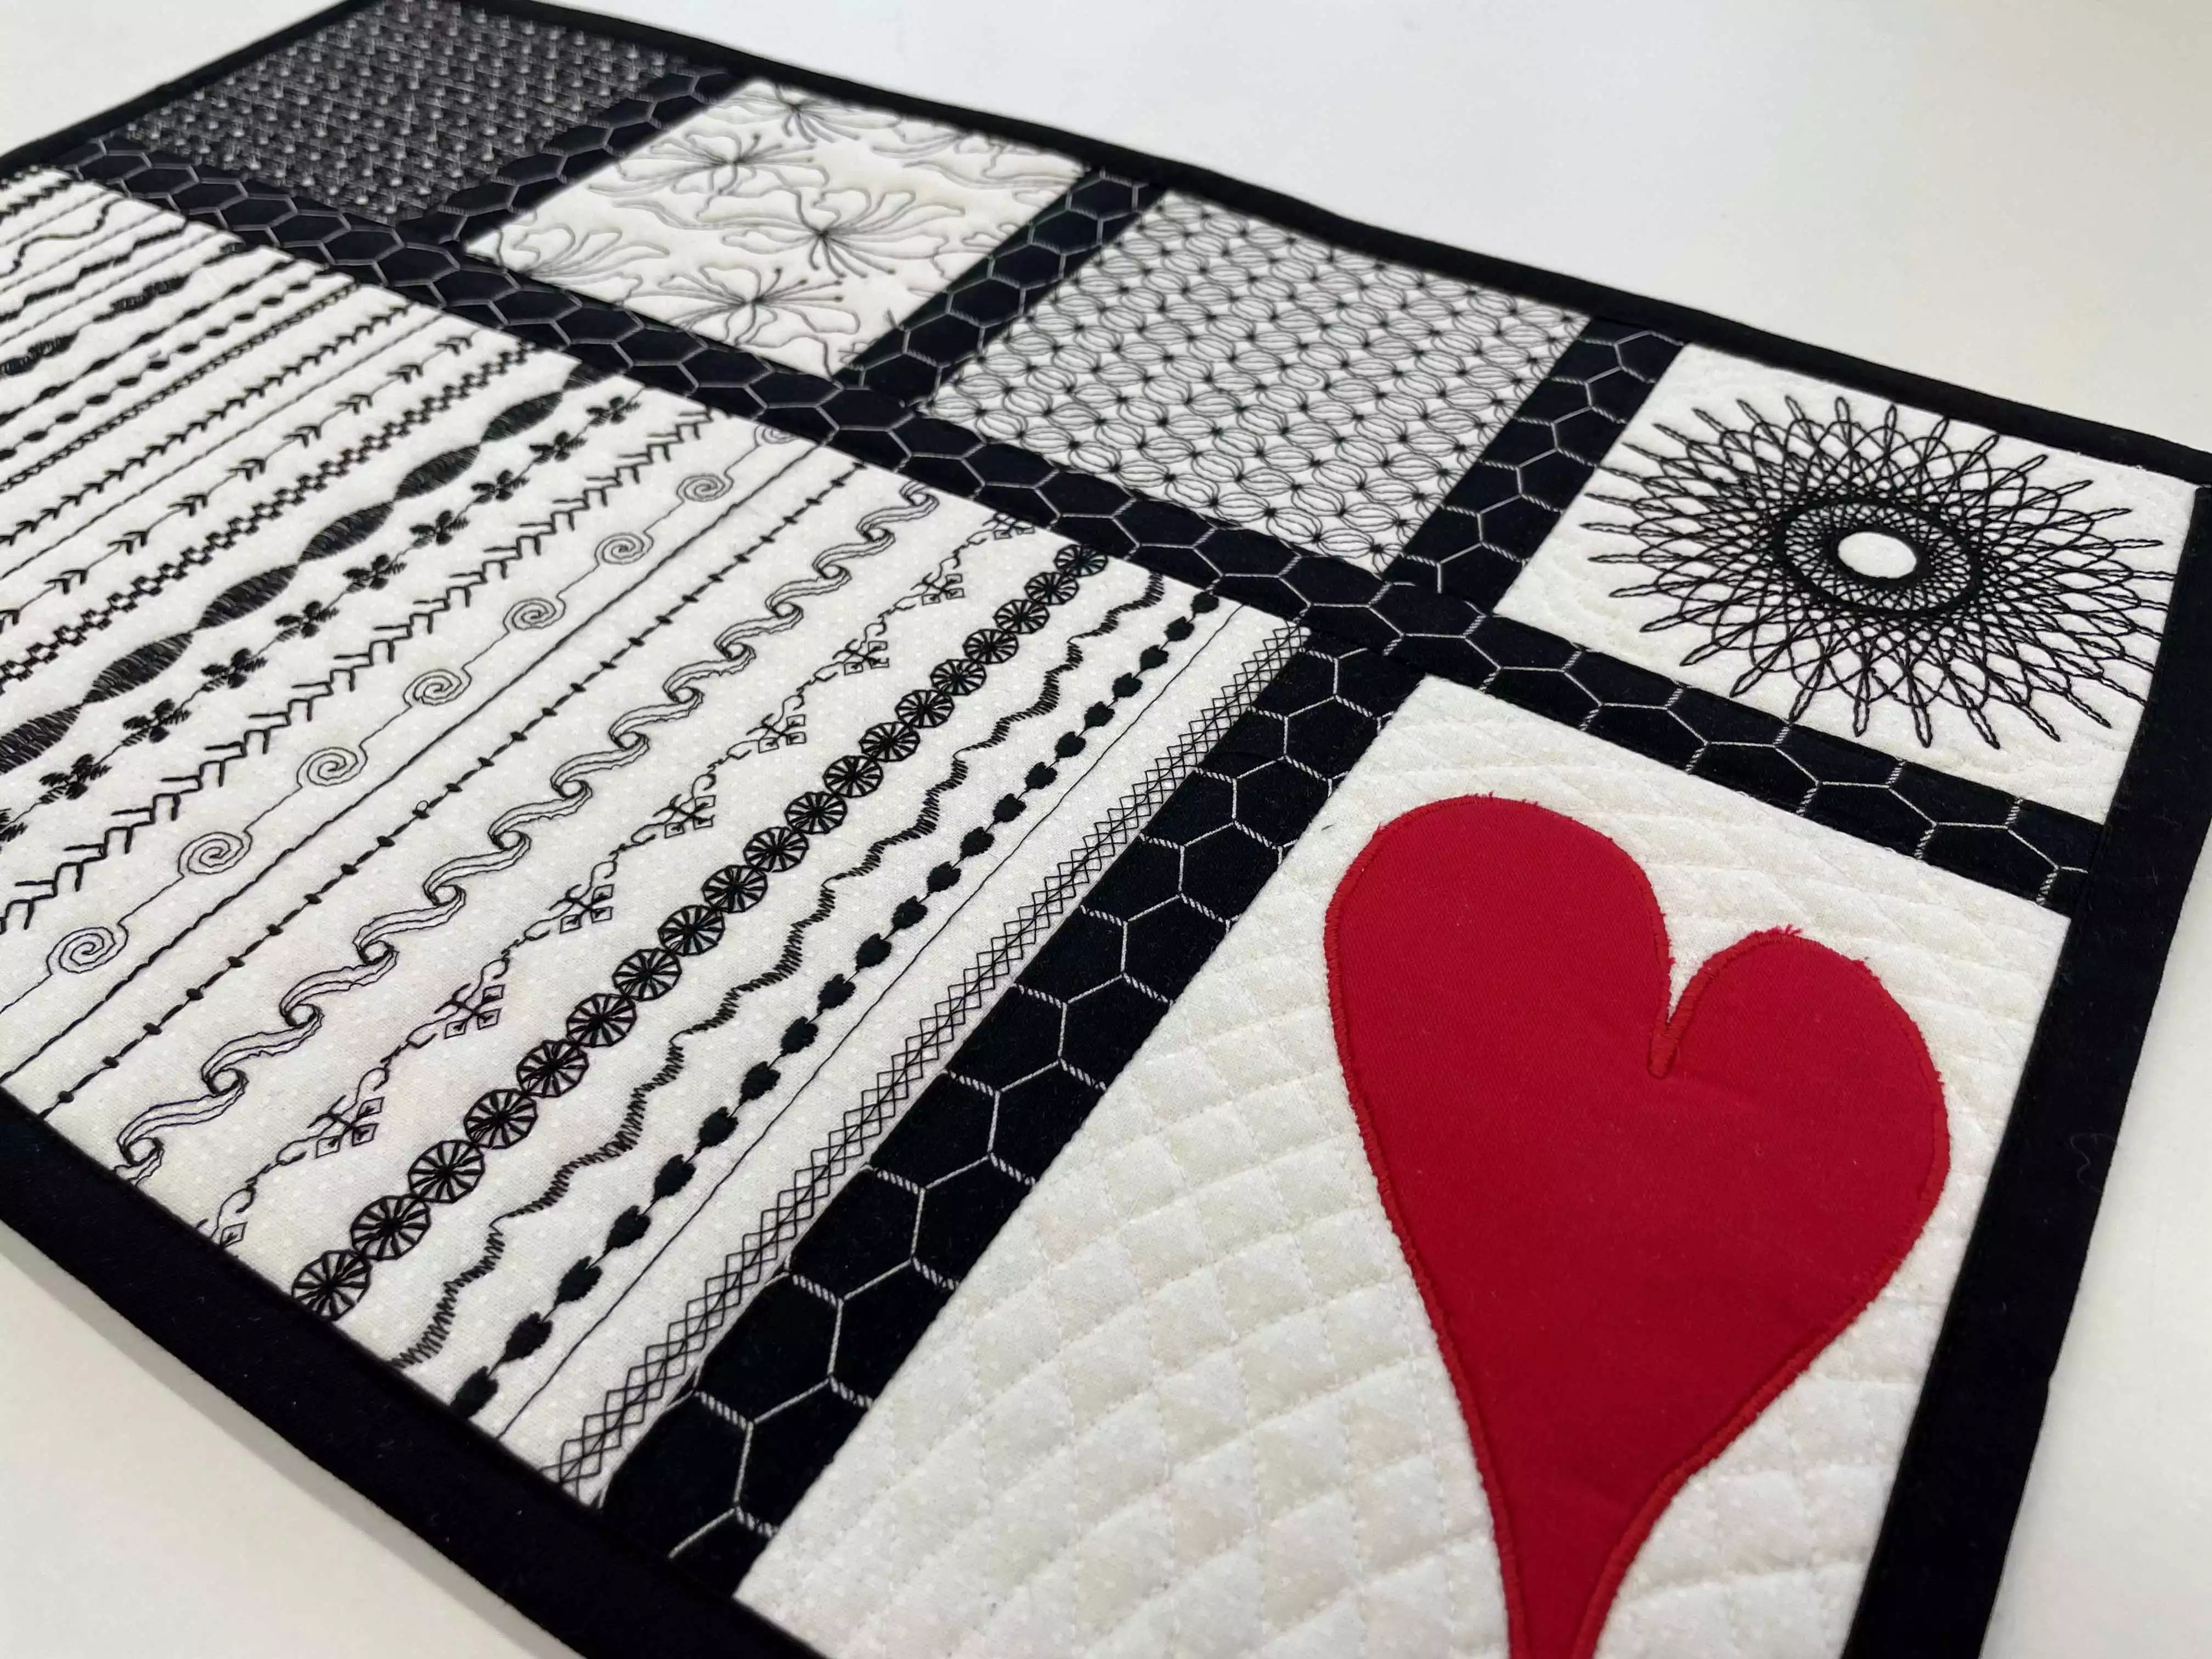
Dinner for two?This simple placemat will look great in many different fabrics. It is also a good opportunity to show some of your finest fabrics in the different blocks! If you have the mySewnet embroidery software you can stitch out the squares instead. Find the project Here:
What you need:
For each placemat you need:
- White and black printed cotton fabric for the blocks: four pieces 5x5"(12x12cm)
- Red cotton fabric 1 piece 8"x5"” (20x12cm)
- White cotton fabric1 piece 16x9” (40x22cm)
- Thin batting 20"x13" (48x32cm)
- Fabric for the back of the placemat and the fold-over binding, black cotton 23x16” (55x39cm)
- Black sewing thread
Putting it all together
1. Arrange the different fabrics for the placemat.
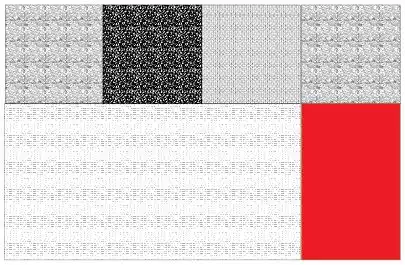
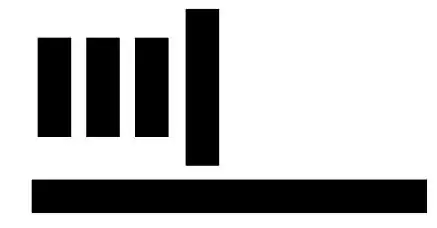
2. From the sashing strip cut three pieces 5"(12 cm) long, one 8”(20cm) and one 20” (48cm).
3. The blocks will be sewn together with the sashing strips in between: Take the top left square and sew a 5" ( 12cm) long sashing strip on the right side of the block. Use ⅜ (1cm) seam allowance
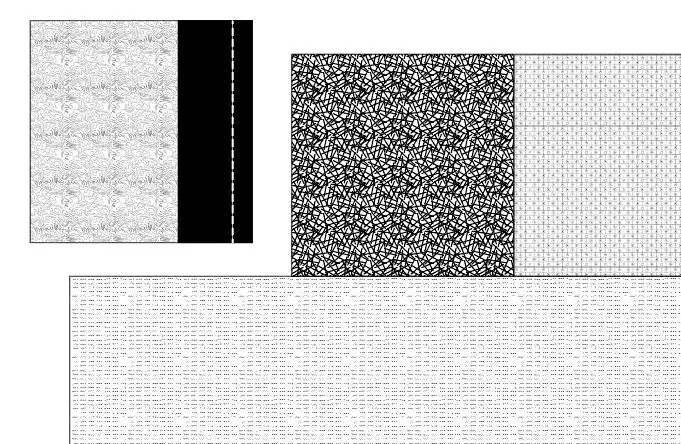
4. Sew the next square to the other side of the sashing. The finished result will look like this on the right side and the wrong side:
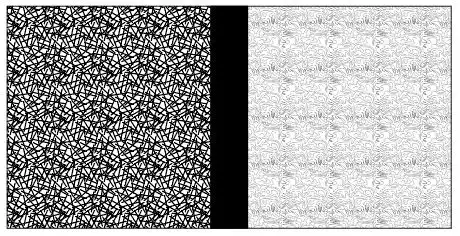
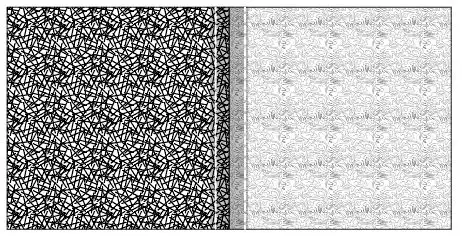
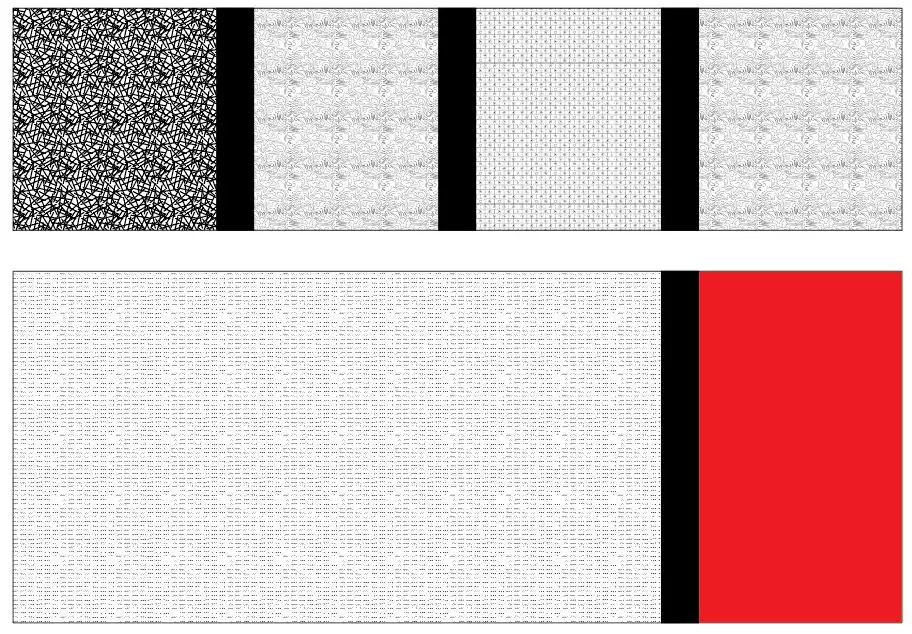
5. Continue adding sashings between the squares, and between the large and small rectangle. The finished result of this step will look like this:
6. Finally put it all together with the long strip.adjust the size of the left top square if needed to get the right size.
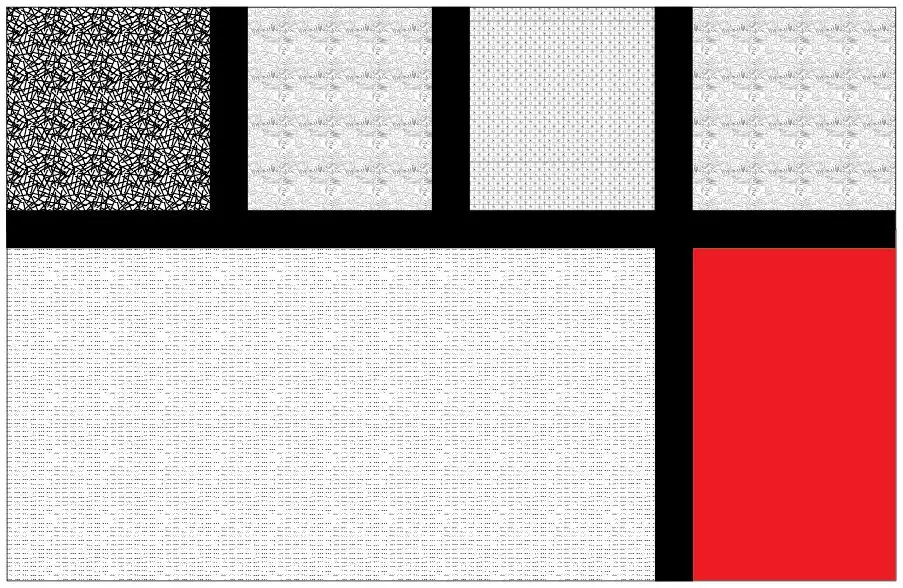
7. Press the placemat and attach a layer of thin fusible batting on the wrong side. Place the backing fabric on the table and lay the placemat on top, right side facing.The backing fabric must extend at least 1” (2,5cm) on all sides.
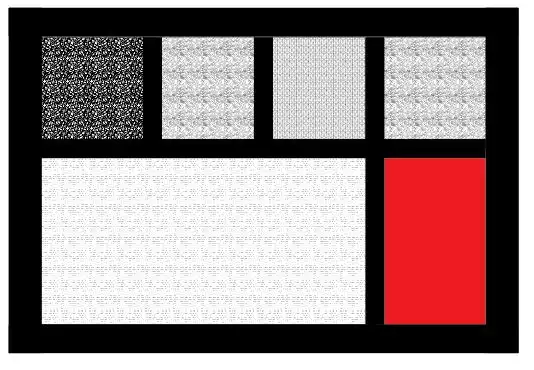
8. Pin and topstitch close to the outer edges and on top of the sashingCut away excess background fabric, leaving a 1” (2,5cm) margin.
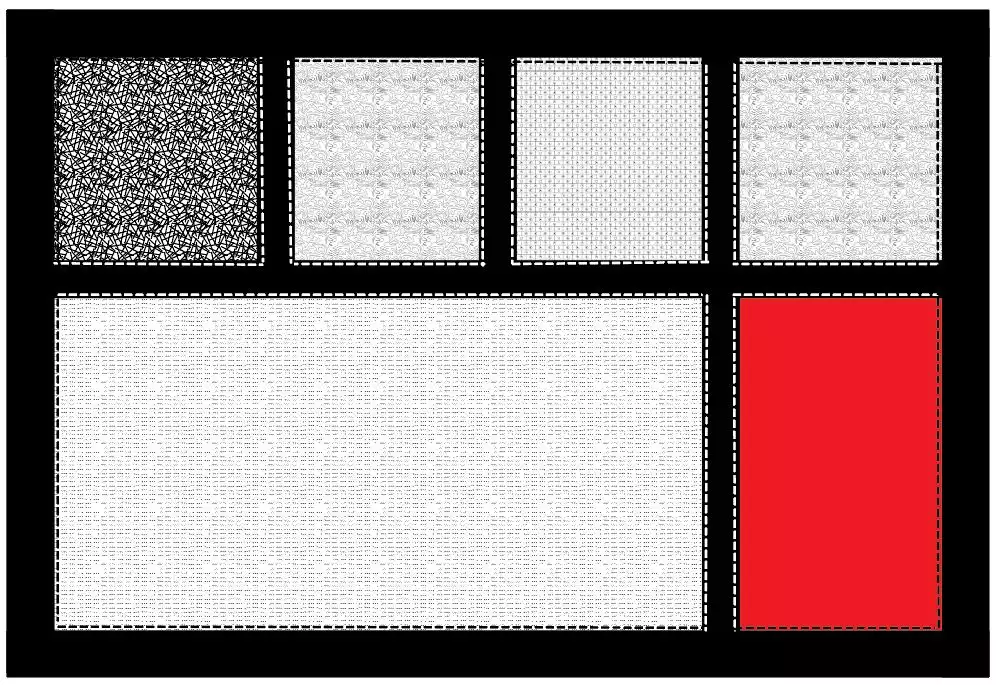
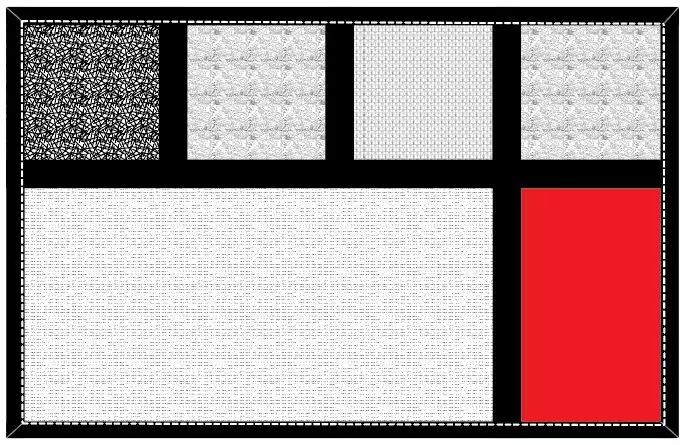
9. Fold the backing fabric towards the edge of the placemat and then one more time to cover the edges. Make the corners mitered. Topstitch close to the folded edge, about ⅜” (1cm) from the outer edge
If you want to do the placemat with embroideries instead, go to the advanced project and learn how to make it from scratch! Find the project Here:
© mySewnet Studio


 United States