Earbud Case
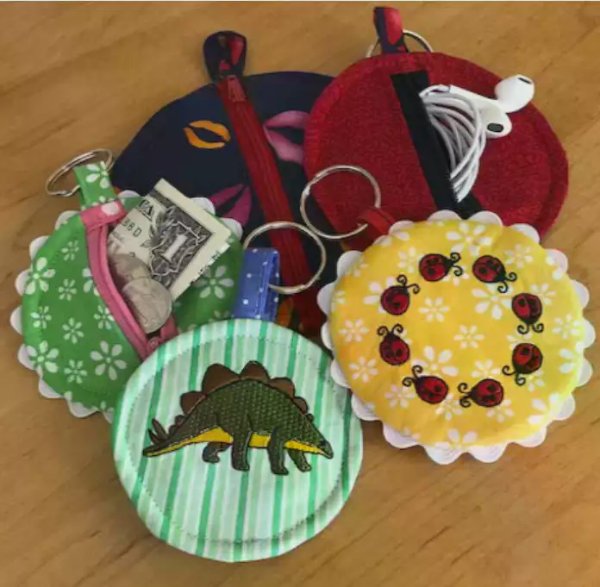
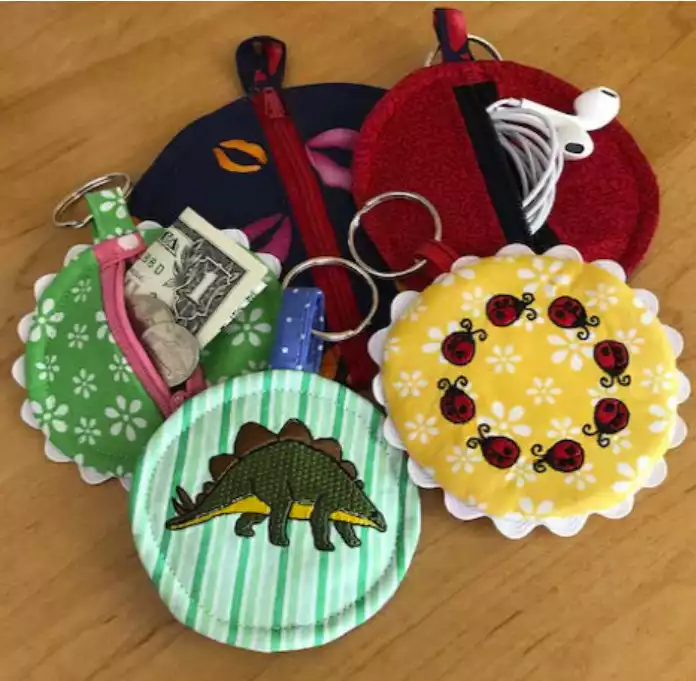
Get the kids ready for summer camp or back to school by making them their own earbud case. It’s also great for change and keys.
What you need:
- (2) 10” squares each of two coordinating fabrics (you will have a total of 4 squares)
- 2” x 10” Extra strip of both fabrics
- ¼ yard shirt weight fusible interfacing
- key ring
- 12” rick rack (optional)
- Sewing thread to match fabric
- Removable fabric marker
- Rotary Cutter, cutting mat and ruler
- Beige fabric in different shades/patterns
- Thread in matching color
Lets cut this out…
1. Cut 2 circles, of your desired size, from each fabric and from the interfacing.
2. Take one circle of each fabric and one from the interfacing and cut them in half. If using embroidery, center the embroidery in the circle.
3. From fabric for the back side (the side without the zipper)
4. Cut 2 strips 1” x 2 ½”
5. From the fabric for the front side (the side with the zipper)
6. Cut 1 strip 1 ½” x 5”

A little prep work…
1. Following directions for the fusible interfacing, fuse it to the wrong side of the back circle (after embroidery and cutting) and to the 2 front half circles.
2. Fold the 1 ½” x 5” strip in half lengthwise and press. Unfold and press both lengthwise edges into the center to match the press line. Press closed.
3. On the 1” x 2 ½” piece fold each short end in ¼” and press. Fold the piece in half short-wise and press, with the previous pressing to the inside.
My favorite part, SEWING….
1. Lay the zipper on the circle pattern. Unzip the zipper so that the zipper pull is in the center of the circle. Trim the zipper, trimming off the metal stops if possible. This prevents you from sewing into them later.
2. Sandwich one end of the zipper in the fold of the 1” x 2 ½” fabric piece.
3. Repeat for the other zipper end.
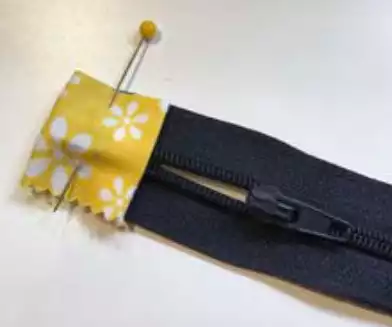
4. Attach the zipper foot to your machine.
5. Take 2 of the ½ circle pieces, one of each color. Sandwich the long zipper edge between the two pieces: the interfaced piece should be right side to the top of the zipper, the other piece should have the right side to the back of the zipper.
6. Start sewing with the zipper pull at the bottom. Sew, keeping the zipper foot as close to the zipper as possible. About half way down the stop and keeping the needle in the fabric, move the zipper pull to the top and continue to sew.
7. Finger press the sides away from the zipper.
8. Repeat for the other zipper side.
9. Top stitch on either side along the fabric edge (optional).
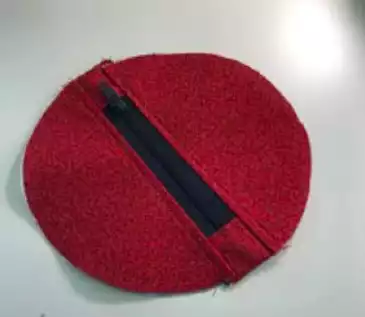
10. Sew the 5” folded strip along the long side, sewing it closed. You have plenty of length so start to sew about 1” from the end so the strip feeds better into the machine.
11. Unzip the zipper.
12. Thread the key ring onto the strip. Fold the strip in half and about 1½” from the key ring and sew the strip to the top edge of the zipper.
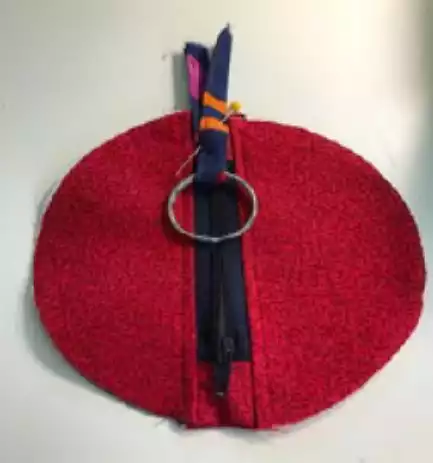
13. Sandwich the interfaced circle and the other circle with the right sides facing out.
14. If using rik-rak or another trim, baste along the edge of the circle sandwich, leaving the ends hanging off the top of the circle.

15. Place the right side of the interfaced circle towards the top side of the zipper circle. If using rik-rak or trim, place the ends even with the end of the zipper and pin. The key ring should be inside the sandwich, along with the zipper. Zipper should be open.
16. Stitch the case together matching the edge of the foot to the edge of the circle. If using rik- rak or trim, use the basting line as a guide.
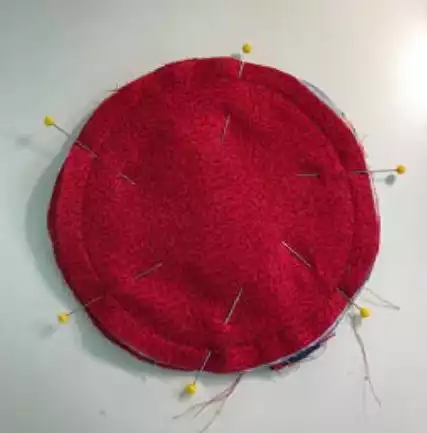
17.Trim the seam to 1/8” and turn the case right side out through the open zipper.
18. Press your seams and stitch ¼” from the outer edge of the circle. This will enclose the raw edges on the inside.
19. Give your ear bud case a final press and pat yourself on the back for a job well done.
This case can be made in any size. The zipper end pieces and the key ring loop can be made the same size regardless of the size of the case.


 United States