United States
Design your own Wristlet
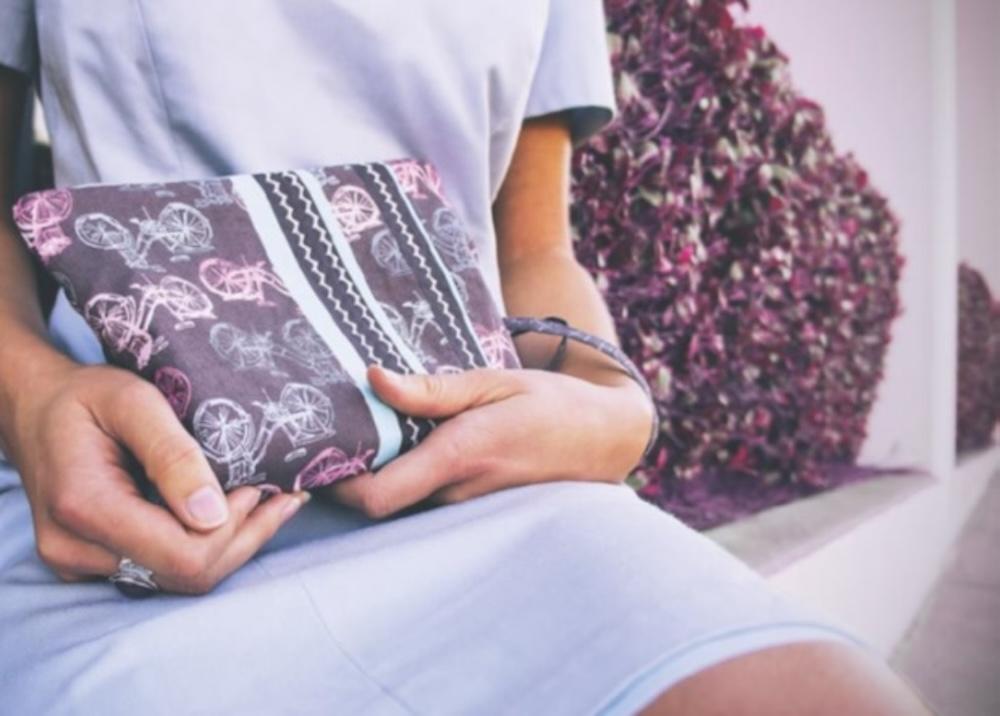
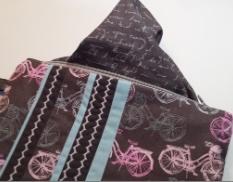
Show off your creativity and fashion flair with this strip-pieced, quilted wristlet. Select a variety of coordinating fabrics, along with your choice of decorative machine stitches to embellish and make uniquely yours!
What you need:
- One print fat quarter (for outer bag and zipper ends)
- Two solid fat quarters (to coordinate with print)
- One print fat quarter (for lining, handle and tab)
- One 10½” (26.7cm) x 14½” (36.8cm) piece low-loft cotton batting
- All-purpose thread for construction
- Contrast color of thread for decorative stitching
- One 9” (22cm) zipper
- Satin stitch or decorative stitch foot
- Zipper foot
- Quarter-inch foot (optional)
- One swivel hook
- Fabric marking pen or pencil
Sewing Directions:
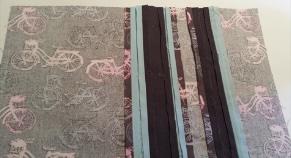
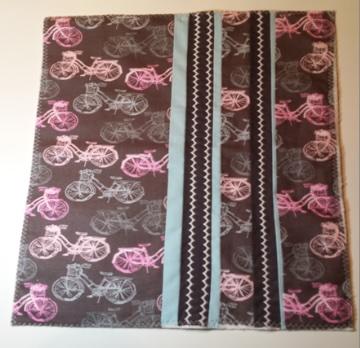
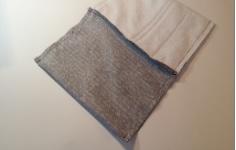
1. Cut 8 fabric strips, as shown below from left to right.
- 2¼” x 14” (5.7cm x 35.5cm)
- ⅝” x 14” (1.9cm x 35.5cm)
- 1¼” x 14” (3.2cm x 35.5cm)
- 1½” x 14” (3.8cm x 35.5cm)
- ¾” 14” (2cm x 35.5cm)
- 1½” x 14” (3.8cm x 35.5cm)
- 1” x 14” (2.5cm x 35.5cm)
- 5” x 14” (12.7cm x 35.5cm)
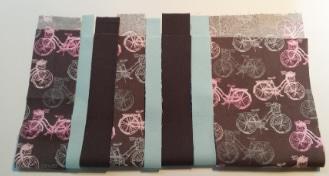
2. With right sides of the fabric facing and using a ¼” (7cm) seam allowance, stitch the fabric strips together as shown in the order above, forming one unit. (Note: Photos show seaming with all-purpose foot, in which case you will need to determine the seam guide line for your machine. If you have a quarter-inch presser foot, attach it to the machine for perfect ¼” seams.)
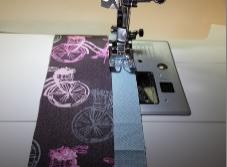

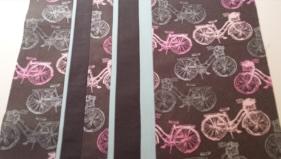
3. Press seams open from both the front and back sides.
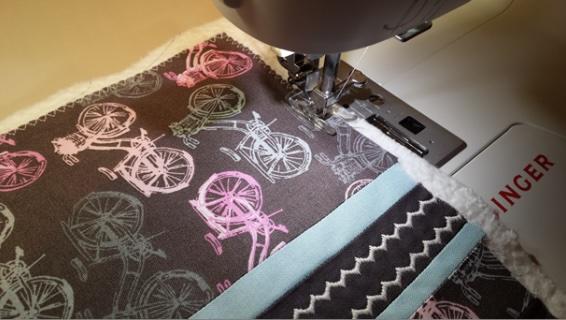
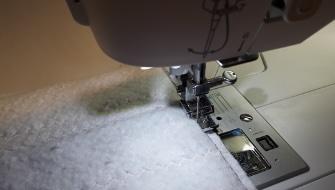
4. Place the wrong side of the pieced fabric unit onto the low-loft batting. Pin in place. Attach the Satin Stitch or decorative stitch foot. Select a decorative stitch. Using a contrasting color of thread, sew one or two lines of decorative stitching down the length of the wider fabric strips. If desired, you can stitch-in-the-ditch to quilt the batting and bag top together. (Note: You may want to test sew different stitches on some fabric scraps before sewing on your project to help you decide the stitches you want to use.)

5. Machine-baste the strip-pieced unit to the batting along the outer raw edges. (Note: to machine-baste, set the machine for straight stitch with a length setting of 4.0. Sew within the seam allowance near the outer edges, to help hold the layers together in preparation for the next step.)
6. Trim the batting to the size of the piece top.
7. From the second print fabric, cut one 10¼” x 14” (26.7 x 36.8cm) piece for the lining, one 2” x 16” (5 x 40.6cm) piece for the handle, and one 2” x 3” (5 x 7.6cm) piece for the swivel hook tab. Set the lining fabric aside. Press the handle and tab strips in half lengthwise, with wrong sides facing in. Open, then press raw edges to the center crease.
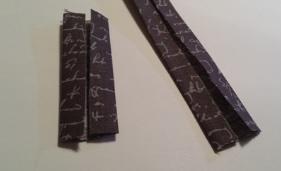
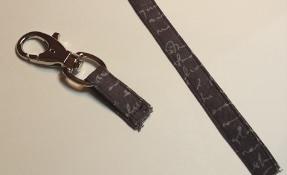
8. Refold at the original crease and press. Stitch close to the folded edges of the handle and tab strips. Insert the tab through the swivel hook, then stitch the ends together.
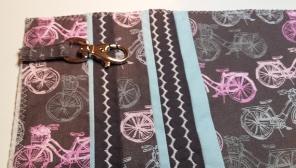
9. Place the swivel hook and tab unit 1¼” (3.2cm) from the top edge of the piece, having raw edges matching on the left side. Machine-baste in place.
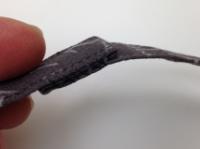
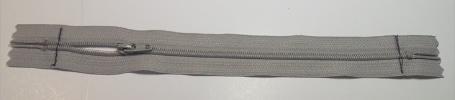
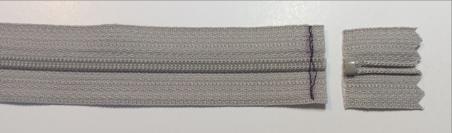
10. With a ruler and fabric marking pen/pencil, draw a line 1” (2.5cm) from each end of the zipper. Stitch on the marked lines. Trim close to the stitching on each end.
11. Cut one piece of the bag print fabric 3” x 4” (7.6 x 10cm) for the zipper ends. Press in half lengthwise, wrong sides facing. Open and press the raw edges to the center crease. Refold at the original crease and press again. Cut into two equal 2”(5cm) lengths.
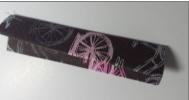

12. Encase one zipper end with one of the 2” (5cm) strips. Stitch close to the fold, securing the end to the zipper. Repeat for the other side.
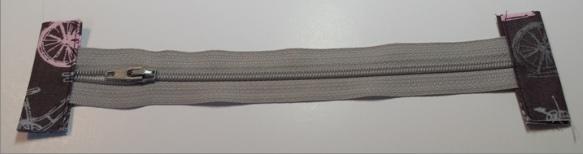
13. Center the right side of the zipper to the top edge of the wristlet, matching the long edge of the zipper to the raw edge of the fabric. There should be about ¾” (2cm) from each end of the zipper to the side edges of the wristlet.
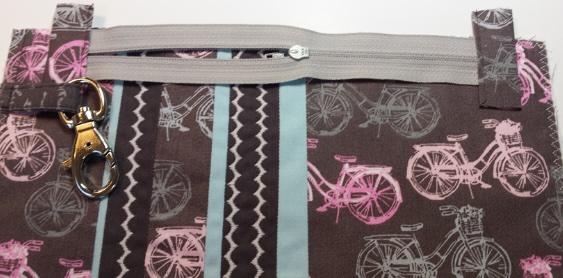
14. Stitch across the top edge through all layers using a zipper foot. Trim excess from the tab so it is even with the zipper.

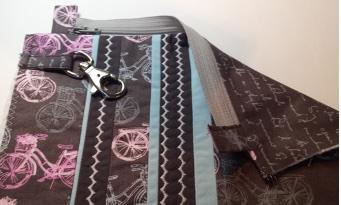
15. Place the lining (see step #7) and wristlet right sides together along the top edge. The zipper is sandwiched between the layers. With batting facing up, stitch to the left of the previous stitching, concealing the previous row of stitching within the seam allowance.
16. Fold the lining down over the seam and press.
17. Repeat stitching the other side of the zipper and lining to the other end of the wristlet.
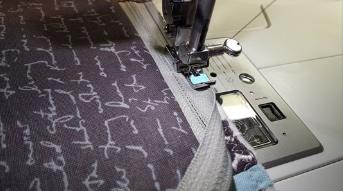
18. Open the zipper at least half way. Place right sides of the wristlet together and lining-to-lining sides together. Stitch the side seams using a ½” (1.2cm) seam allowance, leaving about a 3” (7.6cm) opening in the lining for turning the wristlet right side out.
19. Turn right side out through the opening. Turn in the seam allowance of the opening and press. Topstitch the opening in the lining closed. Tuck the lining inside the wristlet. Press lightly with a cool iron.
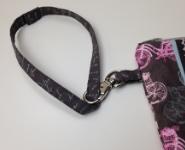
20. Bring ends of the strap together and overlap them to conceal the raw edges. Machine or hand sew to secure. Add the handle to the swivel hook to finish.