United States
Design a Baby Quilt for Beginners
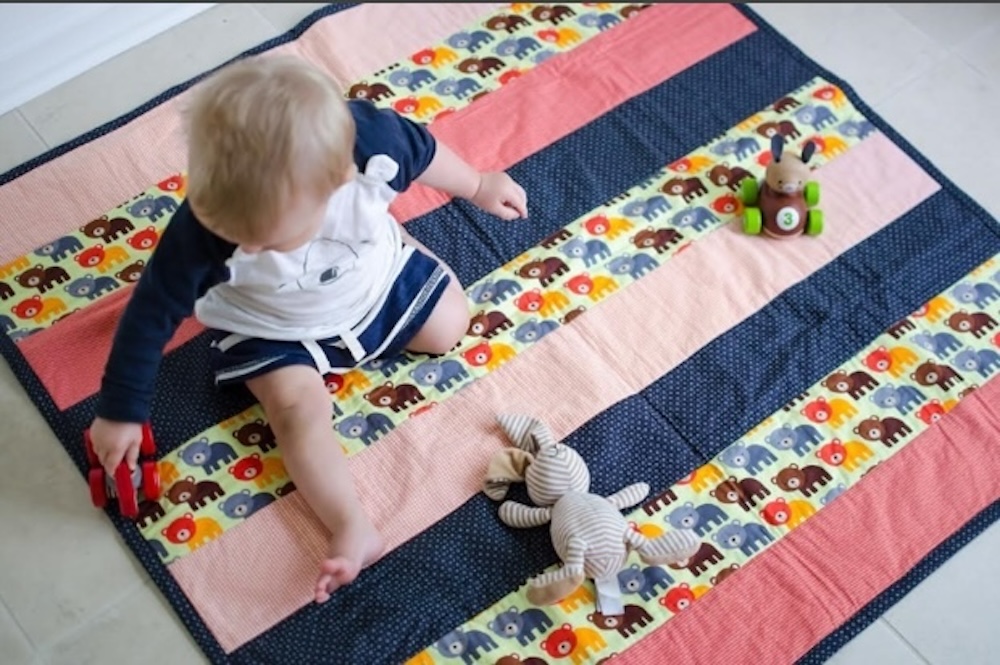
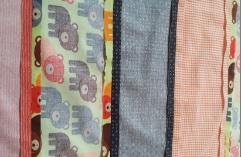
Colorful fabric strips are easily joined together to create a quilt for baby! Just sew the strips using a basic straight stitch, then add batting, backing and a binding to finish!
What you need:
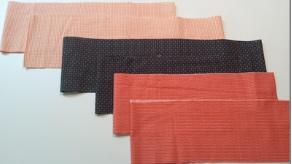
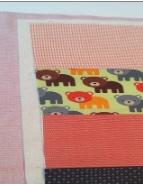
- ½ yard (46cm) each of 4 coordinating prints (minimum 45” wide / 1.15cm wide)
- 1⅓ yards (1.2m) fabric for back of quilt
- 1 yard (1 meter) fabric OR 4¾ yards (4.35m) of purchased extra-wide double-fold bias tape for binding
- 43” (110cm) square of low-loft quilt batting
- Thread to coordinate with fabrics
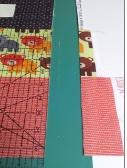
- Rotary Cutter, cutting mat and ruler
- Removable fabric marking pen
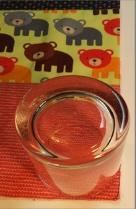
- Small plate or drinking glass (used for marking rounded corners)
- Optional: SINGER Sew Easy presser foot
Sewing Directions
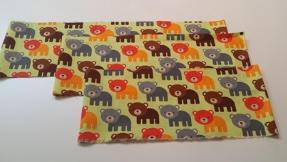
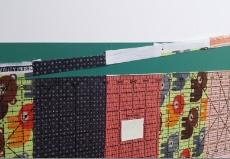
1. From the main print fabric, cut 3 strips measuring 5½” (14cm) wide x WOF (width of fabric). From each remaining fabric, cut 2 strips measuring 5½” (14cm) wide x WOF.
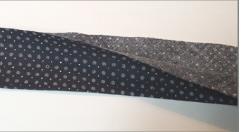
2. If using fabric to create bias binding, cut strips 4⅓” (11cm) wide, cutting enough strips to equal 170” or 4¾ yards (4.32m). Bias strips are made by cutting fabric on the diagonal (45 degree angle from lengthwise grain of fabric. Note: If using purchased bias binding, you can omit this step.
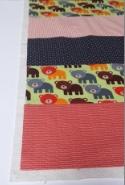
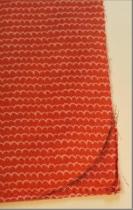
3. Arrange the 9 cut strips as desired, alternating their placement so that no two identical strips are next to each other.
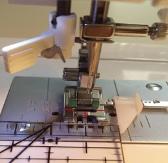
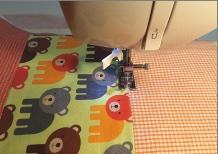
4. If using a SINGER Sew Easy presser foot, attach this foot to the machine Set the adjustable gauge on the foot’s extension for a ½” seam allowance. If you are using the machine’s regular presser foot, use the needle plate’s ½” seam allowance guides for reference.
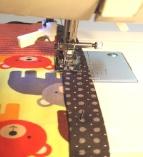
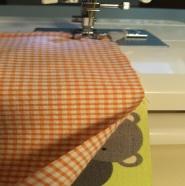
5. With right sides together, and using a ½” (13mm) seam allowance, sew the first 2 strips together. Continue adding a strip at a time until all strips have been joined, forming the quilt top. Note: The fabrics you selected may not be all the same width. Match the ends on one side when sewing the strips together. The uneven edge of excess fabrics on the other side can be trimmed off later.

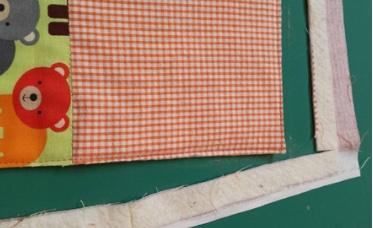
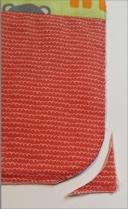
6. Press all seams open. Trim the selvedge edges off one side of the pieced top.
Measure the height of the entire quilt top once the quilt strips are sewn together. Trim the width of the quilt top to this same measurement, so that the quilt top piece is square.

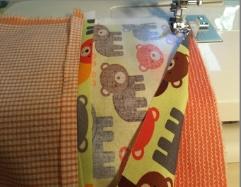
8. Place the wrong side of the quilt top over the quilt batting square, having the batting extend slightly beyond the quilt top on all four sides. Then place the quilt top/batting unit on top of the wrong side of the quilt backing fabric, having the backing fabric extend beyond the edges of the batting. Pin all layers together.
9. If you used the Sew Easy foot, remove it from the machine and replace the regular presser foot. Wind the bobbin with a thread color that blends well with the quilt backing fabric. Thread the top of the machine with a thread color that blends well with the quilt top. Set the machine for Straight Stitch, with a medium stitch length setting. Stitch in all the seam “ditches” across the quilt.
10. Trim around the edges of the quilt so that the top, batting and backing are all even.
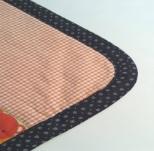
11. Using a small plate or drinking glass, along with a fabric marking pen, draw a curve at each of the four corners of the quilt. Trim on the lines drawn.
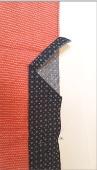
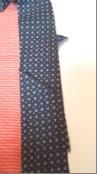
12. Now you’re ready to add the bias binding. (If you are using purchased extra-wide double-fold bias tape, skip this step and move to Step 13). Sew the bias strips together end-to-end. Press the seams open Fold the bias strip lengthwise and press.
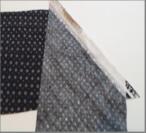
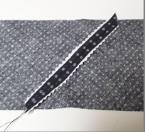
13. Press under the beginning edge of the bias strip about ⅜” (1cm). Match the raw edges of the bias with the raw edges on the back side of the quilt. Using a ½” (13mm) seam allowance, start to sew the bias to the quilt about 2” (5cm) from the folded edge of the bias strip. As you come to the corners, clip the seam allowance a bit to make it easier to go around the curve.
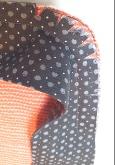
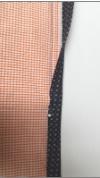
14. Fold the bias toward the right side of the quilt. Press and pin in place. INsert the end into the opening left at the beginning to form a continuous, smooth bias finish.
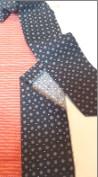
15. Topstitch close to the folded edge of the bias to complete the quilt.