Create Memorable Embroidered gifts - PhotoStitch

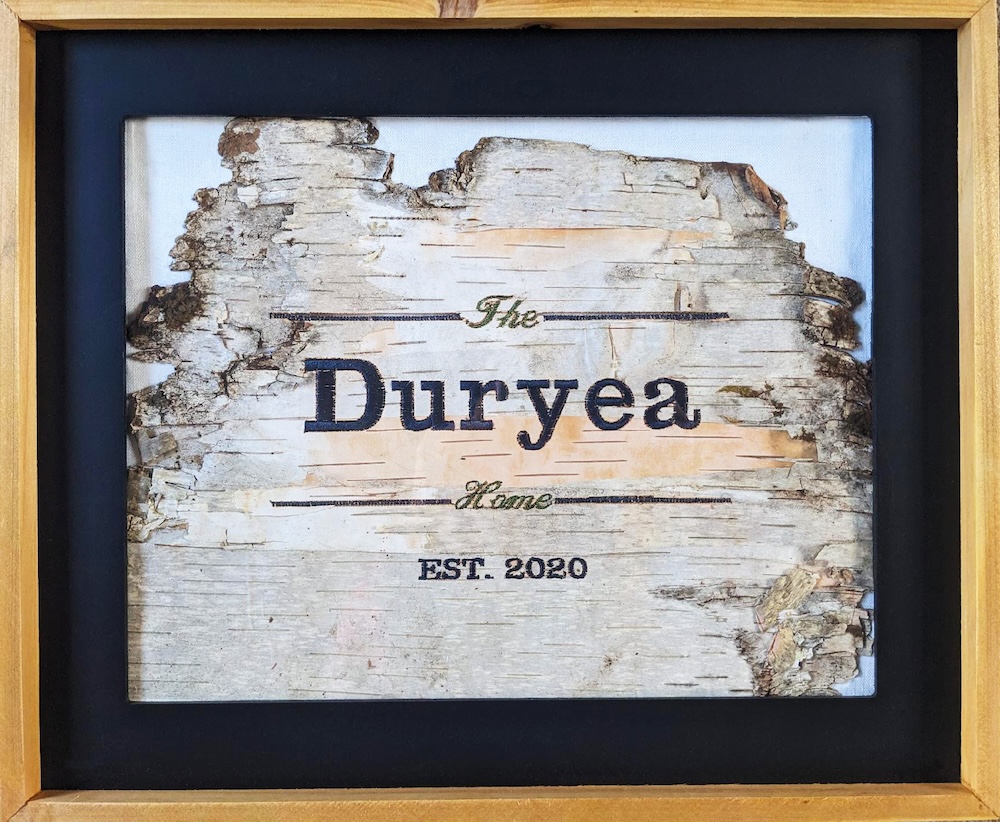
Everyone is always searching for the perfect, unique gift to celebrate a special couple. Look no further! Make their celebration unforgettable with a beautifully crafted, nature-inspired embroidered PhotoStitch gift.
With 30-day Free Trial of mySewnet Embroidery Software you will get to try out the most user-friendly and feature rich digitizing software on the market. It works with all embroidery machine brands and is available for both Windows and Mac.
What you need:
- mySewnet Embroidery Software, Gold or Platinum level
- Birch bark (make sure this is a thin piece of bark that has already shed from the tree, foraging for the bark is half the fun)
- Plain fabric to fill the frame behind the bark
- Fusible cutaway stabilizer
- This water soluble topper stabilizer
- Bobbin thread
- 1-2 colors of embroidery threads
- Metal embroidery hoop
- Picture frame with mat
Preparing the Bark
1. If the bark is separating from itself, fully separate the bark. You want a very thin piece.
2. Gently wash the bark and leave the bark to dry for at least 24 hrs. You want the bark completely dry before stitching.
Tip: You can wet the bark and set heavy objects on it to dry more flat.
3. Fuse the cutaway stabilizer to the back of the bark.
4. Place the topper over the bark and hoop everything with the metal hoop.
Programming the Words
5. Enter embroidery edit.
6. Open the Font Menu.
7. Select a large block font. I chose the built-in font on my machine named Clarendon 30 since it was a shorter last name.
8. Type the name and press ok.
9. Rotate the design 90 degrees.
Tip: Some machines have a shortcut by selecting rotate and pressing the center of the control wheel.
10. Center the design.
Tip: Some machines have a shortcut by selecting Position and the center of the control wheel.
11. Next in the Font Menu, select the same font but in a smaller size. I chose Clarendon 12.
12. Type “EST.” with the year and press ok.
13. You will again rotate this design 90 degrees.
14. Move the date to the left where you like the general placement.
15. Touch the second position number to open a number pad and type 0 and press the checkmark.
This centers it vertically so it aligns with the last name.
16. Next in the Font Menu, select Palace Script 12.
17. Type out “Home” and select the checkmark.
18. Repeat steps 9-11 to position the design.
19. Again in the Font Menu, select Palace Script 12.
20. Type out “The” and select the checkmark.
21. Repeat steps 9-11 to position the design but move it to the right of all the designs.
22. Your screen should look something like this. Move or scale the designs how you see fit.


 United States